Category Archives: Dessert

Brownie Cookie Squares with Chocolate Fudge Layer, vegan

brownie-cookies-sqaures-42

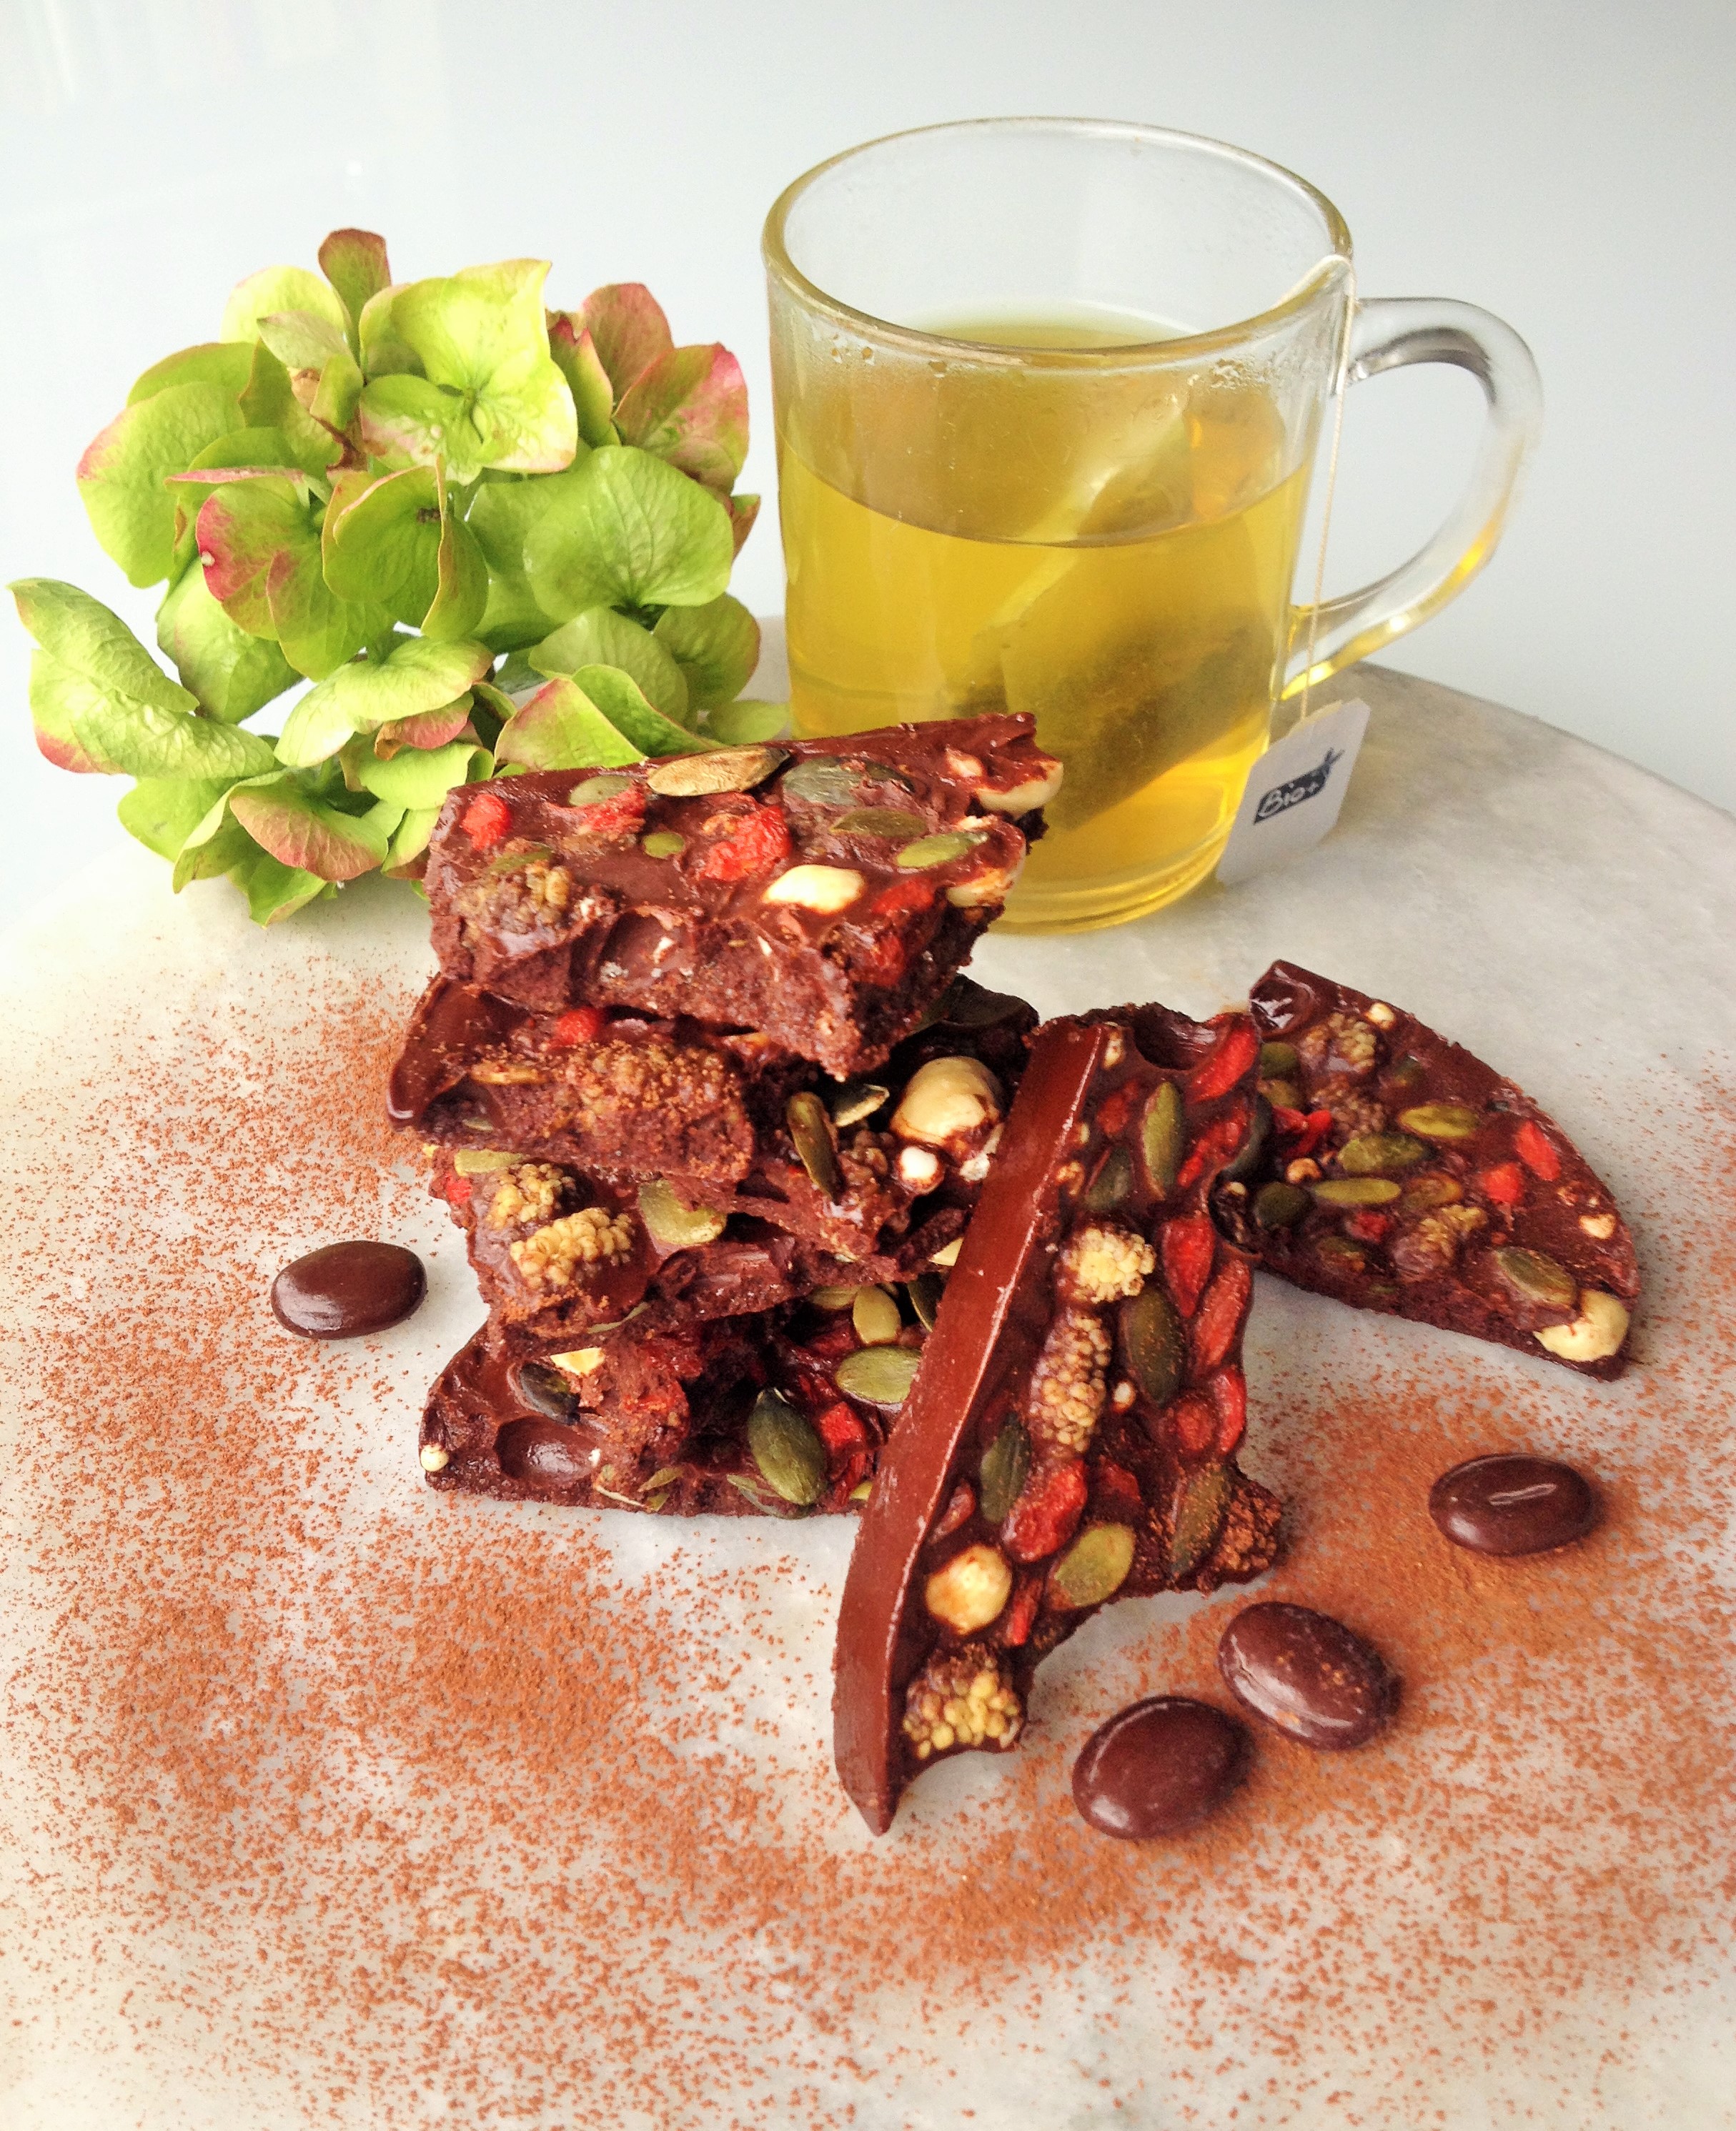
I love anything you can mix in one big bowl and then press into a tin.

These cookie squares are somewhere between a brownie and a cookie, hence the name. They are super quick to make and so nutrient dense that one little square will be enough to last you until lunch or dinner.

I have used half Buckwheat flakes  and half Oat flakes just because I happened to have it but you can use one or the other or a mixture of both.

If your dates are dry, soak them in water for about an hour before using.

I have used a bit of Lucuma, but if you don’t have it, it’s fine without.

*Lucuma  is made from whole Peruvian lucuma fruit that has been dried at low temperatures and milled into a fine powder. It is a  low-glycemic sweetener with many nutrients including beta-carotene, iron, zinc, vitamin B3, calcium and protein. Lucuma has a maple-caramel like taste and I like to use it in sweet things and smoothies.

brownie-cookies-sqaures-41


Makes 16 squares

Ingredients;

Brownie cookie;

  • 1 C. Buckwheat Flakes
  • 1 C. Oat flakes
  • 5 tbsp. Cacao Powder
  • 2 tsp. *Lucuma Powder  (optional)
  • 1/4 C. Vanilla Protein Powder
  • 1/2 C. Peanut Butter  or an nut butter
  • 5 large soft Medjool dates, stones removed
  • 1 tsp. Pure Vanilla Extract
  • 3 tbsp. Light Agave Syrup
  • 2 tbsp. Coconut Oil, melted or left in a warm place until soft.
  • Sprinkles (optional)

____________________

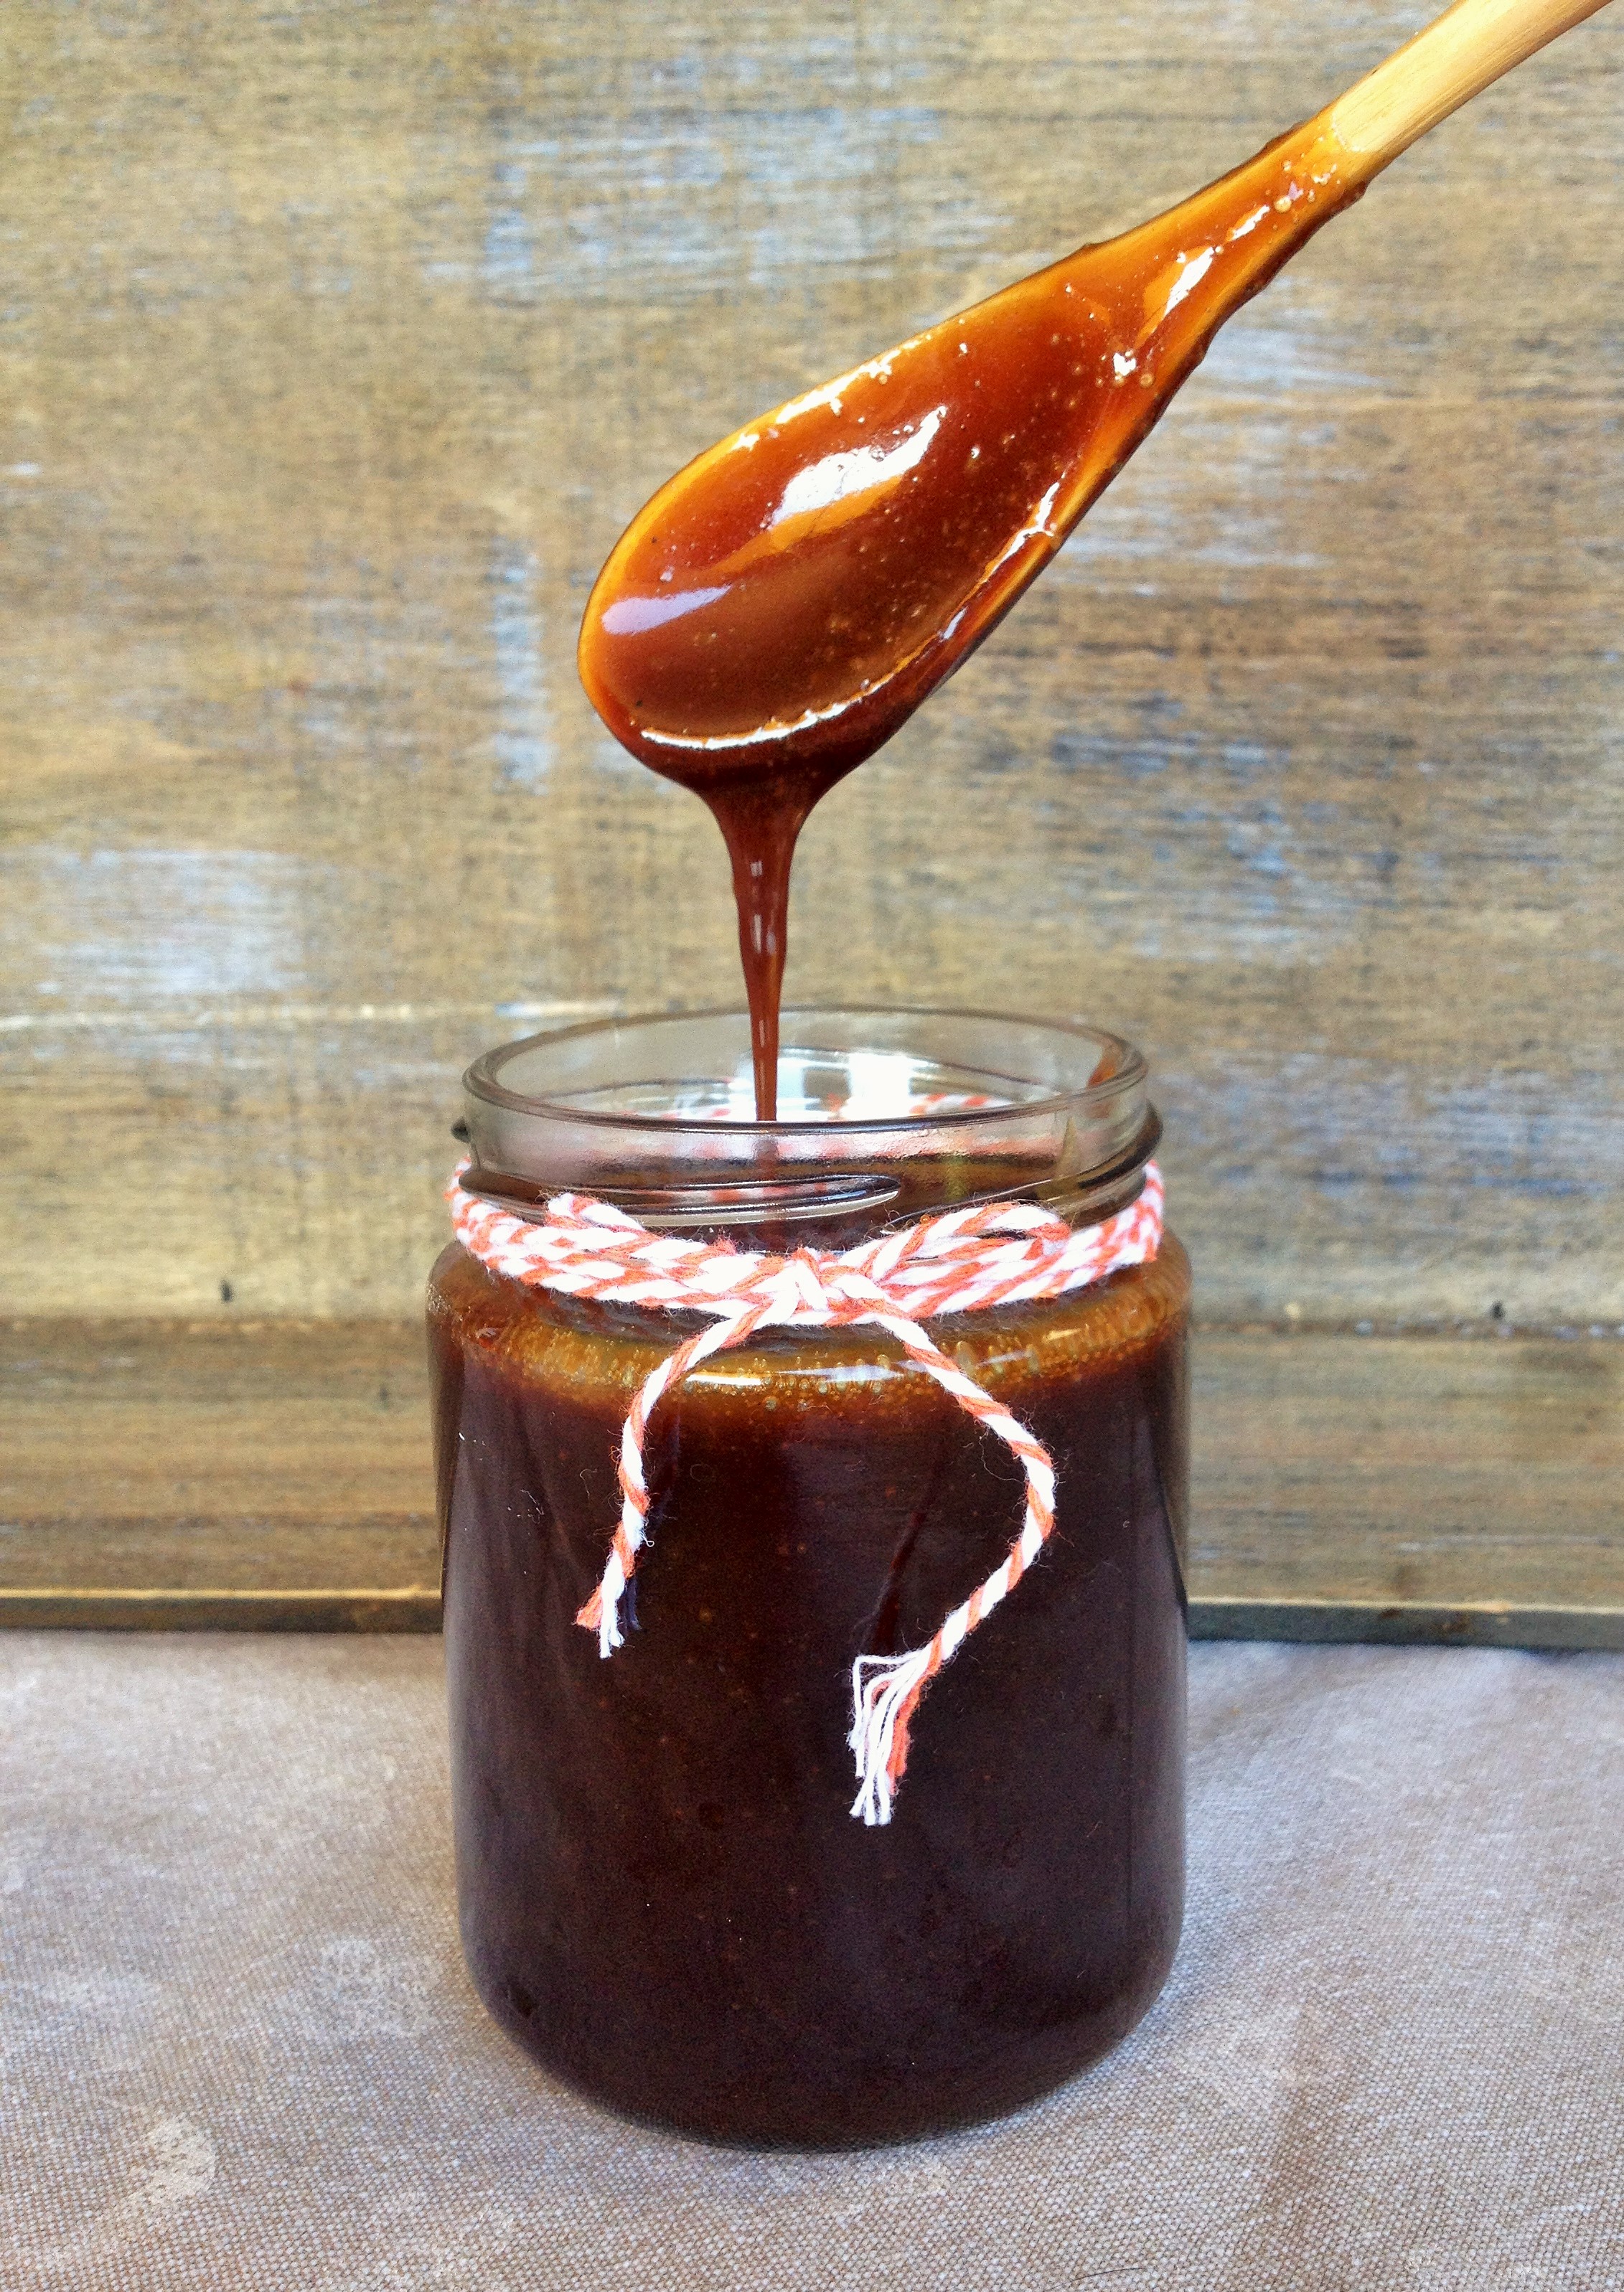
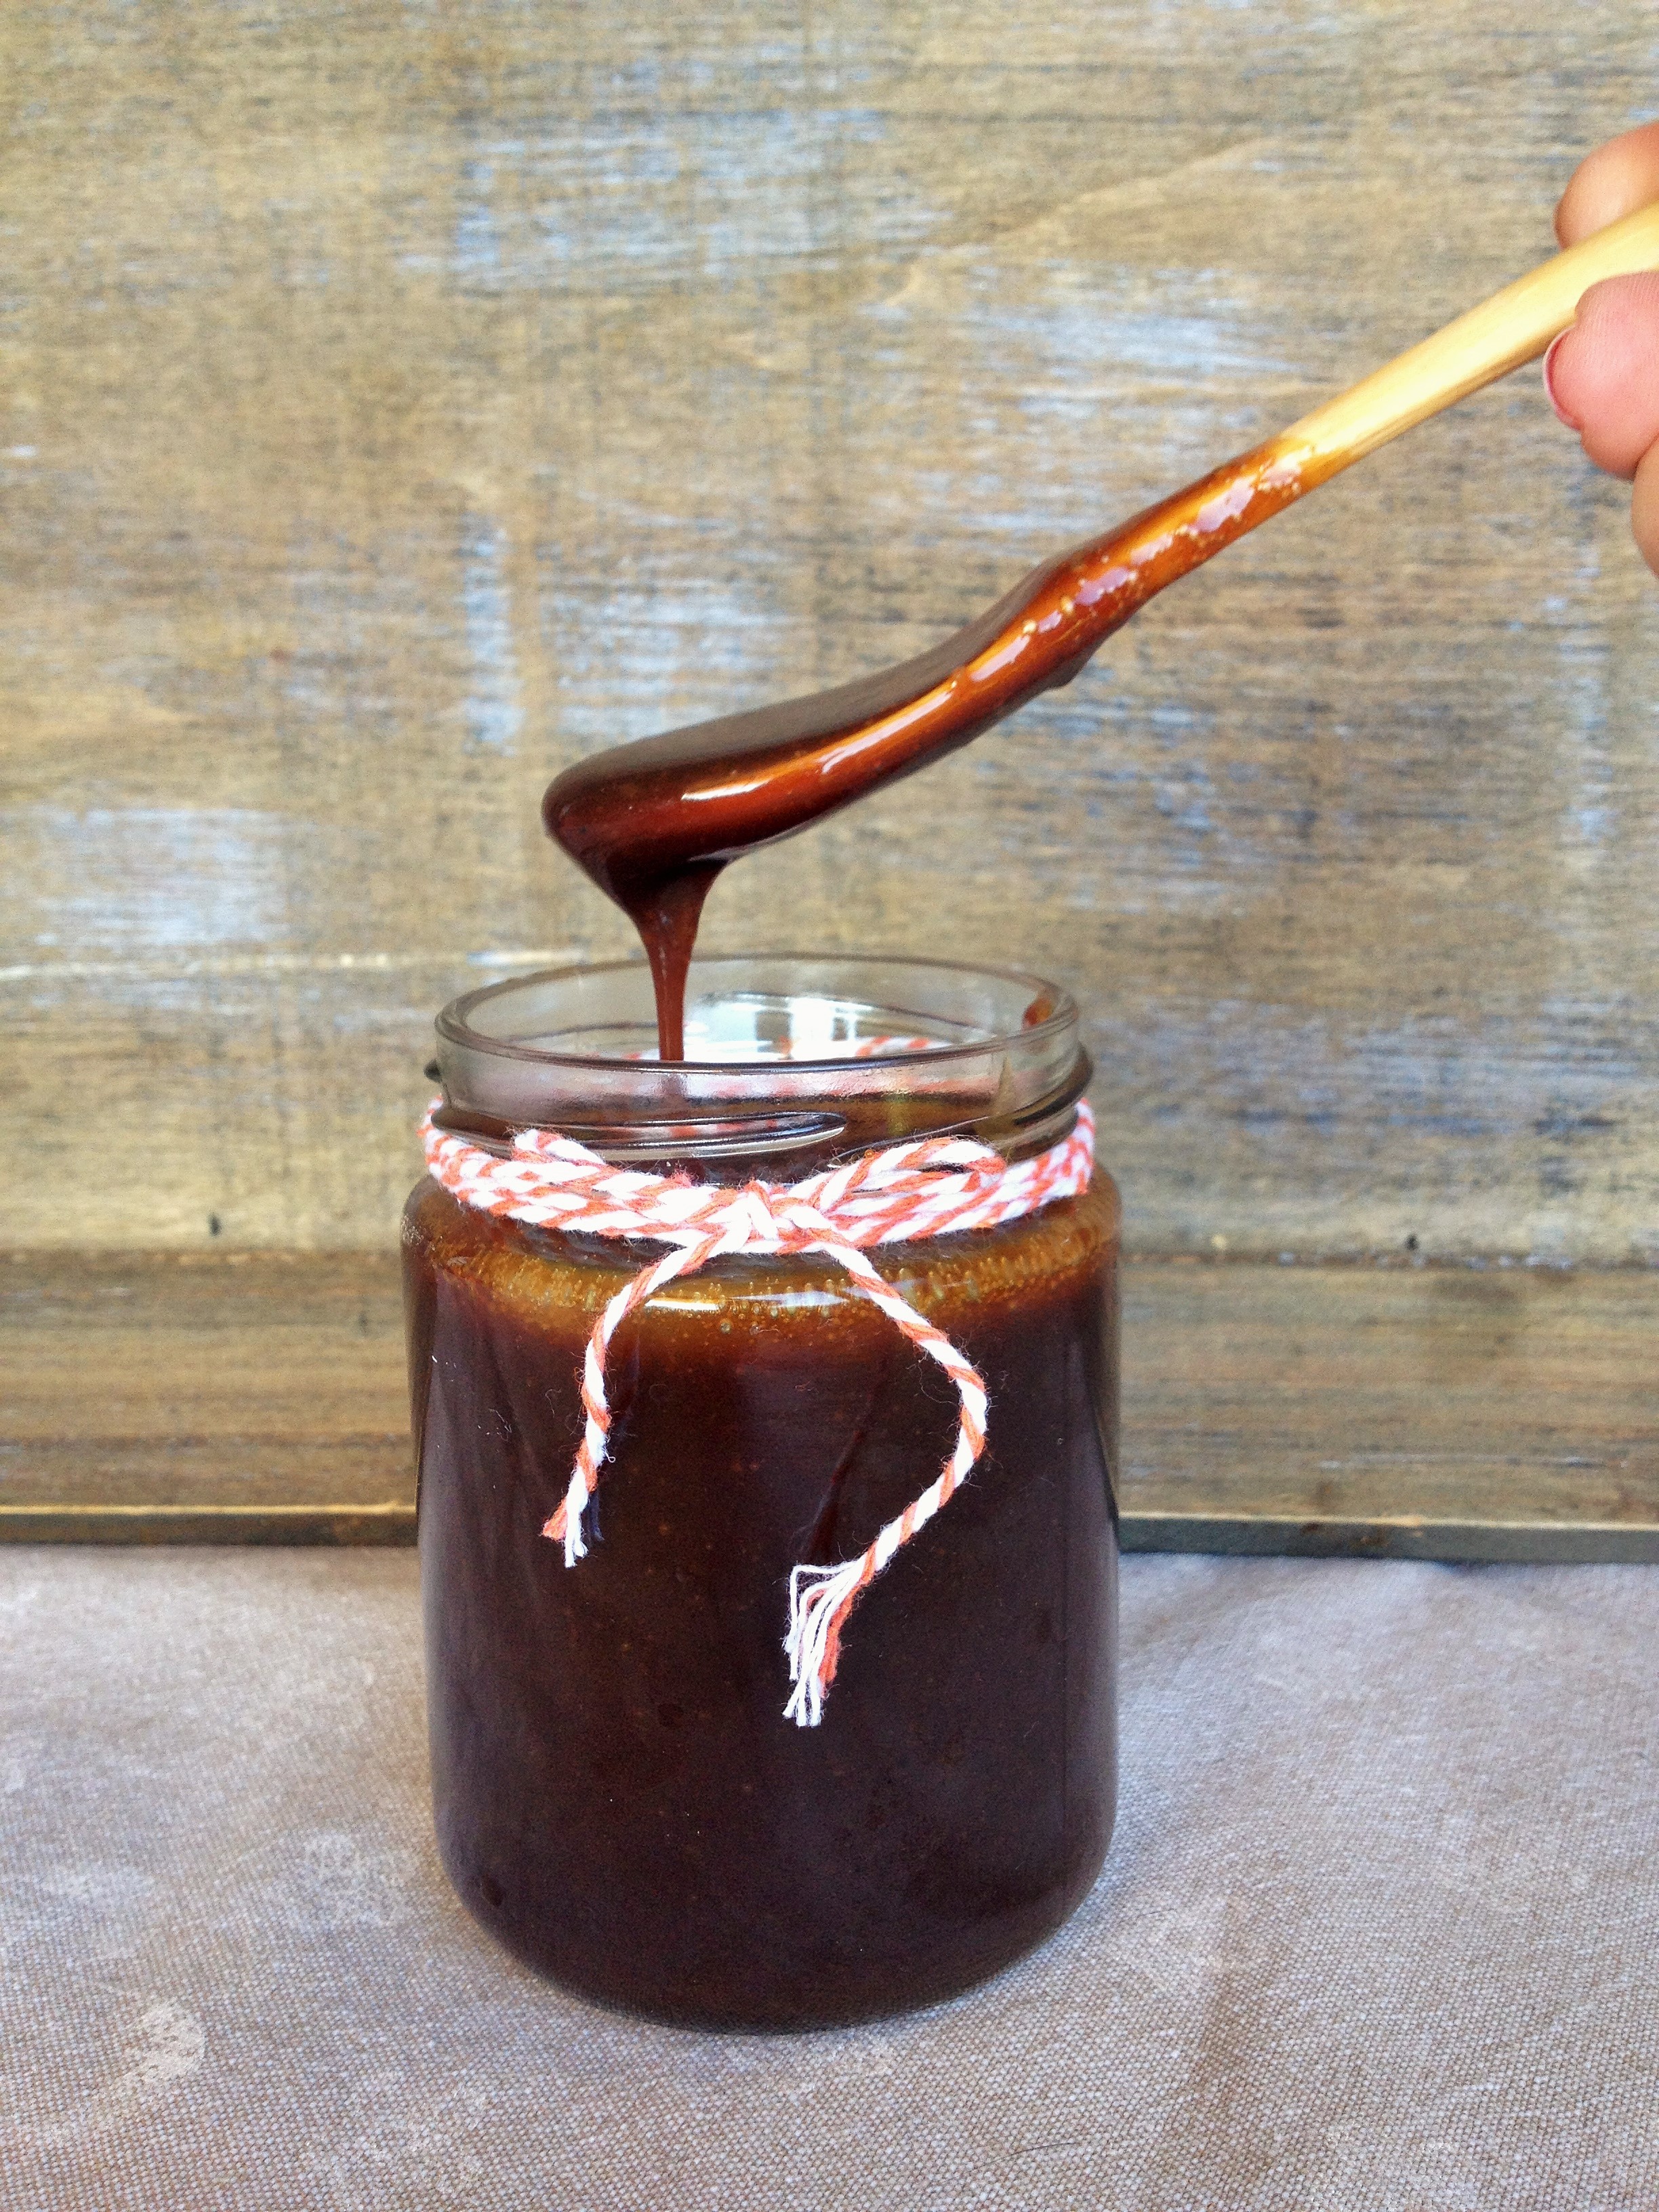
Raw Chocolate Fudge Layer;

  • 1/4 C. Raw Cocoa powder
  • 1/4 C. Coconut oil, melted
  • 2 tbsp. Date syrup
  • 2 tbsp. Agave

brownie-cookies-sqaures-29

Instructions;

Blend the Buckwheat and Oat flakes until you have  flour and place in a bowl.

Add the remaining dry ingredients and mix with a wooden spoon.

In a food processor blend the Medjool dates until you have a paste, add a splash of water if necessary. Add the nut butter, the vanilla, the agave and the coconut oil. Blend until well mixed.

If you are using a home made nut butter you can add a pinch of salt. Store bought nut butters have salt already.

Now mix the dry into the wet and mix thoroughly. To test the consistency press a bit of mixture between your fingers or try to make a tiny ball, if it sticks together it good to go, if it crumbles add a little bit of water, or coconut oil. Blend, repeat.

Line a square dish 8″x 8″,  with parchment paper, press the cookie brownie mixture into the dish and cover with cling film, refrigerate for a couple of hours until firm. Cover with a thin layer of raw chocolate or leave as is.

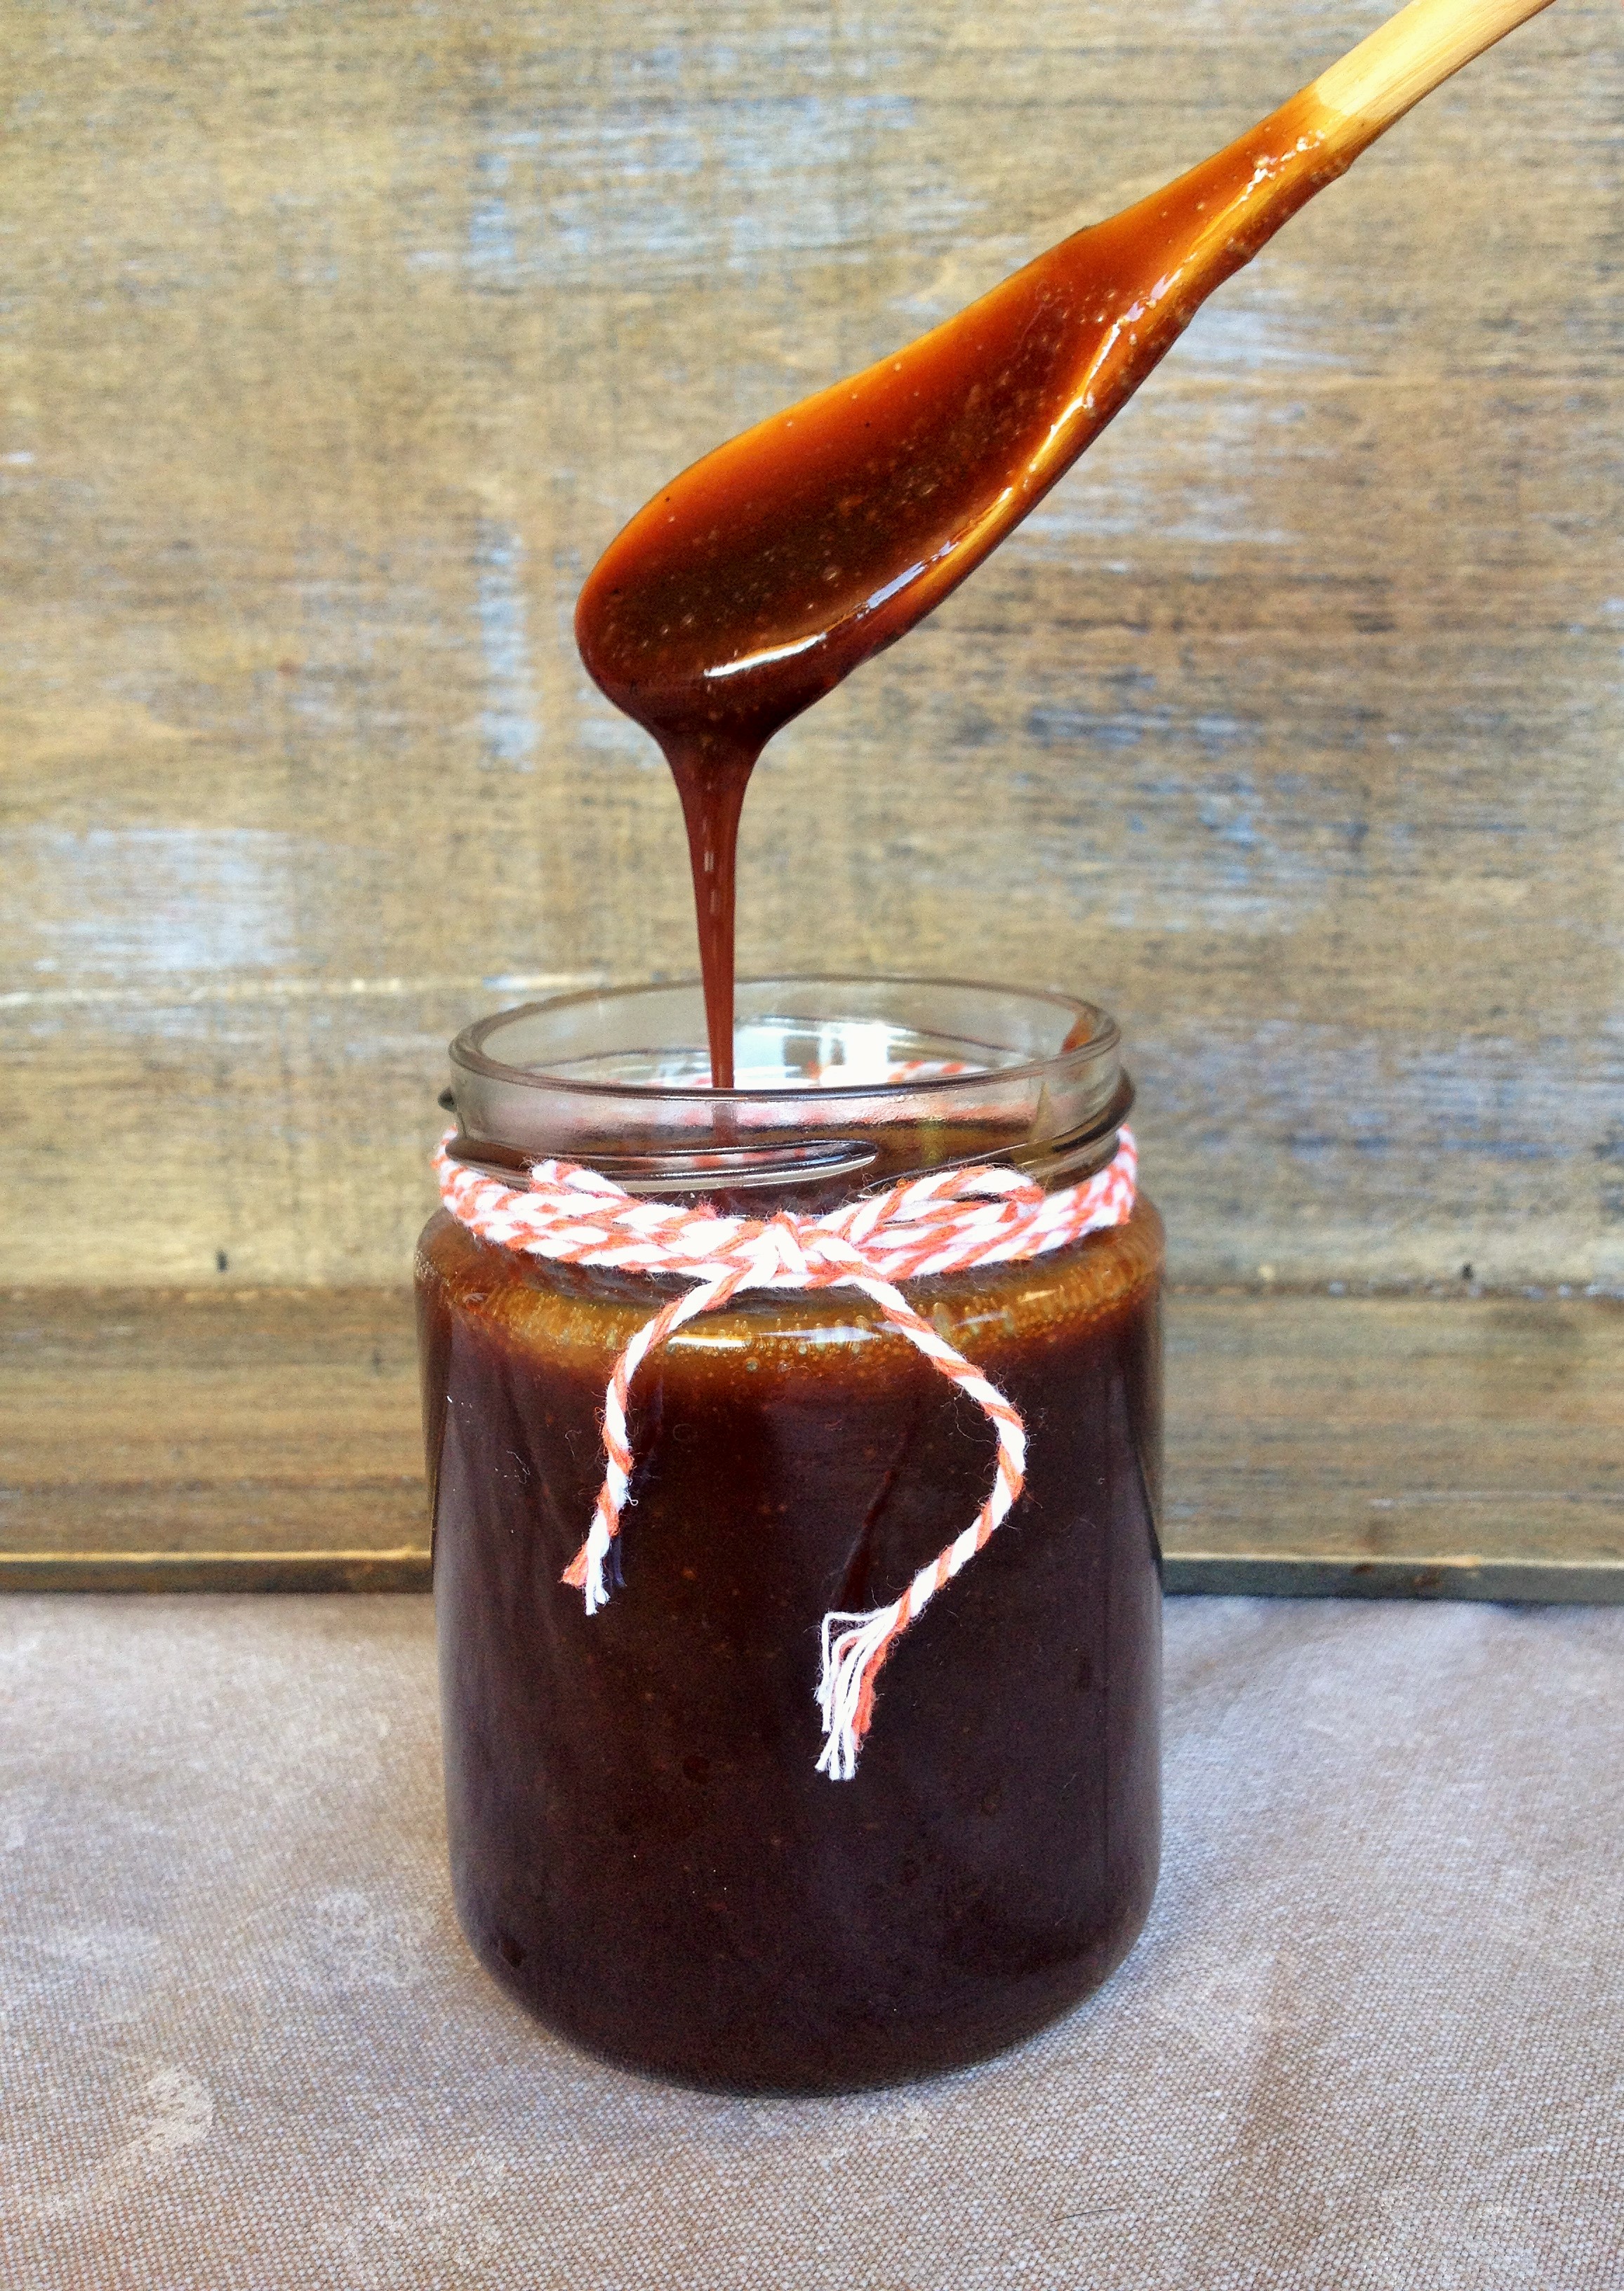
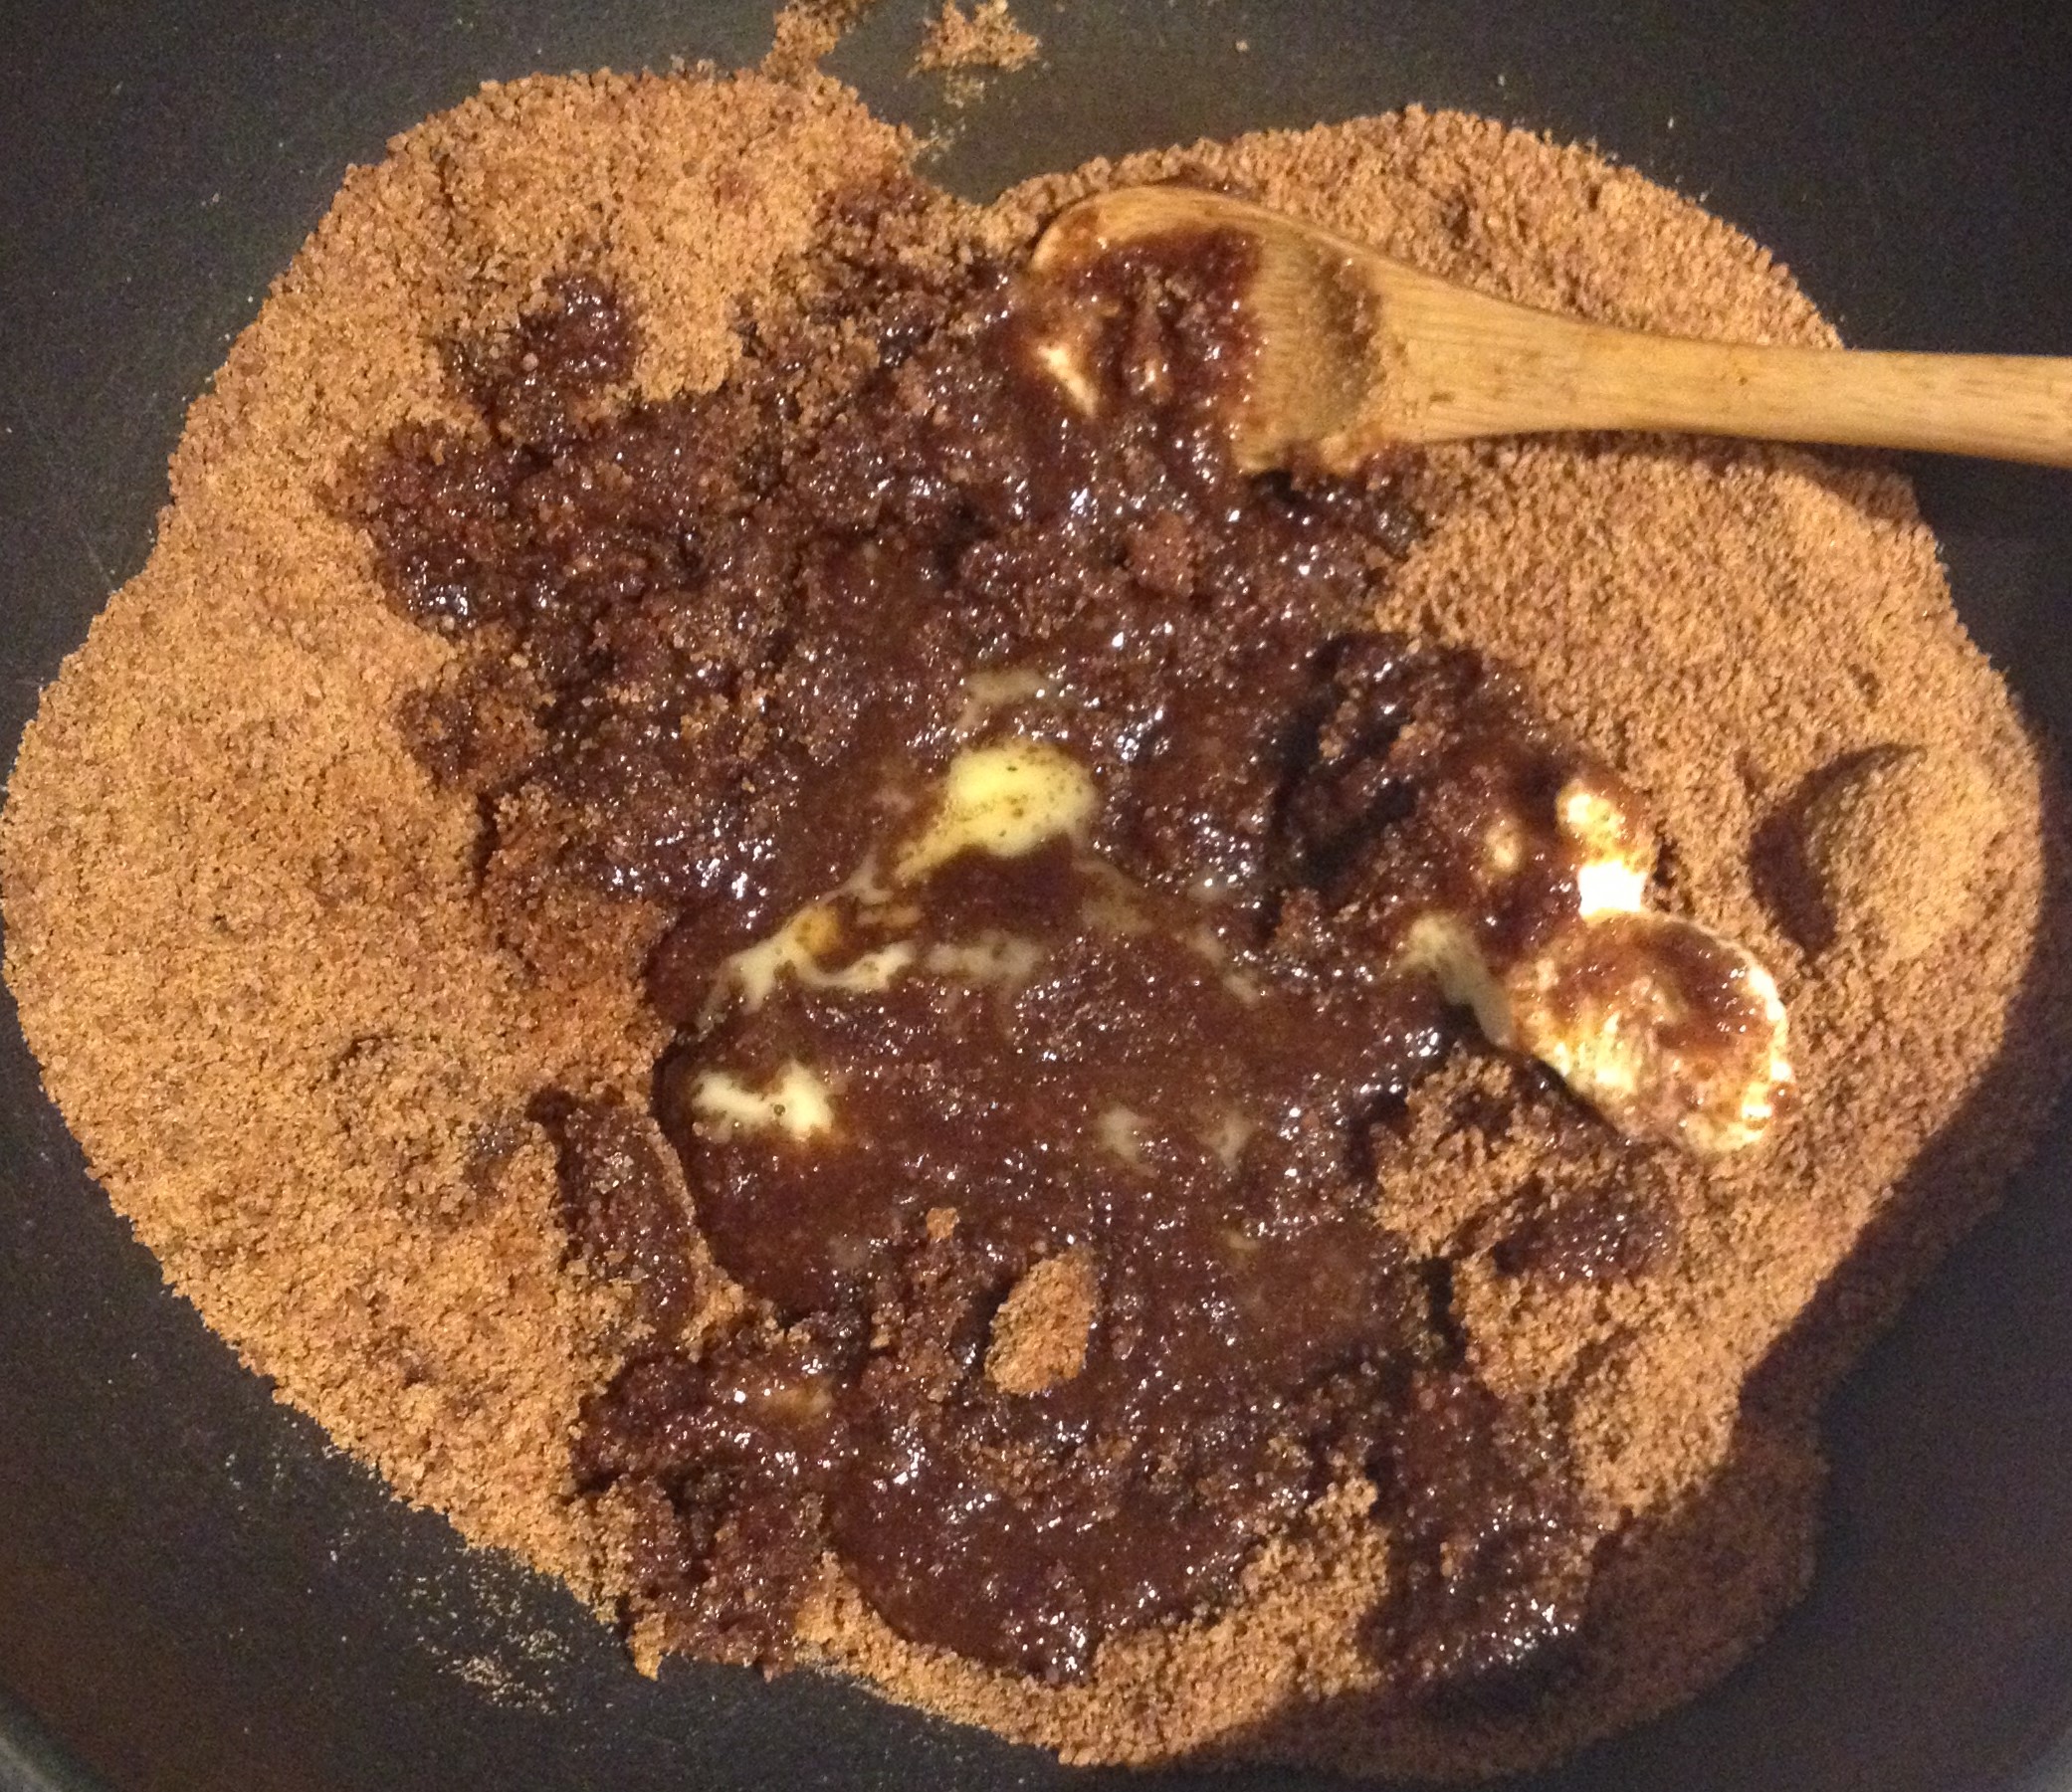
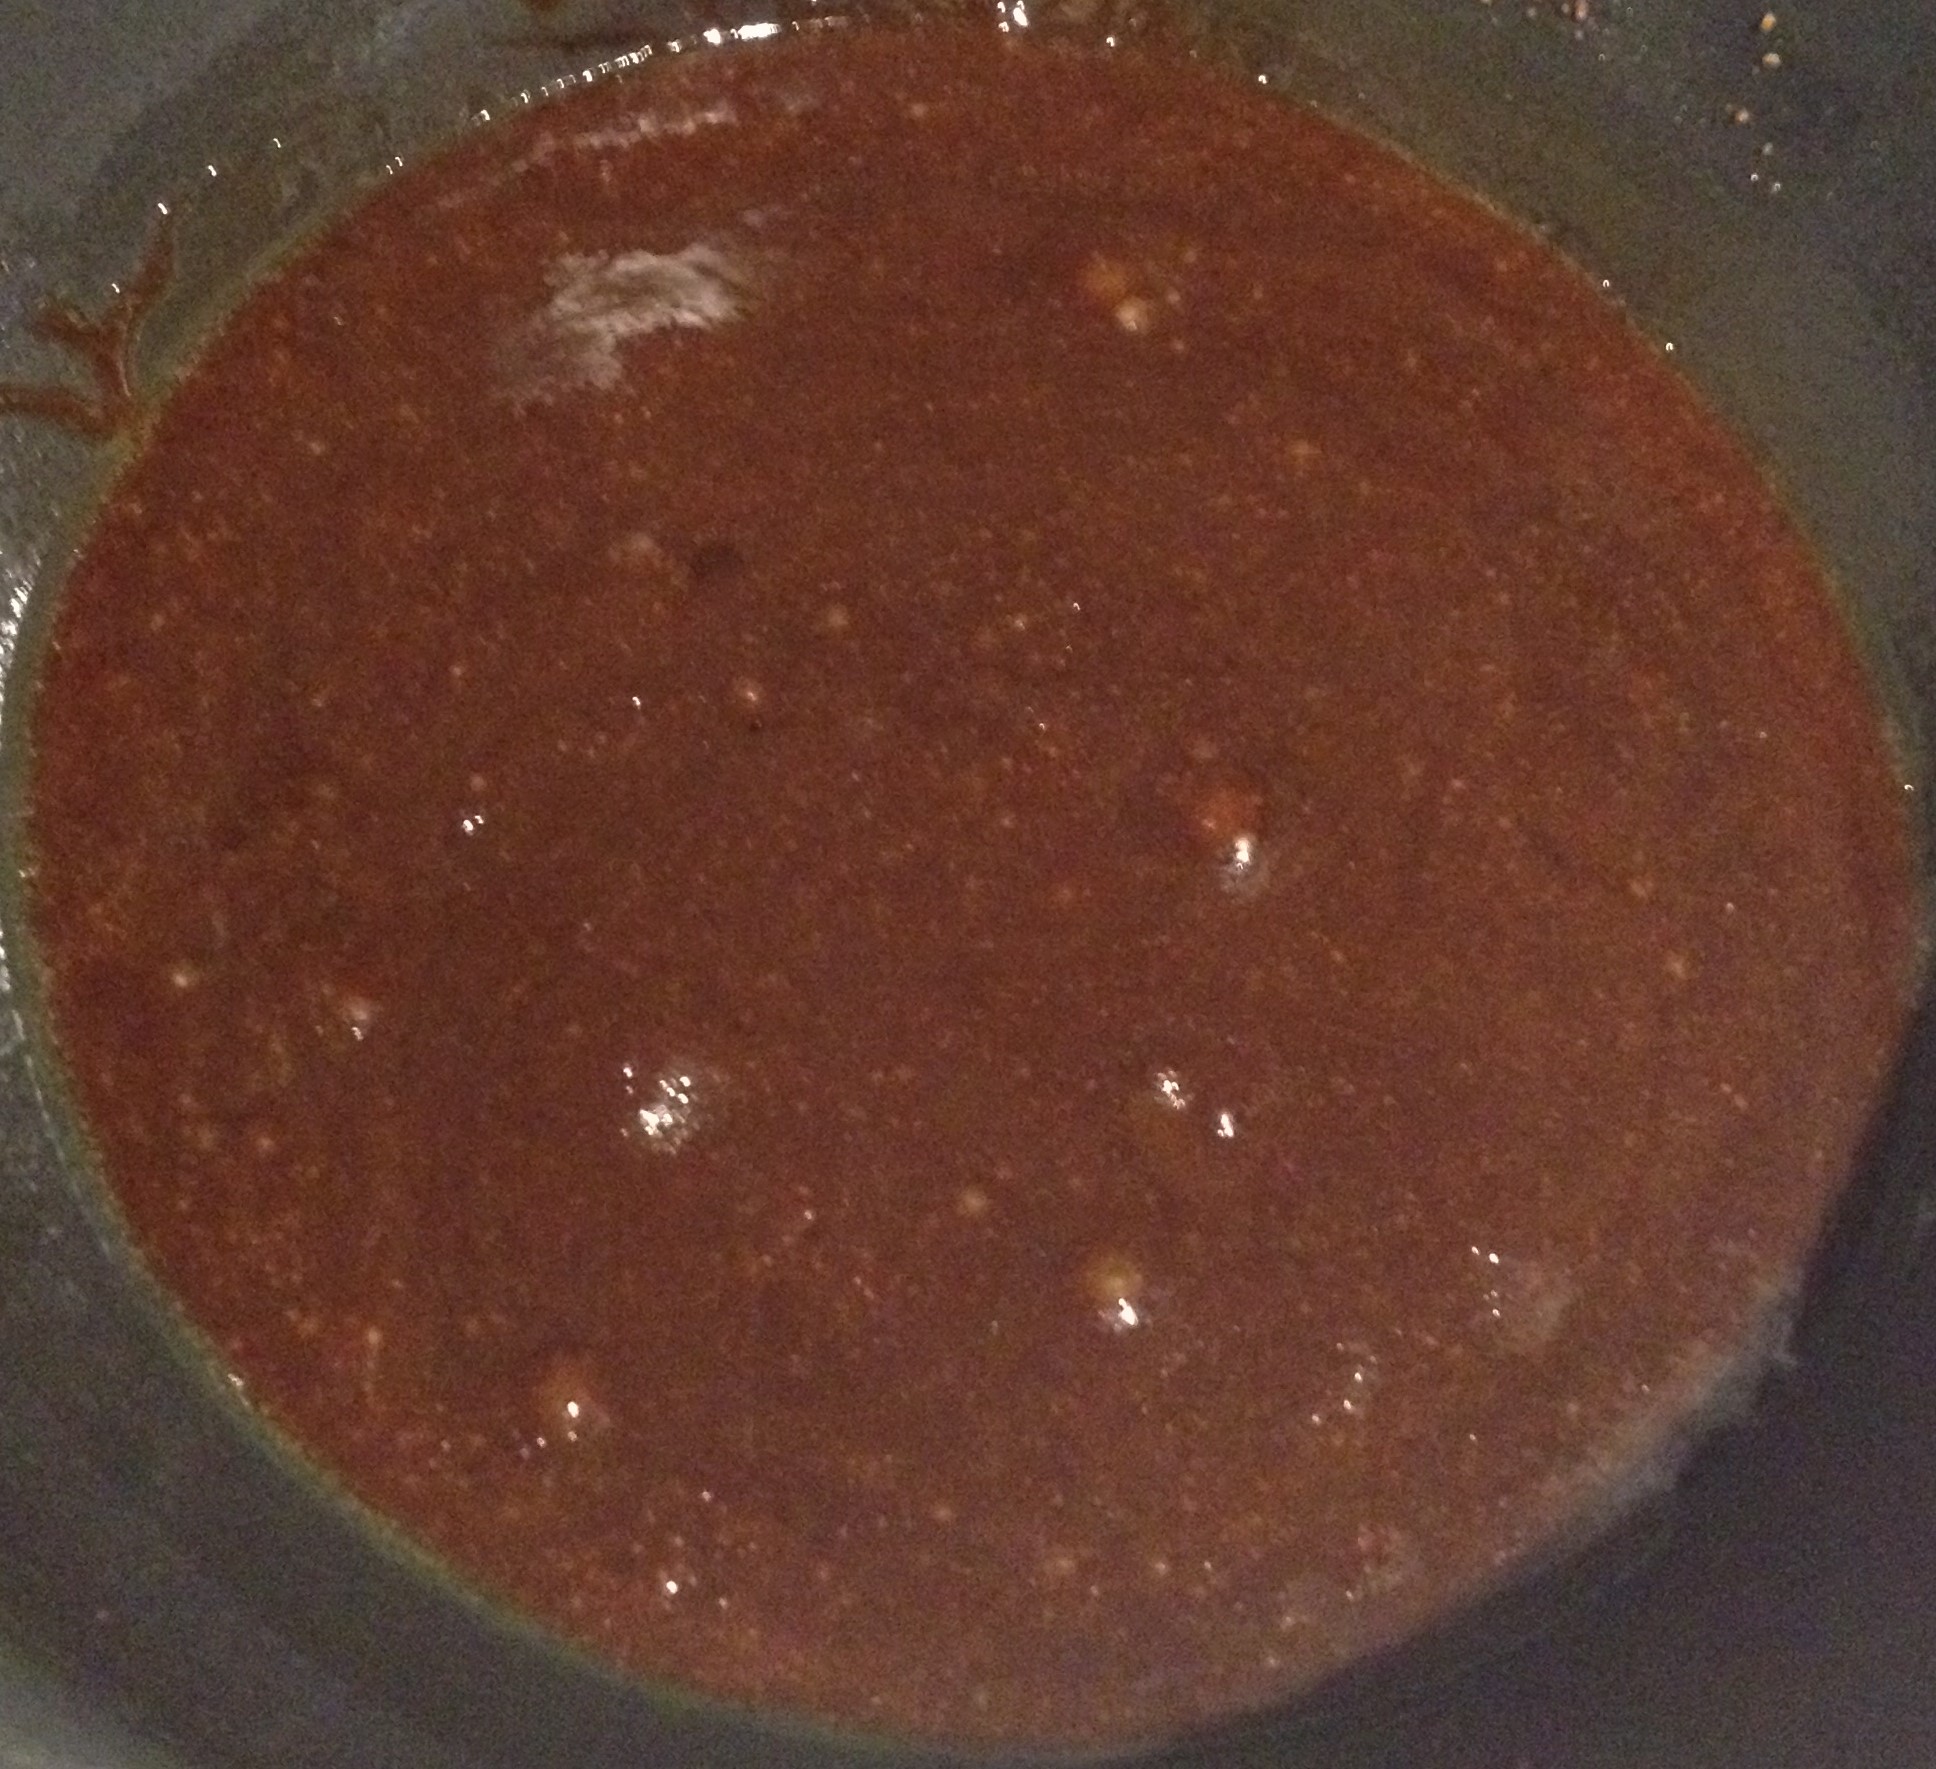
For the Chocolate fudge layer, mix all the ingredients and stir well to mix, spread or pour over the squares. Decorate with sprinkles and leave in the fridge to set. About one hour should be enough. Cut into 16 squares.

Note: the chocolate will melt slightly if left at room temperature for a while.

brownie-cookies-sqaures-28


If you try this recipe let me know! Leave a comment below and don’t forget to snap a pic and tag it  #thecookingspoonblog on instagram! You’ll make my day.

Raw Chocolate with Berries and Nuts

img_8403

img_8405

Making your own chocolate is probably one of the easiest thing to make in the whole wide world. And the good part is….it’s actually good for you. Obviously in moderation because fat is still  fat no matter how healthy, but at least you don’t have to feel guilty when indulging. I have used maple syrup to sweeten it and coconut oil instead of cocoa butter. And I thought since the holiday season is coming up it might come in handy to have some healthier options on hand.

So here we go, pretty straight forward and you can add anything you like, nuts, seeds and dried fruits of choice.

Makes 1 large bar 

Ingredients;

  • 1 C. Organic Grade A Dark Maple Syrup
  • 1 C. Organic Extra Virgin Coconut Oil, melted
  • 1 C. Organic Cacao Powder, Raw plus 2 tbsp.
  • 1/2 tsp. Organic Pure Vanilla Extract
  • Dried fruits and nuts

Method;

Melt the coconut oil by putting it in a glass bowl and placing in a hot water bath. Or melt it simply by leaving it at room temperature or near an oven or heater.

Add the cocoa powder , maple syrup and vanilla extract. Beat very well to combine.

Get a plastic container and lightly oil it, I use a Tupperware dish because it’s flexible and I can just flip out the chocolate when it has set.

So place the mixture in the Tupperware container and sprinkle with whatever nuts and berries you have chosen. Leaf in the fridge to set overnight or if you’re in a hurry put it in the freezer for about an hour.

When ready to serve or eat, flip out the chocolate and break into large pieces for serving.

You have to store this chocolate in the fridge because it will melt at room temperature.

img_8424

Halloween Donuts

img_2298

GUESS what…it’s almost HALLOWEEN….

So exciting, I love Halloween. We also love making all food Halloween-ish, like these cute little Halloween Donuts. They are super easy and are baked rather than fried in oil. Everyone loves them, see for yourself.

Makes 6 Donuts

Needed: Donut Pan

img_2254

Ingredients;

  • 1 C. All Purpose Flour
  • Remove one tablespoon and replace it with Corn Starch
  • 1 tsp. Baking Powder
  • 1/4 tsp. Baking Soda
  • pinch of Pink Himalayan Salt
  • 1 large egg at room temperature
  • 1/3 C. fine Caster Sugar
  • 6 tbsp. Buttermilk
  • 2 tbsp. melted Butter
  • 1 tsp. Pure Vanilla Extract

img_2287

Method;

Pre heat oven to 350 F

Sieve the first four ingredients very well together.

In an other bowl, combine the remaining ingredients.

Stir in to the flour mixture. DO NOT OVER MIX.

Grease your doughnut pan or oil spray. Divide the batter between the holes.

Bake for 8 – 10 minutes. Insert a tooth pick to test if they are done. If it comes out dry they are ready. Remove them from the oven. Let cool completely before icing.

For the icing I have used confectioners sugar with natural food colours

and a Halloween Sprinkle Mix.

The icing has to be quite thick or it will absorb into the doughnuts.

img_2267

img_2266

Caramel Sauce, dairy free and refined sugar free

img_1909

The last couple of weeks we have been indulging in “nice cream” every evening after dinner. It’s so good… frozen bananas, a little bit of cocoa, sweetener, blitz and done.

But I was missing something, something sticky on top so I came up with this caramel sauce, it’s dairy free and refined sugar free. So much better for you than the store bought junk.

It’s quick to make but you do have to let it cool about an hour or so before using. It’s great on pancakes and french toast too.

img_1911

Ingredients;

  • 1 C.  Coconut Blossom sugar
  • 2 tbsp. butter
  • 1 tbsp honey
  • 3/4 C. coconut cream
  • 1/2 tsp vanilla extract
  • pinch of Himalayan salt

img_1889

img_1891

img_1907

Method;

Place the coconut sugar, honey and butter in a pan over a medium heat. Stir gently until the sugar has dissolved and let it bubble for 2-3 minutes.

Pour in the coconut cream and keep stirring until it has fully combined. Turn down the heat and allow the sauce to simmer for 10 minutes until it has thickened.

Remove from the heat and add the vanilla extract and salt and stir well. Pour the sauce into a bowl or jar and allow to cool. The mixture may thicken a little more once it cools.

Store in a sealed jar or container in the fridge for up to 2 weeks.

img_1913

How about pouring this over French Crêpes. ?

IMG_0918 (3)