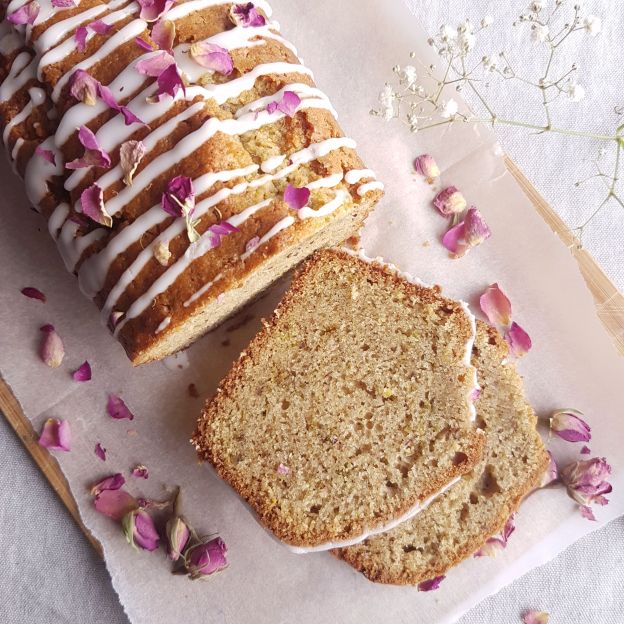

When you are looking for a delicious loaf cake with an unctuous texture that’s even better the next day. This is the cake for you.
Pistachios are my favourite nuts so I wanted to create a loaf cake with an intense Pistachio flavor and a hint of spice.
Pistacious give the loaf cake a buttery nutty flavour, the hint of cardamom adds just a little bit of warmth. The lemon juice in the icing adds just enough “zing” to balance it all out. .
Adding olive oil ensure that the cake stays nice and moist and it will keep for 4 days but I can assure you it will not last that long.
This is the perfect cake to make in the weekend to have with tea or coffee and even as breakfast
For this recipe I used unsalted (shelled) pistachios and placed them in a blender and blitz them a few times until fine crumbs, like almond flour consistency. Don’t over grind the pistachios because you might end up with pistachio butter.
INGREDIENTS:
Dry:
1 3/4 cup all purpose flour
1/4 cup almond flour
1 cup pistachios shelled then ground to flour
3/4 cup sugar
1 tsp. baking powder
1/2 tsp. baking soda
1/4 tsp. kitchen salt
1 1/2 tsp cardamom
Wet:
2 large eggs at room temperature
1/2 cup mild flavour olive oil
1/2 cup natural unsweetened yogurt
2 tbsp. milk
2 tsp. vanilla extract
Glaze:
1/4 c icing sugar
2 tsp lemon juice or water
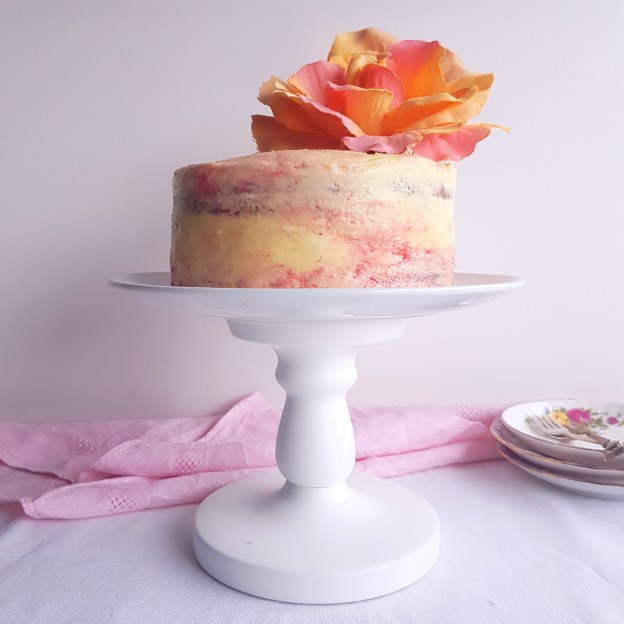
Optional: edible rose petals or other flowers.
INSTRUCTIONS:

Pre heat the oven to 180C/350F. Line a loaf tin with parchment paper.
In a large bowl add the dry ingredients and stir well to combine. Add the wet ingredients to a jug and beat together. Pour the wet ingredients into the bowl with the dry ingredients. Stir to combine.
Pour the batter into the tin.
Tap the tin a few times on the kitchen counter to remove any air bubbles.
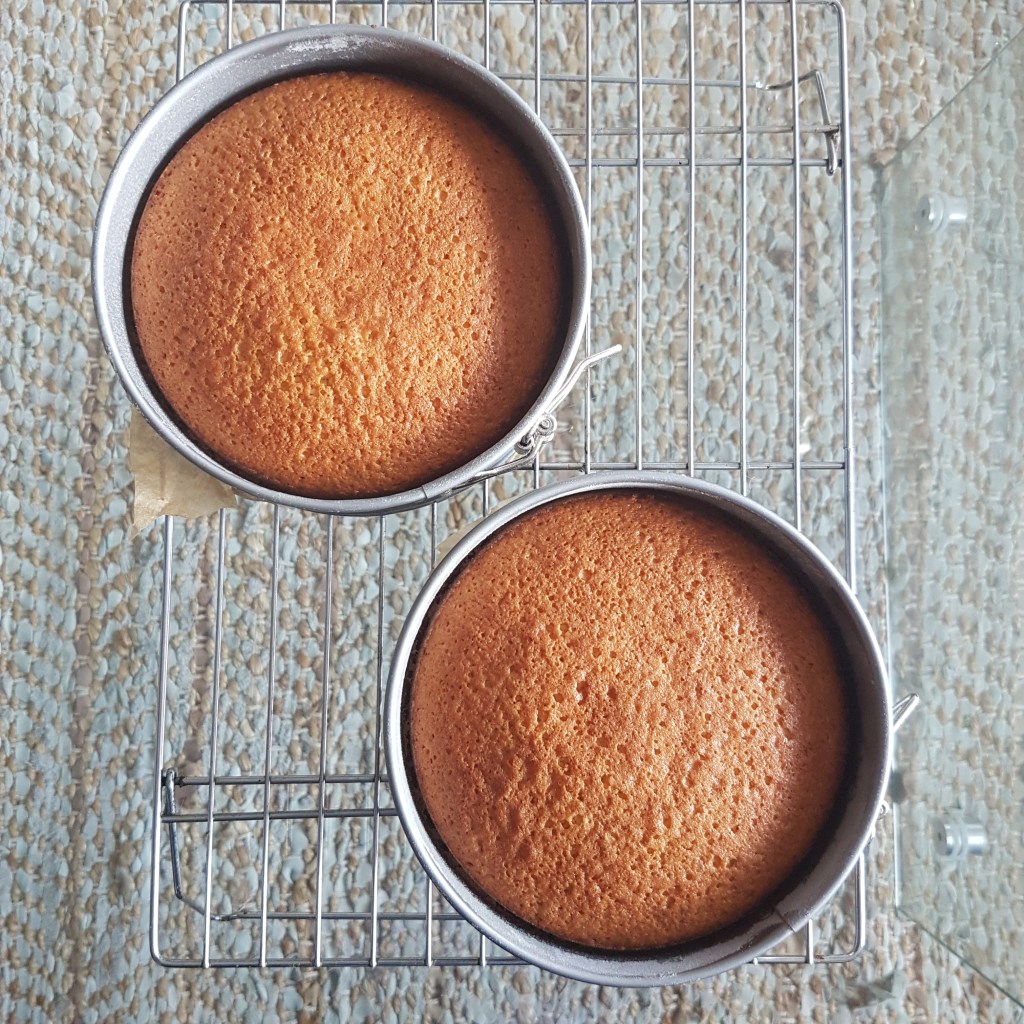
Place on the middle rack of the oven and bake for 50 minutes or until a skewer inserted in the middle comes out just dry.
Remove from the oven and let cool completely before icing.
To make the icing, combine icing sugar with lemon juice and mix until smooth.
Pour over cake in zig-zag pattern and sprinkle with dry (edible) rose petals. The rose petals are optional but look beautiful and also taste great with the pistachios.
Enjoy!