This is a super easy, no fail slow cooker recipe, put together in an instant.
Pulled Pork is one of my favourites to make and eat, since it’s packed with flavour and made with minimal effort. The Pork comes out very tender and juicy and stuffed into a sandwich, it’s scrumptious .
Once you’ve placed the ingredients in your slow cooker, you can pretty much forget about it until you’re ready to eat.
This is also great for crowds and parties since you can leave the finished pulled Pork in the slow cooker on the “keep warm” setting for at least an other two hours.
Alternatively, you can freeze half and eat the the remainder some other day. It will keep in the freezer for about two months.
⏰ Prep time : 15 minutes
🍴 Cooking time : 4 hours.
🍝 Serves : 6 – 8
INGREDIENTS:
1/4 cup packed brown sugar
1 tablespoons chili powder
3 tbsp smoked paprika
2 to 3 sprigs thyme, leaves only
2 cloves garlic, peeled and grated
2 teaspoons salt
1 tbsp. Worcestershire sauce
1/2 tsp cayenne
1 teaspoon freshly ground pepper
3 tbsp olive oil
3 1/2 – 4 lbs. boneless pork shoulder, trimmed of excess fat
___________
1/4 cup chicken broth
1/4 cup apple cider vinegar
3/4 cup barbecue sauce
INSTRUCTIONS:
• In small bowl, mix brown sugar, chili powder, paprika, thyme, garlic, salt, cayenne, ground pepper and olive oil to form a paste.
Rub mixture all over pork.
• Marinate for a few hours if you have the time, it will taste great either way.
• Place in slow cooker.
• Pour broth and 1/4 cup of the vinegar over pork. Cover and cook on High heat setting 3 hours.
• Add a little water if the sauce evaporates to quickly.
• Add the Bbq sauce and cook for about an other hour until completely tender. Check by pulling away some meat with a fork.
• Remove pork to cutting board, and shred using 2 forks. Return to slow cooker and cook on low heat setting for about 20 minutes or until warmed.
• To serve, split buns open, and scoop out s big ladle of pulled pork with sauce onto the bun, top with pickles and/or coleslaw and cover with top halves of buns, eat immediately.
• Have plenty of napkins ready!
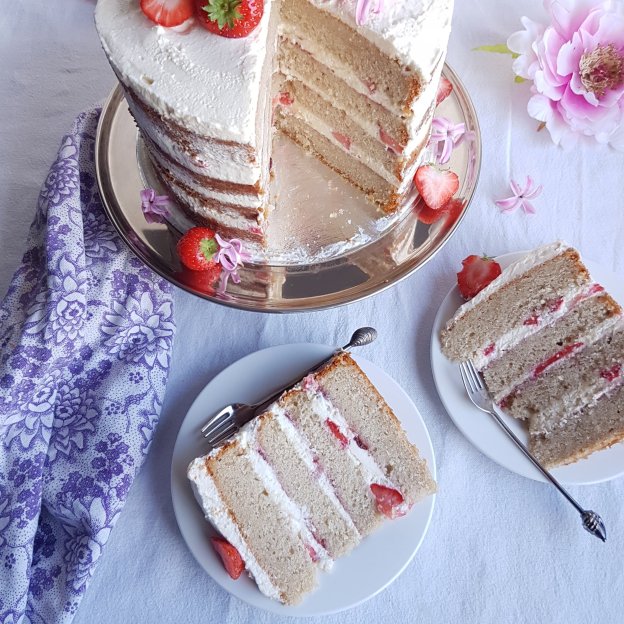
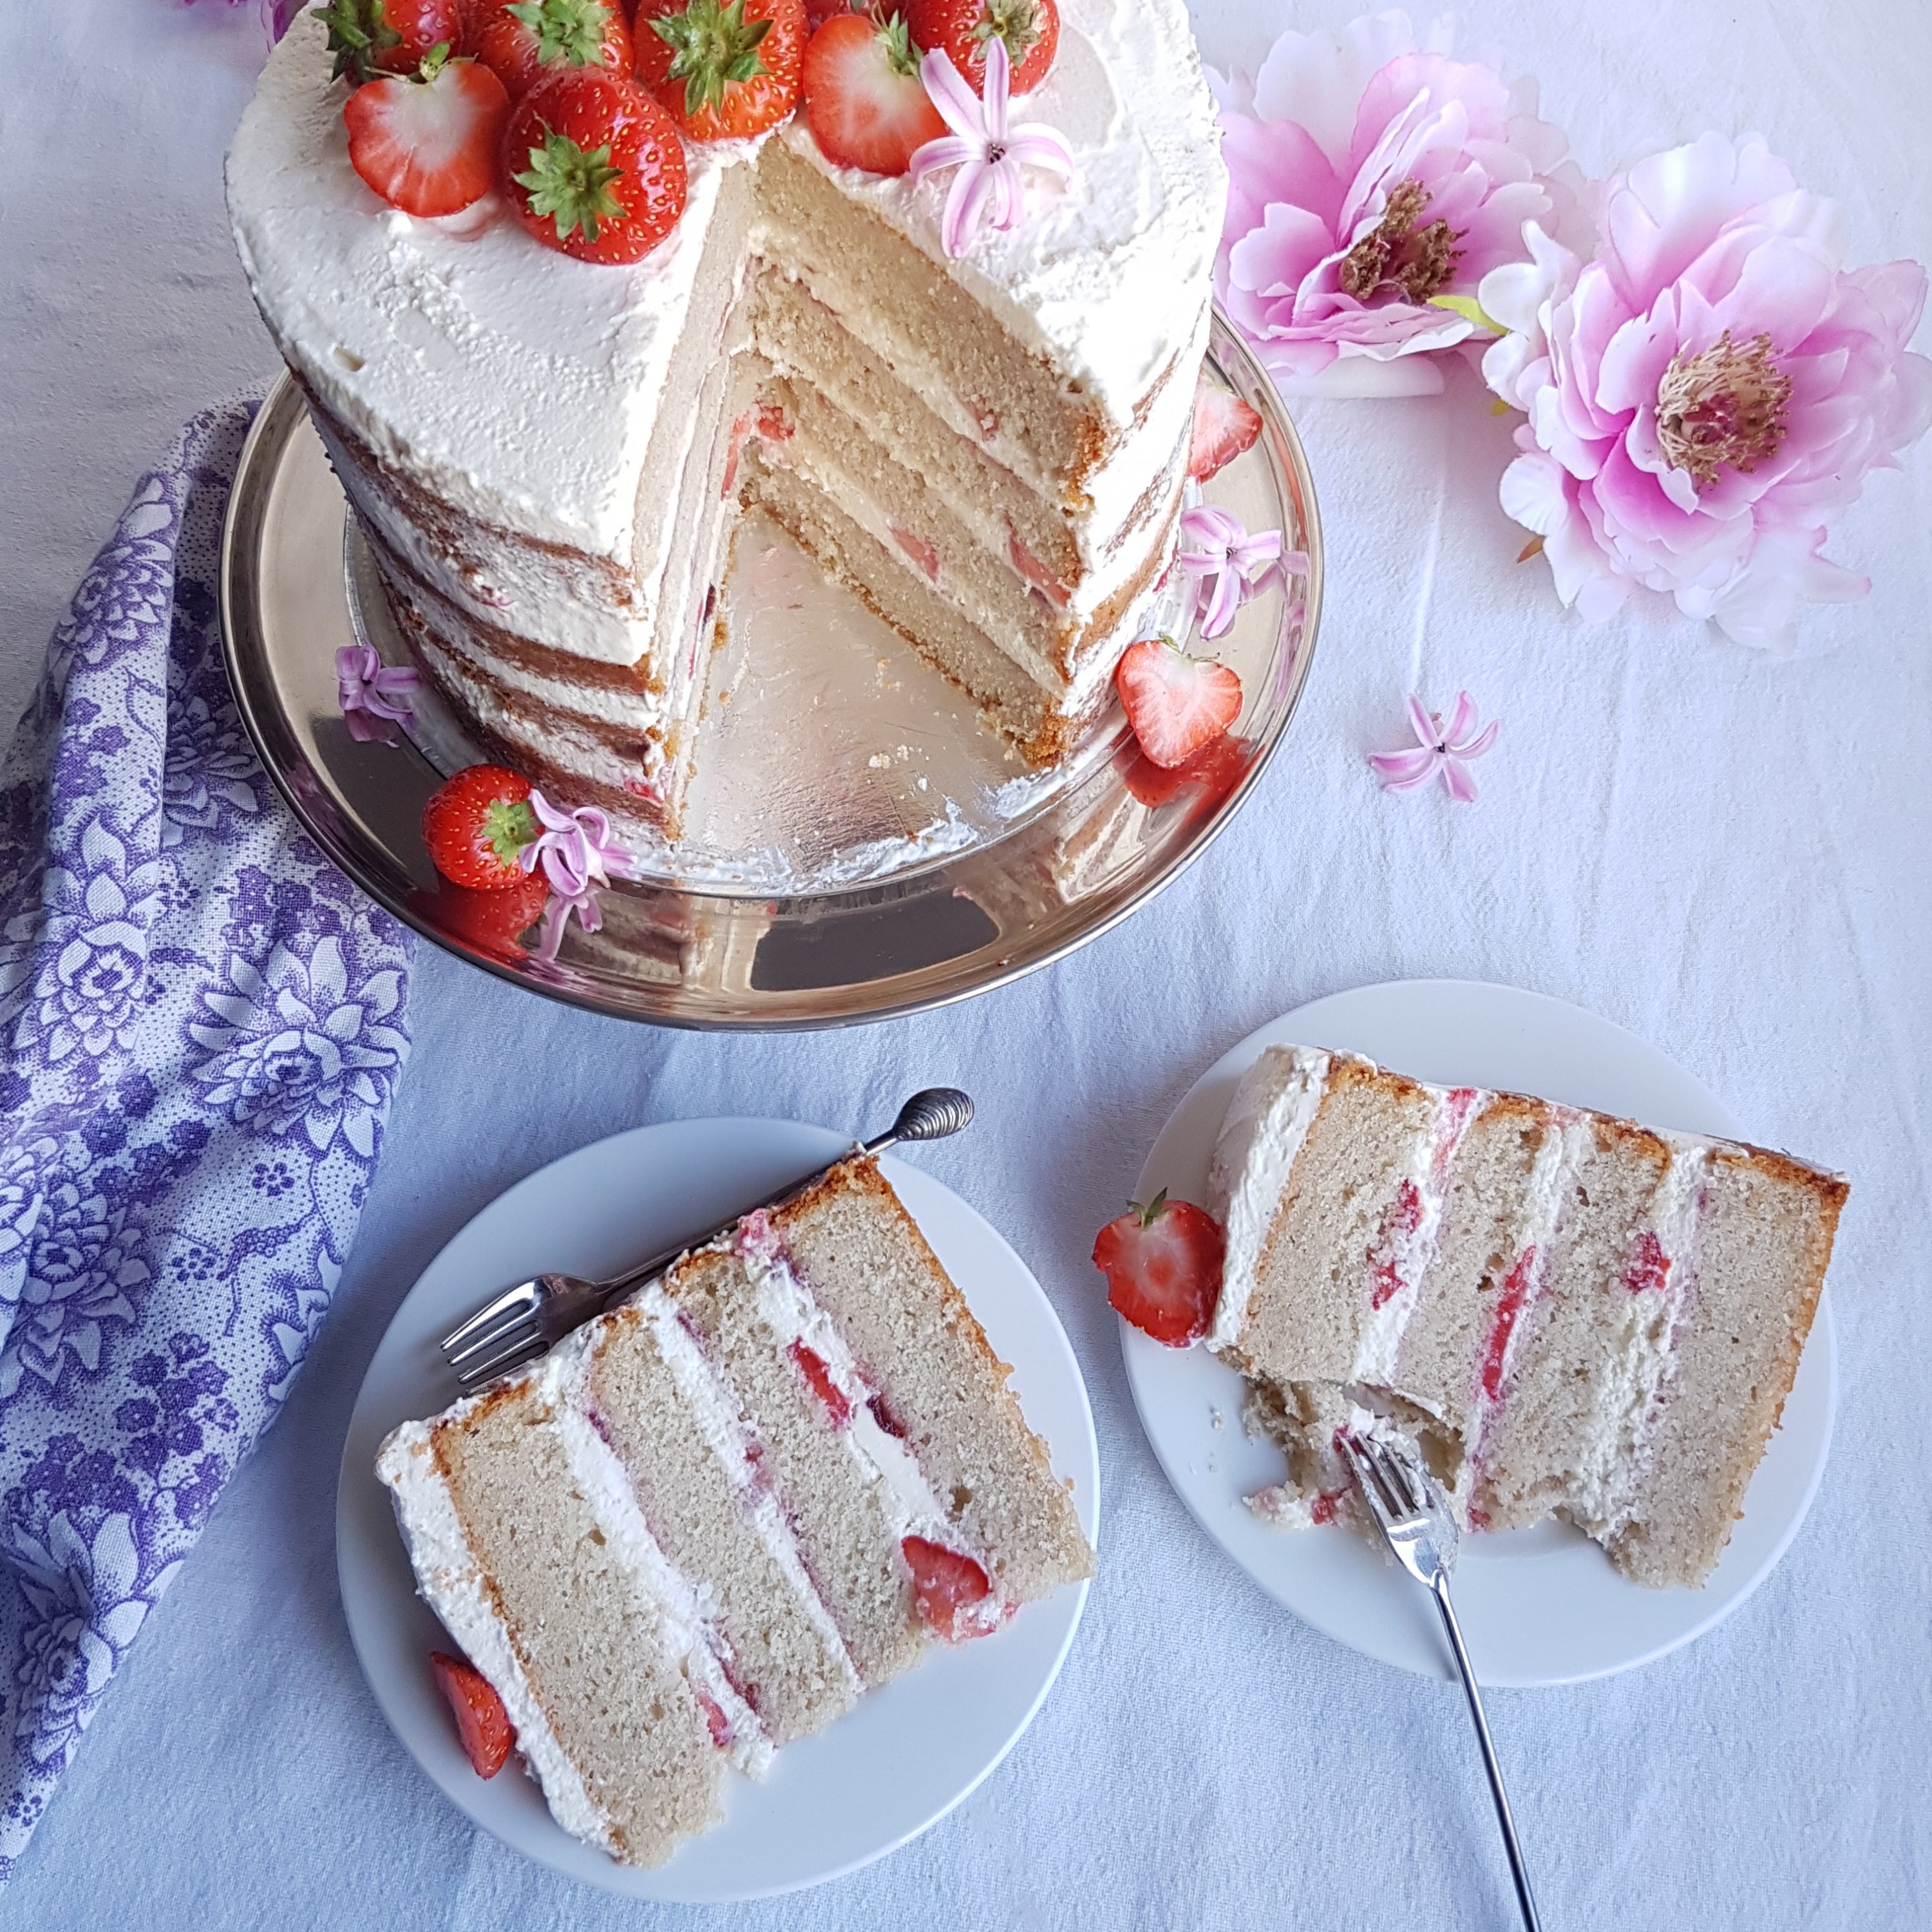
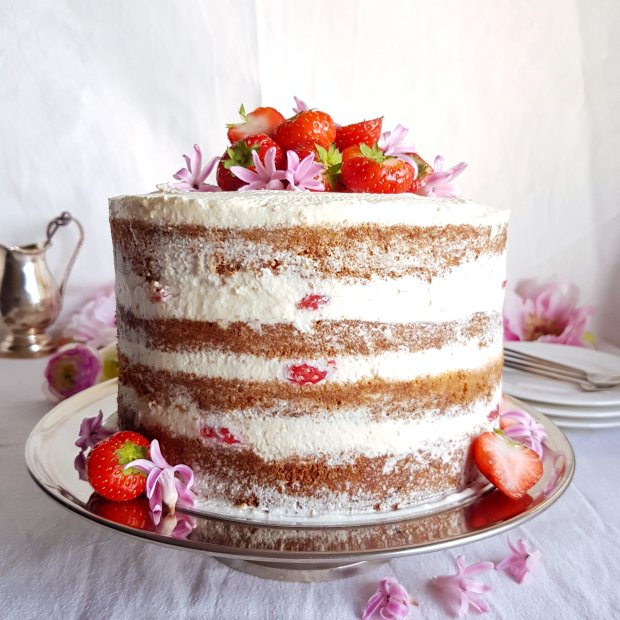
Vanilla Layer Cake with fresh Strawberries and white chocolate whipped cream cheese frosting.
Having a good homemade vanilla cake recipe in your repertoire will make life a lot easier for you. This particular cake is easy, light and full of vanilla flavor, so delicious and tender…and it’s pretty much the best vanilla cake recipe you’ll ever make!
So why not surprise your loved one this Valentine’s Day with this delicious vanilla cake with fresh strawberries and the most fluffy white chocolate cheesecake filling you have ever tasted? Having a good vanilla cake recipe is wonderful since you can always adapt the frosting or buttercream to adjust to your taste or mood. Making a cake from scratch is also very rewarding, just follow the steps in the recipe and before you know it… you’ve got yourself a home-made cake! This cake is actually fairly easy to make and has the most incredible vanilla flavour, the secret to success is having all the ingredients at room temperature. Then letting the cake cool in the tin after baking, these are important steps. The cake can also be made one day in advance and in fact I encourage you to do so, since that makes frosting even easier and there is less pressure for you.
The frosting is pure heaven, like white chocolate cheese cake but softer and spreadable.
INGREDIENTS:
Cake: 2 ¾ cups / 350 gr. all purpose flour* (see note) ¼ cup / 35 gr. corn starch 2 tsp./ 10 gr baking powder 1 tsp./ 5 gr baking soda ½ tsp. / 2.5 gr. salt 1 cup / 225 gr. butter at room temperature 1 ½ / 300 gr. cups sugar 4 eggs at room temperature 3 tsp./ 15 ml. vanilla extract 1 cup / 225 ml. full fat (Greek) yoghurt ½ cup / 120 ml. milk of choice ½ cup / 110 gr. good quality strawberry jam 2 cups / 400 gr. fresh strawberries
White chocolate whipped cream cheese frosting: 4 oz. / 112 gr. white chocolate, chopped 1 ¾ cup / 420 gr. cream cheese at room temperature 1 ¾ cup / 420 ml. whipping cream ¼ cup / 30 gr. powdered sugar 2 tsp. / 10 ml. vanilla extract 1 tsp. / 5 gr. gelatin powder
INSTRUCTIONS:
For the cake:
Pre heat the oven to 175 C / 350 F. Grease two 8”/20cm round baking tins, line them with parchment paper and grease lightly with some butter or oil. Cream the butter and sugar together in a stand mixer until completely soft and fluffy. Add the eggs one at a time, beating until each egg is fully incorporated. In another bowl combine all the dry ingredients. Mix the yogurt with the milk in a jug. Now set your mixer to the lowest speed and alternate adding flour and yoghurt mixture to the bowl with the butter and eggs, stirring after each addition. End with flour, stir to combine but try not to over-mix. Divide the batter between the pans and place in the middle of the oven on a rack. Bake for about 40 to 45 min or until a toothpick pierced in the center of the cake comes out clean and dry. Remove from oven and leave to cool on a rack for at least 15 minutes before removing the cakes from the baking tin. Cool the cakes completely before frosting.
If you do make the cake a day in advance, leave them in the tins and cover very well with foil when completely cooled and place in a cool place or in your fridge overnight. Leaving the cake overnight in fridge makes frosting so much easier, this is a tip I actually got in baking school.
For the white chocolate whipped cream cheese frosting; Melt the white chocolate in the microwave, for 20 seconds at a time, stirring each time in between. I do this on the defrost setting of my microwave which is about 450 watt, white chocolate burns faster than regular chocolate so you have to be careful. Meanwhile beat the cream cheese until completely smooth and soft in your mixer. Start adding the whipping cream in a slow stream with the mixer running on a low setting. Add the powdered sugar, vanilla and gelatin. Turn th speed to medium high and whip for about 4 to 5 minutes until nice and fluffy.
To assemble the cakes, cut each layer in half, spread three layers with strawberry jam, then about half a cup of frosting, spread out carefully over the jam. Place another layer of cake on top and repeat. The top layer only has frosting and no jam. Carefully spread more frosting all around the cake for a naked cake look. Decorate with more strawberries and flowers on the top and around the cake.
Enjoy ! Myra XO
If you make this Vanilla Cake, be sure to leave a comment! I’d love to hear from you and if you love it, pin it. And of course, if you do make this recipe, don’t forget to tag me on Instagram!
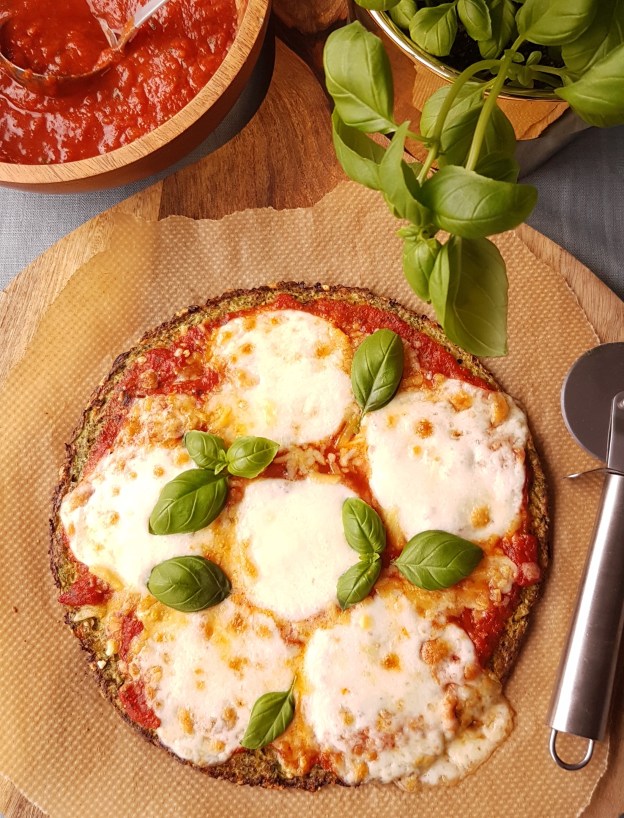
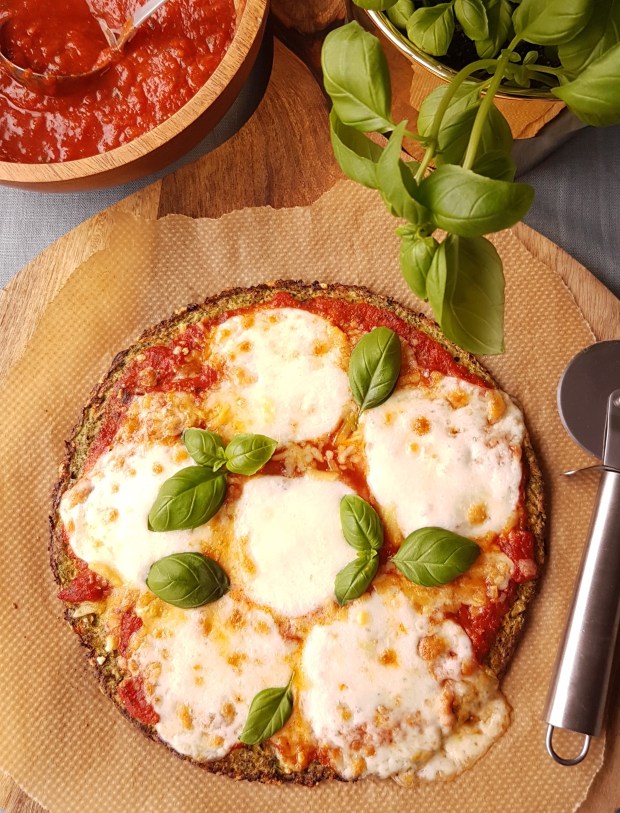
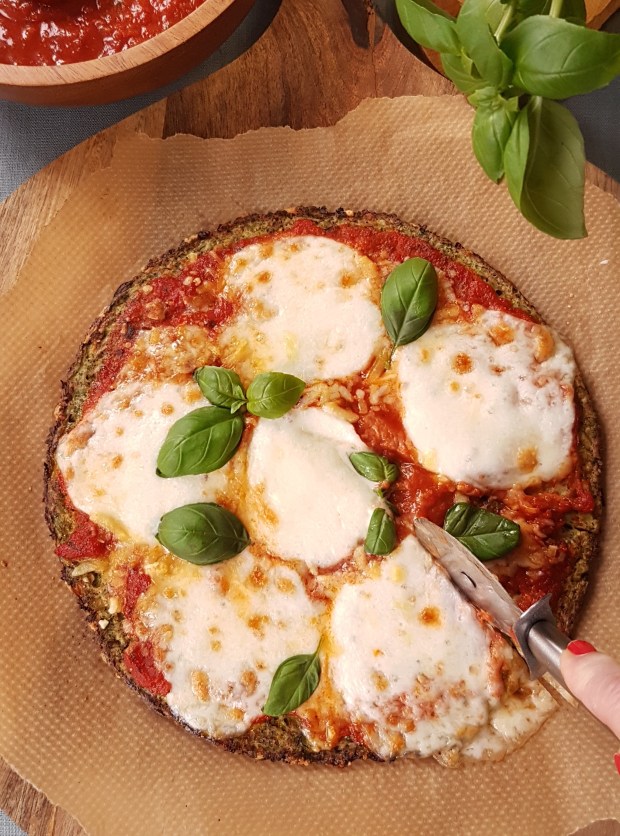
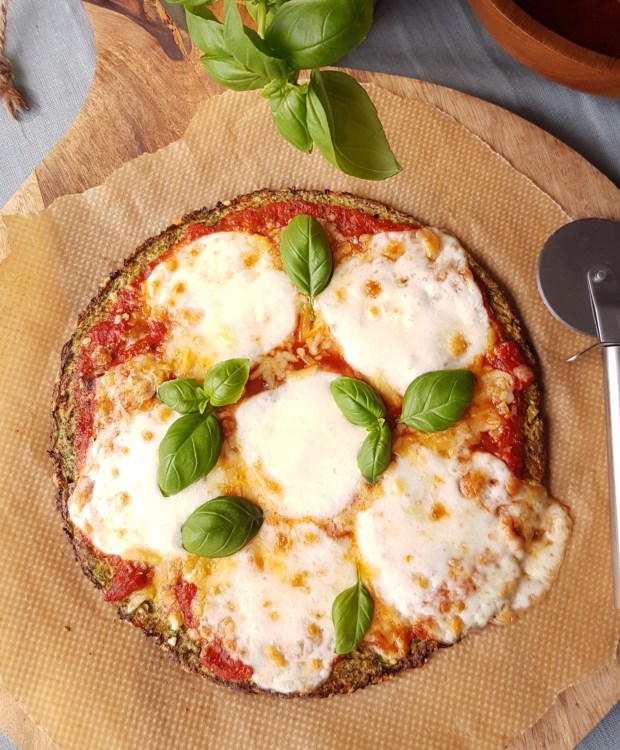
Cutting down on carbs doesn’t mean cutting down on flavour or delicious food. Yes, you can have it all. This Broccoli based pizza is proof!
It’s actually pure heaven, full of cheesy goodness and you’re eating a lot of veggies at the same time.
This Broccoli Pizza base is very easy to make and will satisfy all your Pizza cravings.
Makes 1 large base or two small ones
INGREDIENTS:
Broccoli Crust:
• 1 small head of broccoli cut into florets (about 2-3 cups riced)
• 2 eggs
• ¼ cup parmesan cheese
• ¼ cup mozzarella cheese
• Salt and pepper
• ½ teaspoon Italian seasoning
Toppings:
• ¼ cup pizza sauce
• 4 ounces mozzarella — sliced or shredded
• Pizza toppings of choice, onion, tuna, ham, salami etc…
INSTRUCTIONS:
Preheat the oven to 200 C / 400 F degrees. Line a rimmed baking sheet with parchment paper or a silicone baking mat, do not skip this step or your crust will stick to the pan.
Place half of the broccoli florets in a food processor fitted with a steel blade. Pulse in 5-second bursts until the broccoli is in fine crumbs, place in a large microwave safe bowl. Repeat with the remaining broccoli florets.
Cover the bowl (I cover with a plate) and microwave on high for 2 minutes or until it is steamed. Remove plate and let cool for two minutes then pour broccoli onto a clean kitchen towel and squeeze out as much liquid as you can until you are left with dry rice.
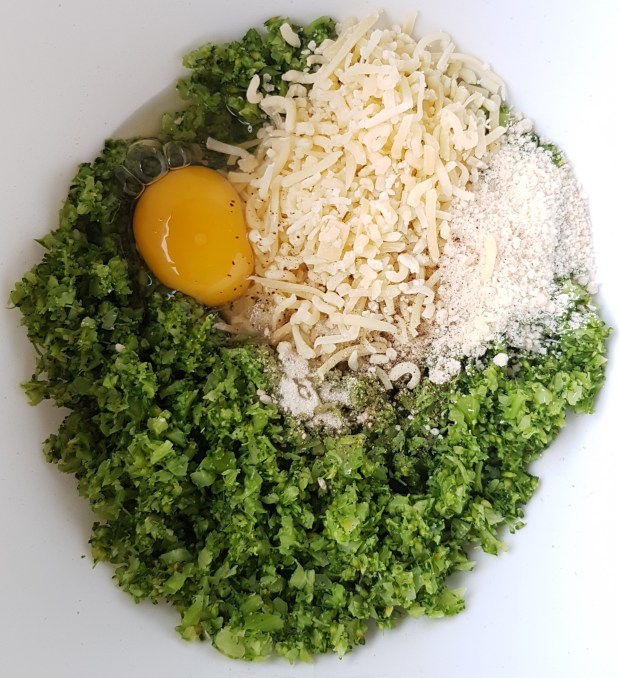
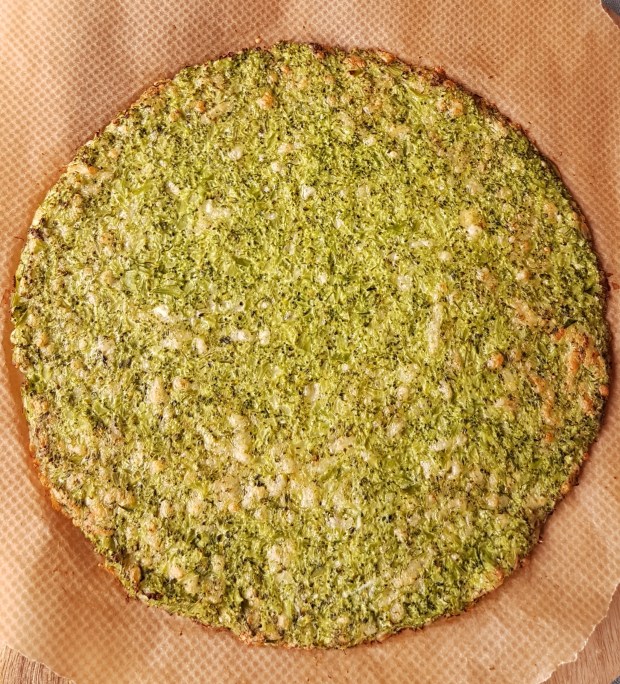
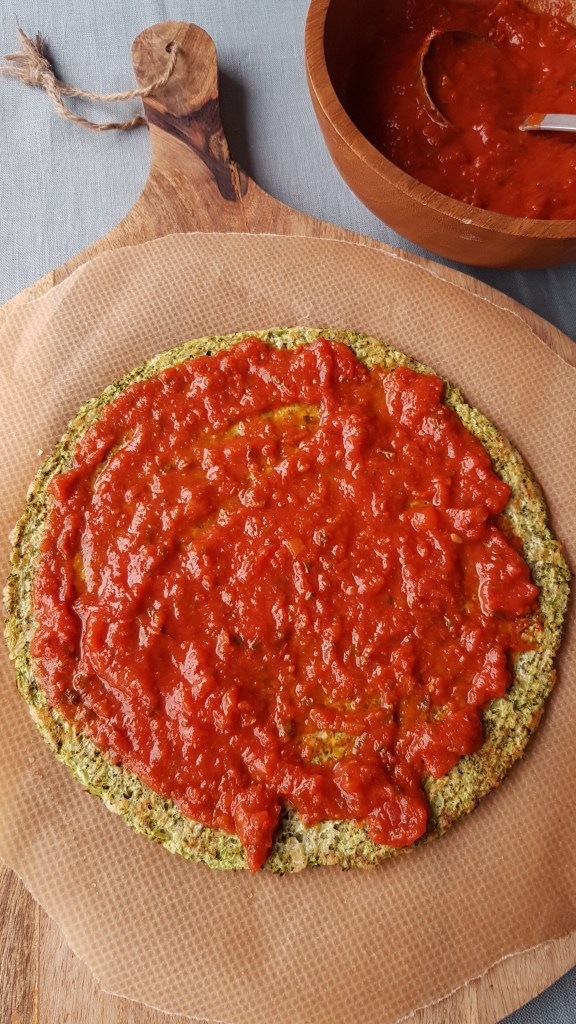
In a large bowl, combine the broccoli rice, eggs, cheeses, and seasoning with a spoon until fully combined. Pour mixture onto the pre-lined baking sheet and shape into a pizza crust, about 1/2 inch thick.
Bake for 10-12 minutes or until crust is lightly browned. Remove from the oven and add the pizza sauce and cheese. At this point feel free to add desired toppings (veggies or meat). Return to the oven and bake for an additional 10-12 minutes or until the cheese is fully melted. Let sit for a few minutes before cutting. Sprinkle with some fresh Basil.
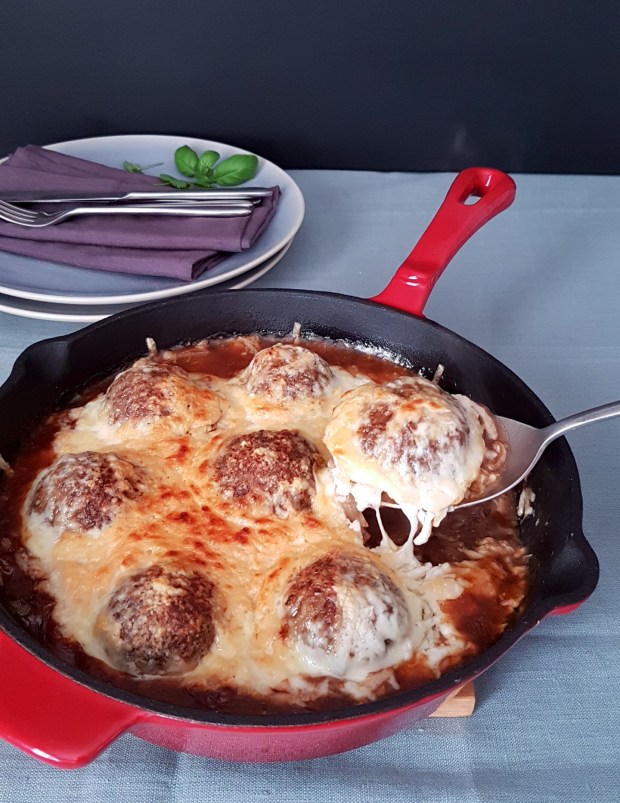
Meatballs loaded with onion sauce and finished off under the grill to melt all that cheese to golden perfection. These are the kind of dishes that make me wish winter would last forever.
You can serve these with mashed potatoes, over pasta or even in a bun.
The meatballs in this recipe are medium large intended for dinner, but you could make them a lot smaller and then serve them as an appetizer for a party with little wooden skewers in them.
Serves: 4 – 6
INGREDIENTS:
1 lb ground beef
1 clove garlic, peeled and crushed or grated
1 egg yolk
2 – 3 tbsp. panko bread crumbs
1 tsp salt
ground black pepper
1 tbsp fresh parsley
1/4 tsp ground nutmeg
———————————-
4 medium onions, peeled and sliced
2 tbsp. olive oil
1 tbsp. sugar
2 tbsp. flour
2 cups beef stock
1/4 tsp. ground cumin
1 cup grated cheese*
*Cheddar , Gouda, Asiago, Fontina, Gruyère, Havarti, Monterey Jack are all great cheeses for melting and grilling, use any one or make a mix.
INSTRUCTIONS:
Pre heat the oven to 220° C / 425° F
For the meatballs, place all the ingredients in a large bowl and mix with your hands. Don’t overmix. Form 8 meatballs.
Put them in a oiled oven dish and place in the middle of the oven. Bake for about 20 minutes. I use a cast iron skillet but a baking dish is fine too.
Meanwhile heat a large frying pan and glaze the onions on medium low heat in the two tablespoons of olive oil, add a pinch of salt. Partially cover and let cook for about 20 minutes. Stirring now and again. After the 20 minutes add one tablespoon of sugar and stir around until in begins to caramelize and gets a deep golden color.
Add the two tablespoons of flour and again stir until this too gets a golden color.
Gently add the beef stock and stir to completely combine. Add the cumin and let simmer for 10 minutes.
When the meatballs are cooked take them out of the oven and carefully pour over all the onion sauce.
Set the oven to grilling.
Cover the meatballs and onions with the grated cheese and place back in to oven. Grill for about 5 minutes until golden brown and bubbling.