Category Archives: Food Blog

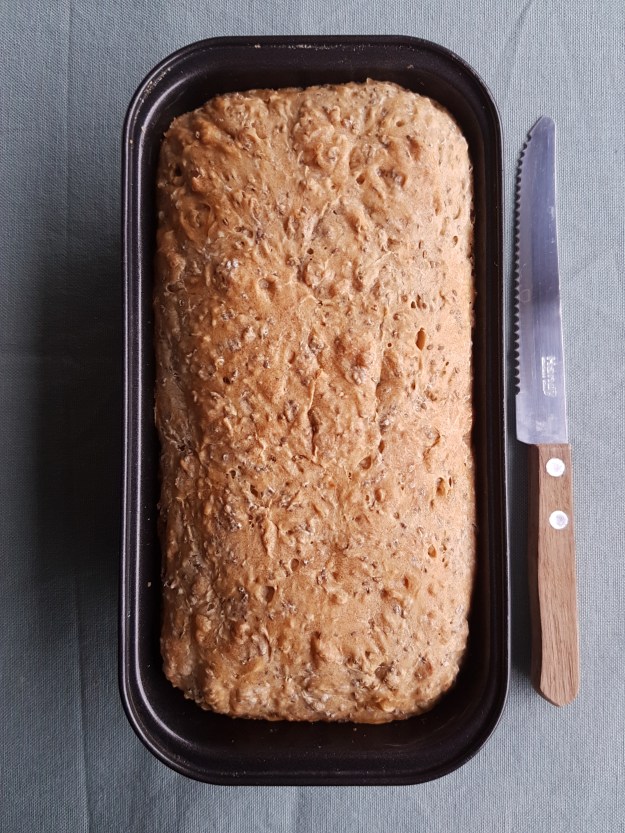
Chia Seed Bread

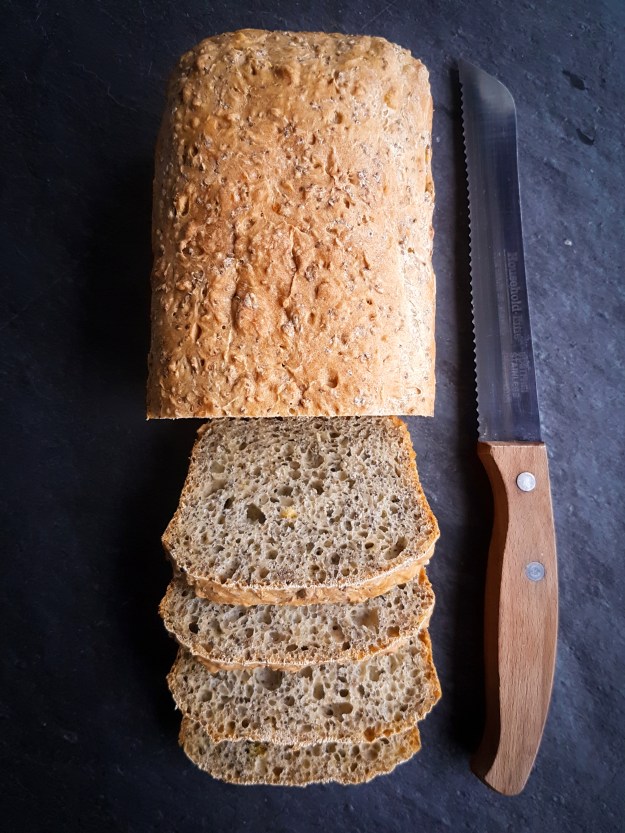
Hello Folks, I just need to tell you about my new Chia Bread. My absolute favourite bread as of now.
It’s easy, nutritious, delicious and soooo all round good. You just have to try it. The Chia seed works as a moisturizer for the bread so it doesn’t dry out for….well at least two days, because that’s how long mine lasted. But it would have kept for another day, for sure. Normally home made (natural) bread goes stale within a day. But this one stay nice and fresh for days.
It’s high protein and high fibre, but mostly I can’t stretch enough how yummy it tastes.
I have a lot of favourite breads and I absolutely adore baking bread, like  Fig walnut bread, High Fibre Health Bread or  Norwegian Bread .
But I feel that this is the easiest one.
There is no real baking skill involved so don’t worry if you’re not an every day baker. All you do is knead and bake.
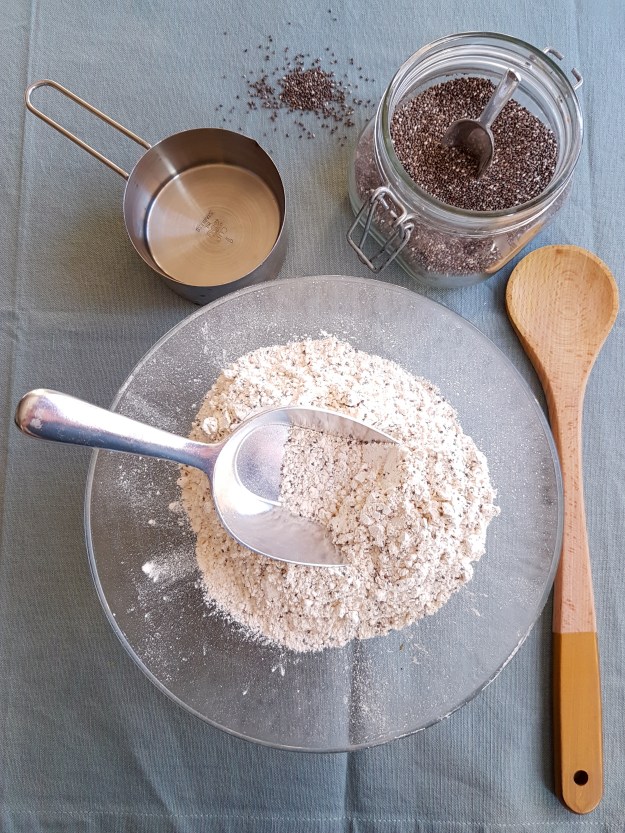
The smell from the oven will make it the best day of the week with a full sense of accomplishment.

Let’s do this!
________________________________________

Prep time : 10 minutes
Cooking time : 50-60 minutes
Makes : 1 small loaf

INGREDIENTS:

  • 340-360 ml hand warm water, about 1 1/2 cup
  • 1 sachet instant yeast, 7 grms. / 1 1/2 tsp.
  • 1 cup whole grain spelt flour
  • 1 cup plain spelt flour
  • 30 grms. / 2 tbsp. chia seeds
  • 1 tsp. salt


INSTRUCTIONS:

Pre heat the oven to 210°C / 410° F
NOTE: Don’t add all the water in the beginning, leave out about a quarter cup and add the remainder if it seems dry.
Put all the ingredients in a mixer equipped with the hook attachment and knead for 5 minutes.
Turn out the dough onto a lightly floured surface and knead for another minute or so and shape into a loaf.
Place the dough in a 20cm / 8″ loaf tin, and cover loosely with cling film that has been sprayed with a little oil.
Let it rise for about an hour. This bread will not rise as much as a conventional loaf, just a bit above the tin.
Place in a pre heated oven and bake for 50-60 minutes.
Check after 50 minutes, by tapping on the bread, If it sounds hollow already insert a wooden skewer. If it comes out dry, remove the bread from the oven.
The baking time also depends on your oven, so be sure to check. Although this bread is very forgiving.
Remove from oven and let cool on a rack before slicing.

Serving tip: A thick slice topped with avocado mash, coarse sea salt and a squeeze of lime.

Enjoy,
Myra XO

Buffalo Pulled Chicken Enchiladas

The creamiest Enchiladas you will ever make, slightly spicy and so delicious.  Perfect comfort food, for any time of year and any left overs freeze well.
I served it with a salad and it was more than enough for four people since they’re quite filling.
You could also feed six people from this recipe and serve with a side of  rice and beans,  a salad or some corn.

Serves: 4 – 6
________________________________________
INGREDIENTS:
• Buffalo enchilada sauce
• 3 small chicken breasts or two large
• salt and pepper for the chicken breasts
• 1/2 C. cream cheese, softened and at room temperature
• 2 cups mozzarella
• 1 sliced avocado to serve
• some pomegranate seeds for decorating (optional)
• 8 medium Tortillas, soft
• 1/4 C. sour cream to serve

BUFFALO ENCHILADA SAUCE:
• 1 tbsp. olive oil
• 1 tbsp. flour
• 1 tbsp. taco seasoning
• 1 can chopped tomatoes
• 1 can water (from the tomatoes )
• 1 tsp. dried oregano
• a dash of cinnamon
• 1 tsp. coconut sugar
• 1 tsp. honey
• 1/2 tsp Buffalo Hot sauce like Frank’s (or more), taste as you go!!

METHOD:
Add oil to a pan and add the flour. Cook for two minutes on medium high and add the seasoning and give it a stir.
Add the remaining ingredients and let simmer for about five minutes.
Blend the sauce at this point with a hand held blender for a smooth result.
Season the chicken breasts with salt and pepper.
Place the chicken breast in the sauce, bring to a simmer and cover partially. Let simmer for 15 to 20 minutes depending on the thickness of the chicken breasts.
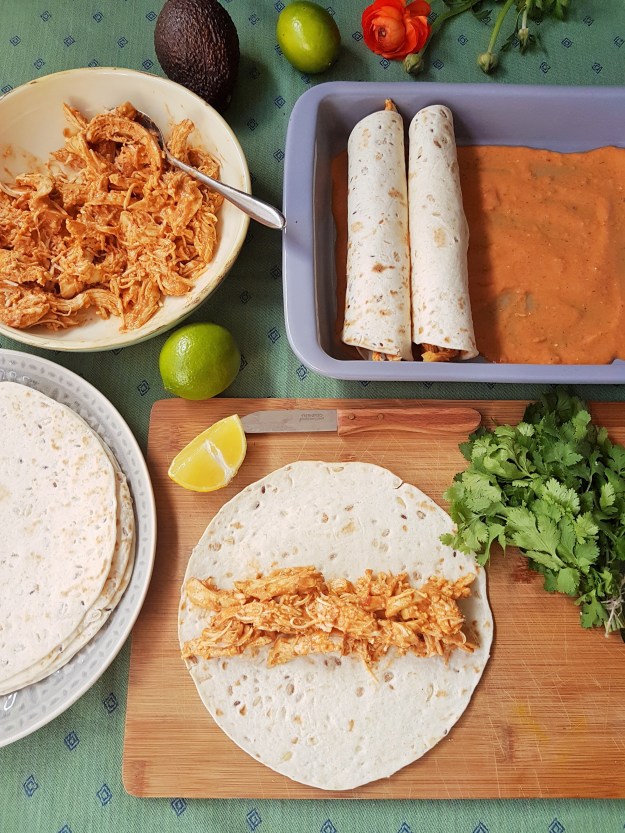
Remove the chicken breast form the sauce and place on a large plate, shred with two forks.
Mix the sauce with the cream cheese.
Place one cup of the sauce mixture over the shredded chicken together with 1/2 cup of grated mozzarella. Mix with a spoon.
Cover the tortillas with a damp cloth or kitchen towel and heat for 30 seconds in the microwave to soften.


Divide the chicken mixture over the tortillas and roll them up.
Get out a baking dish and cover the bottom with a thin layer of sauce.
Place the filled tortillas on top with the seam down.
Lightly spray the tortillas with cooking spray. This will help the tortillas turn golden in the oven. Place baking dish in the oven, uncovered, for 8-10 minutes or until the tortillas begin to turn golden.
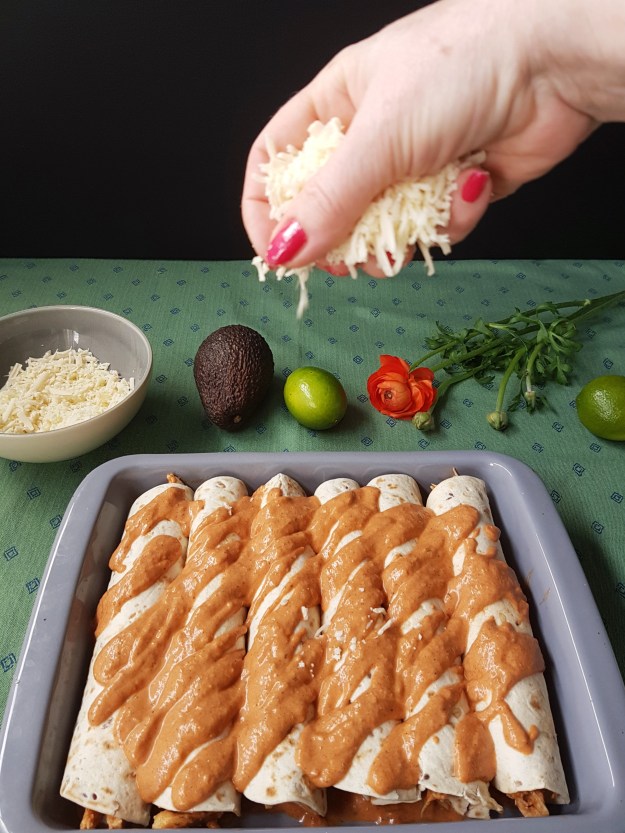
Remove the baking dish from the oven. Pour the remaining sauce over the enchiladas and sprinkle remaining cheese over the sauce.Lightly cover baking dish with aluminum foil and place into the oven for 20 minutes. Remove foil after 20 minutes and bake, uncovered, for an additional 10 minutes or until the cheese is golden. Remove from oven.
Pour over the sour cream and place sliced avocado on top. Sprinkle with pomegranate seeds.
Note: if kids are eating it might be an idea to omit the hot sauce all together and put the bottle on the table for the adults to add.
Enjoy!
Myra XO

Melted Grilled Cheese Dip

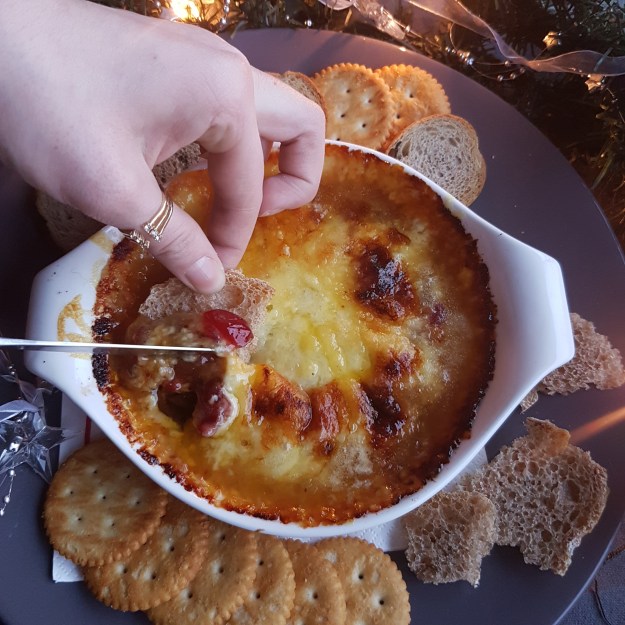
This has to be my favourite starter, and anyone who loves cheese will go mad over this. I mean who doesn’t love melted cheese?
The great thing about this recipe is that you can use any leftover cheese you may have lying around, they just have to be full fat ,  light cheeses don’t really melt properly and end up being rubbery.
You want the whole melted gooey, cheesy, stringy experience.
On the bottom of the dish there is a layer of onion confit, made by cooking a lot of onions with some brown sugar and dark balsamic vinegar. You can make your own or use a jar of store-bought onion jam or onion chutney whichever you prefer. Or even just golden fried onions will work too.
Then it’s topped with a layer of Cranberry sauce, again store-bought is fine or make your own.
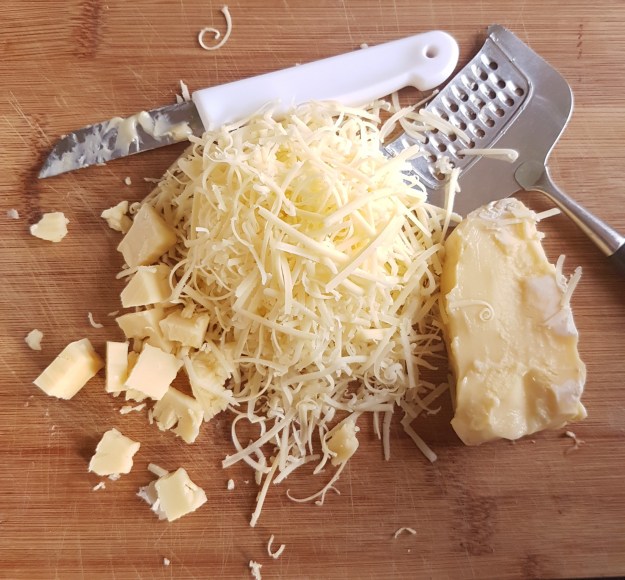
Finally the whole thing is topped with mixed grated and cubed cheeses. Use whatever you have lying around. I tend to make it with leftovers, so each time its a bit different, sometimes with some added Gruyère or Roquefort, and every time its delicious and disappears in about 10 minutes (and that’s because guests are trying to polite).
It’s made in about 10 minutes plus oven!!!

⏰ Prep time : 10 minutes
🍝 Cooking time : 20 minutes
🍴 Serves : 4 as a starter
________________________________________
INGREDIENTS:
• 1/2 Cup Onion Confit , Onion jam or Onion chutney
• 1/2 cup Cranberry Sauce
• a grating of pepper
• 2 tbsp. milk
• 2 tsp cornflour
• 150 gr / 5.2 oz Brie, crust remove and cut into cubes
• 150 gr. / 5.2 oz Cheddar, grated
• 100 gr. / 3.5 oz Gouda, grated

INSTRUCTIONS:
1. Pre heat the oven to 220 C / 425 F
2. Place all the cheese in a bowl.
3. Mix the milk with the corn flour and mix through the cheeses.
4. Get out your baking dish and spread the onion jam, confit or chutney on the bottom
5. Then top with a layer of the cranberry sauce.
6. Cover with all the cheese from the bowl.
7. Place in the middle of a hot oven and bake for about 20 minutes until golden and bubbly.
8. Place on a big plate surrounded by crackers and bread and serve straight away.
Enjoy!
Myra XO

Oreo Cheesecake

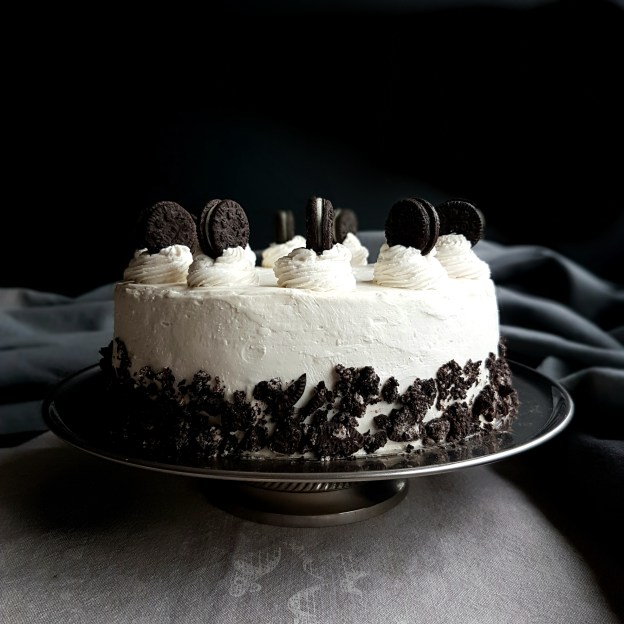
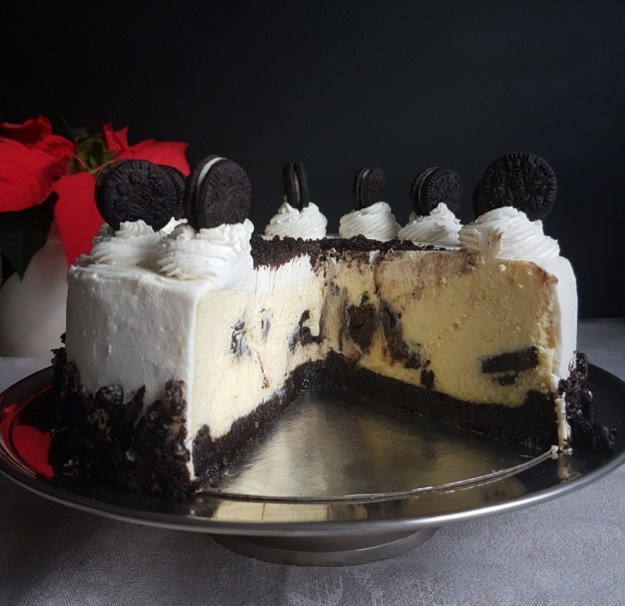
This cheesecake is such a show stopper! Creamy like you’ve never tasted before. Filled with Oreo cookies on an Oreo cookie base and the wonderful thing about this recipe is that it’s quite straight forward, for the crust you just crush the Oreo cookies with filling and all, add a little melted butter and done.
The filling is really simple too, so creamy and hands down my favourite cheesecake recipe. Unless you don’t want to bake in which case you’d probably be better off with something like this no-bake white chocolate cheesecake with Raspberry swirl , or if you just need a small cheesecake fix you can make these Berry Cheesecake crumble bars instead.
Either way, this cheesecake is thick, rich and dangerously decadent and a must try!

Prep time : 20 min

Baking time : 45-50 min


INGREDIENTS:

• 250 grs / 9 oz / about 22 cookies for crust
• 8 cookies for filling, quartered or roughly chopped
• 3 tbsp. melted butter
• 850 gr. / 3 ¾ cups cream cheese at room temperature
• 1 cup sugar
• 2 teaspoon vanilla
• 1 tbsp. all purpose flour
• 3 large eggs plus 1 yolk at room temperature

INSTRUCTIONS:

1. Heat oven to 350 F / 180 C. Place the cookies for the crust in a resealable plastic bag. Flatten bag to remove excess air, then seal bag. Finely crush cookies by rolling a rolling pin across the bag. Alternatively crush cookies in a food processor by pulsing until completely crumbled. Place in a bowl and add the melted butter, mix well. Press firmly onto bottom of 8 inch/ 20 cm. non-stick spring form pan. Place in the freezer while you make your filling.
2. Beat cream cheese, flour, sugar and vanilla in large bowl with electric mixer on medium speed until well blended. Add eggs, 1 at a time, beating until blended after each addition. Quarter the remaining 8 cookies. Gently stir into cream cheese batter. Pour over prepared crust.
3. Place on a rack in the middle of the oven and bake at 350 F/180 C for the first 20 minutes, then lower the temperature to 320 F / 160 C. Bake for 45 to 50 minutes or until center is almost set. Turn off the oven and open the door just a tiny bit (I put a large wooden spoon in the opening or a folded tea towel), leave the cheesecake in the oven for another hour. This will prevent the cheesecake from cracking*. Cool at room temperature until no longer warm to the touch. Then refrigerate for at least four hours but preferably overnight.
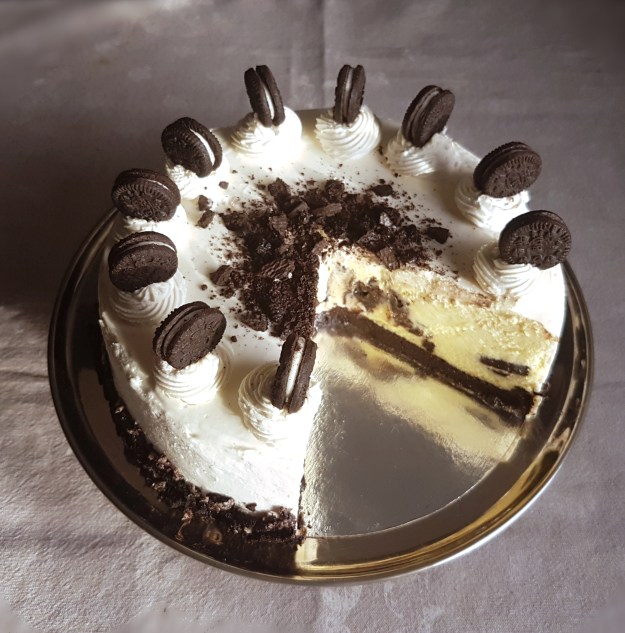
4. When ready to serve, decorate with whipped cream and tiny Oreo cookies if desired. I like to remove the cheesecake one hour before consuming so the cheesecake isn’t too cold.

*the trick to a perfect cheesecake is to NOT remove it from the oven straight after baking, and don’t open the oven door during baking either. This will make it crack. If that does happen any way, it’s not the end of the world, just sprinkle with crushed cookies, or decorate with fruit, Gananche or whipped cream.

Enjoy!
Myra XO

oreocheesecake