Category Archives: Food Blog

Slow Cooker Red Cabbage

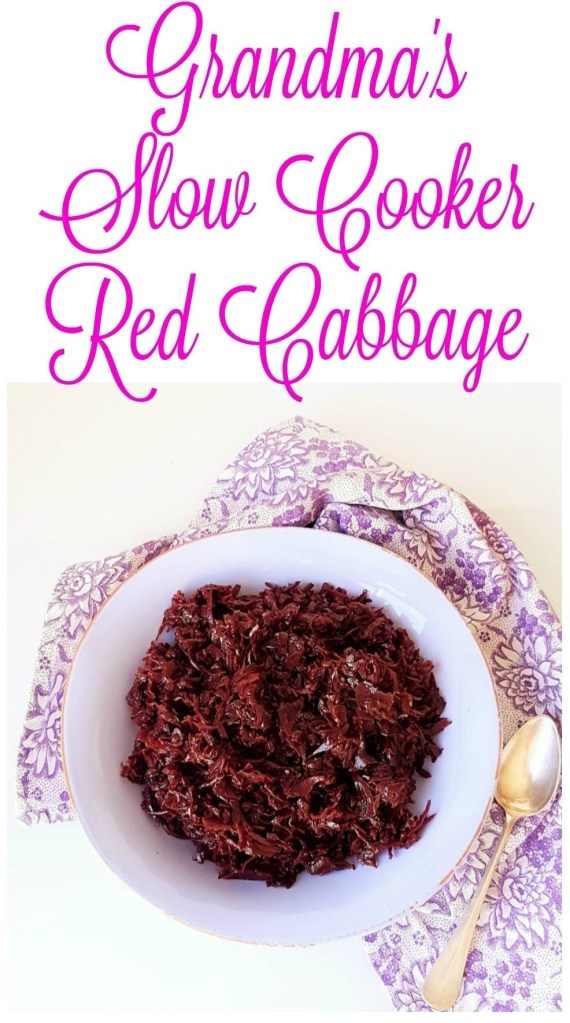
My Grandma’s Slow Cooker Red Cabbage

Slow Cooker Red Cabbage

My Grandmother was a lively, determined and courageous woman with great style. She kept a beautiful house, and was also a great cook. Not necessarily exquisite cuisine, but more of an everyday cook. Also super fast and very inventive.

She didn’t own a crock pot in those days, but I do remember her slow cooking on a Paraffin Stove.
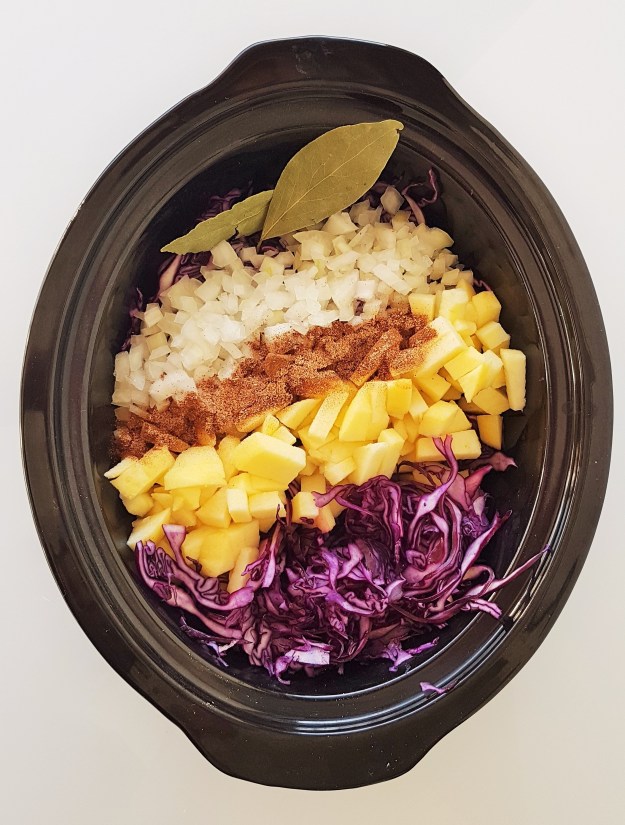
Slow cooked Red Cabbage with apples and spices, just the smell reminds me of her and my mother who has cooked the same recipe for over half a century. To me this is home cooking.
I don’t make it very often but when the temperature drops it’s just what you need, home made cozy comfort food.


Serves : 6-8
INGREDIENTS:

Slow Cooker Red Cabbage

Slow Cooker Red Cabbage

2 tbsp. butter
1 medium red cabbage, shredded on a mandoline or cut thinly with  knife
1 medium onion, peeled and chopped fine
2 medium apples, peeled and diced small
1/4 tsp. ground dry ginger
1/4 tsp. ground cloves
1/4 tsp. ground cinnamon
1/4 tsp. ground all spice
2 bay leaves
1/4 Cup  sugar
1/4 Cup apple cider vinegar
1 1/4 Cups water
1/4 Cup red wine (I use alcohol free wine so that works fine too) or more water

Slow Cooker Red Cabbage

METHOD:
This couldn’t be easier.
Place all the ingredients in the slow cooker, toss very well.
Set the cooker to high and put on the lid. Leave to cook for 5 to 6 hours, depending how hot your slow cooker is. The water amount is just right for my slow cooker, but half way through cooking check to see how you are doing on the liquid, it shouldn’t get dry. Add a little water if necessary.
This is one of the few vegetable dishes that you want well cooked.

Enjoy!

Myra XO

Spiced Roast Chicken

This is our go-to roast chicken recipe. It’s one of my favourite recipes, and I use it again and again because it always turns out great without too much effort. Pretty much fool proof.
It’s a combination of Mexican flavours, but also Smokey Bbq.
The spice mix is easy to make with ingredients you probably already have in your spice cabinet and it’s great on all sorts of things like burgers, chicken tenders fried up in a pan or even just oven-fries.
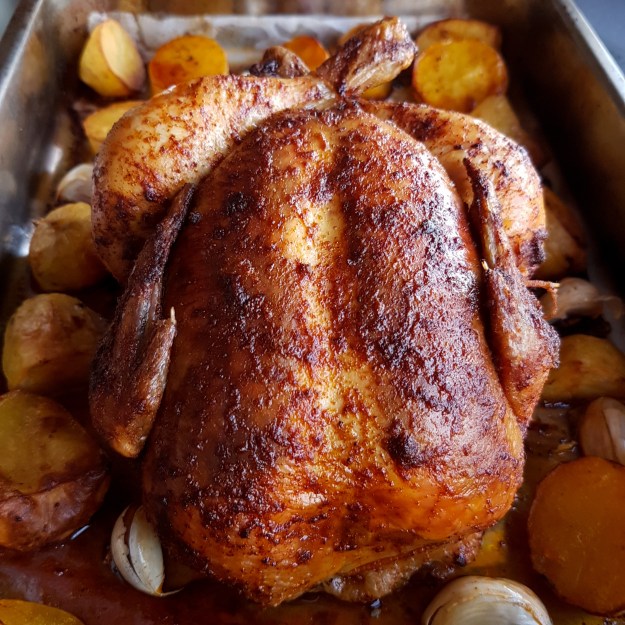
The Chicken gets a beautiful deep golden crust, the flavor is smokey, spicy, salty and sweet all at the same time.


Cooking time : 2 1/2 hrs.

Prep time : 20 minutes

INGREDIENTS:

SPICE RUB:

• 3 tsp smoked paprika
• 1 ½ tsp salt
• 2 teaspoons brown sugar or coconut sugar
• ½ teaspoons crushed dried chili flakes
• 1 teaspoon freshly ground black pepper
• ½ teaspoon garlic powder
• ½ tsp. Onion powder
• 1/4 teaspoon cumin
• A pinch of cinnamon
• 3 tablespoons olive oil

CHICKEN:

• 3 pound chicken
• 2 heads of garlic separated into cloves
• Thyme, rosemary, bay leaf

ADDITIONAL:

• Potatoes, peeled and quartered

INSTRUCTIONS:

Pre heat the oven to 160 C / 320 F
Wash the chicken with cold water and pat dry with kitchen towel. Sit on a board.
In a bowl mix the ingredients for the spice rub and add the oil to form a thick-ish paste.
Hold the chicken with one hand and with the other loosen the skin by inserting a finger between the skin and the breast forming a pocket. You can also do this by using the back of a wooden spoon. But be gentle as not to break the skin.
Put a few teaspoons of the past under the skin and spread out, repeat with the other breast.
Rub the remaining paste all over the chicken and inside the cavity.
Tie the legs together with kitchen twine.
In the cavity insert the herbs and one head of garlic separated into cloves.
Place the chicken in a roasting tin that has been lined with baking paper (easier to wash up) .
Cover (only the chicken and not the entire tin) very loosely with a piece of tin foil that is the same size as the chicken.
Place in the middle of the oven and bake for two and a half hours. Basting twice during cooking, by pouring the juices from the baking tray over the chicken.
After one hour add the potatoes and toss thru the juices and fat in the tin.
After an hour and a half, remove the tin foil.
Bake until golden and crispy.
Remove from oven and let rest for 15 minutes, loosely covered with foil.

Enjoy!

Myra XO

Pumpkin Loaf

Pumpkin Beer Bread

Pumpkin Beer Bread

Everywhere I look, it’s Pumpkins, Pumpkins, Pumpkins… and I’m loving it.
I can’t get enough of Pumpkins, I eat them all year round (thanks you frozen pumpkin).
But since I’ve been thinking a lot about Pumpkins lately (no surprise there), I wanted to find more ways to use them. And today I am sharing with you my Pumpkin Beer Bread Loaf. Just like a normal whole grain loaf but with Pumpkin in it, and a little something extra… beer!
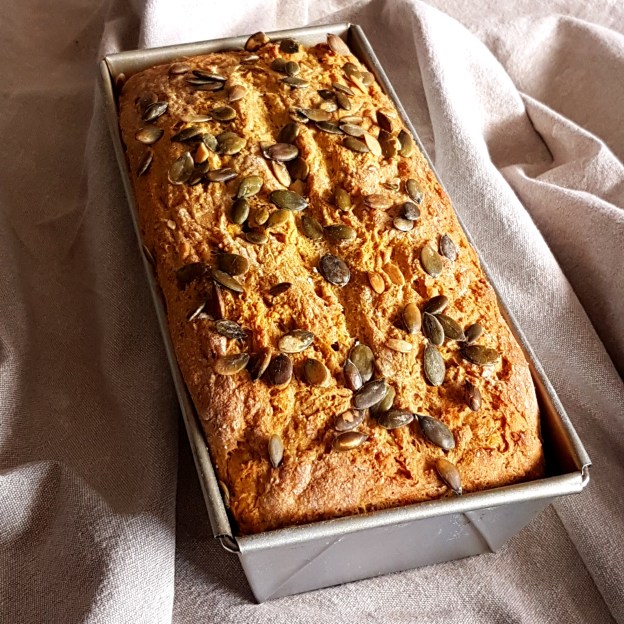
The result is a soft textured loaf, hearty with a hint of sweetness and a nice crispy crust.
I’ve kept it plain and simple so you can eat it with anything from cheese to Nutella. Don’t worry you can’t actually taste the beer.
The color of the bread needless to say, is beautiful.
So those of you who are still looking for a new Pumpkin adventure, make this Pumpkin Beer Bread,  you’ll love it 🙂

⏰ Prep time: 15 minutes
🎃 Cooking time: ca 30 minutes
🍴 Makes: 2 Loafs

Pumpkin Loaf

_______________________________________
INGREDIENTS:

  • 4 – 4 ½ cups all purpose flour
  • 2 cups whole wheat flour
  • 2 tsp. salt
  • 1 package instant dry yeast
  • 3/4 cup lukewarm water
  • 1/2 cup light beer,
  • 2 tbsp. oil
  • 1 tbsp. sugar
  • 1 cup pumpkin puree, freshly made or canned
  • a small handful of Pumpkin seeds
  • more flour for rolling out dough

jakob-owens-YCX5QMNFUkE-unsplash

INSTRUCTIONS

1. In a bowl mix the two flours with the salt.
2. In a large bowl, dissolve yeast in warm water. Add the beer, the sugar, oil and 3 cups flour. Add the pumpkin puree. Beat until smooth.
3. Stir in enough remaining flour, 1/2 cup at a time, to form a soft dough.
4. Turn onto a floured surface; knead until smooth and elastic, 8-10 minutes. Place in a greased bowl, turning once to grease the top. Cover and let rise in a warm place until doubled, about 1-1/2 hours.
5. Punch dough down. Turn onto a lightly floured surface; divide dough in half. Shape each into a loaf. Place in two greased 9×5-in. loaf pans. Cover and let rise until doubled, about 30-45 minutes. Brush with a little milk and sprinkle with the Pumpkin seeds.
6. Bake at 375 F for 30 – 35 minutes or until the bread sounds hollow when tapped.
7. Remove from oven and place on wire racks to cool.

Enjoy !

Myra XO

Pumpkin Loaf


perfect chocolate chip cookies

Perfect Chocolate Chip Cookies

perfect chocolate chip cookies

There’s a new cookie in town!
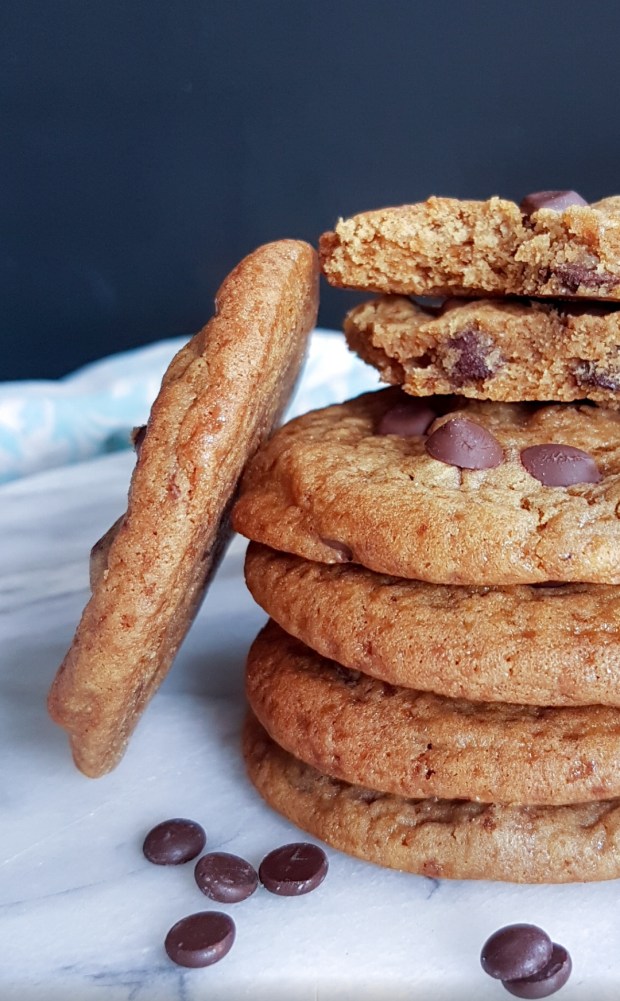
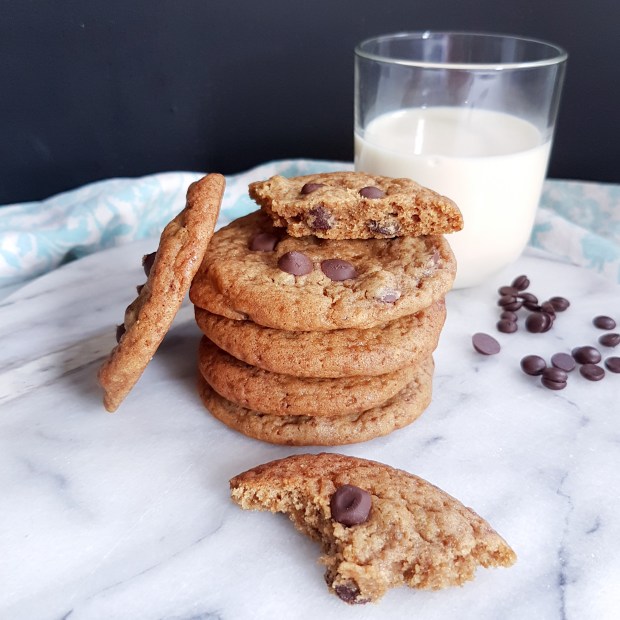
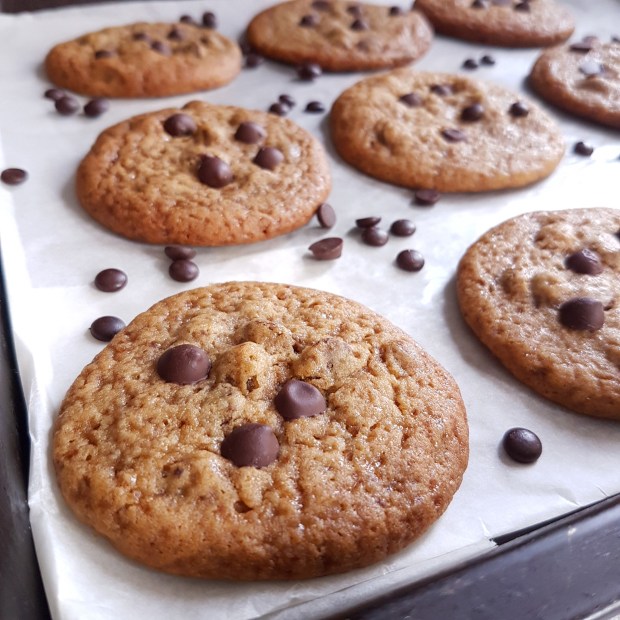
These chocolate chip cookies are perfectly soft, chewy, and just all around pretty darn delicious. You’ll never need another cookie recipe again! I’ve made them with Spelt flour and coconut sugar and without butter, does that make them healthy? Let’s say YES.
But really, no. It just doesn’t make them as super unhealthy as regular store-bought cookies. And seriously if you’re gonna be a little naughty, ya better do it right. RIGHT?
And although these do still have some sugar, it’s half of the usual amount. And boy, are they good!  So what are you waiting for go make ’em TODAY!

perfect chocolate chip cookies

TIPS & NOTES!
1. Coconut oil is super healthy!
2. Coconut sugar makes the cookies even chewier and there are also some health benefits in coconut sugar. Coconut sugar contains a fiber known as inulin which helps slow glucose absorption. Coconut sugar also contains small amounts of vitamins and minerals like iron and zinc and phytonutrients.
3. Chill the dough for one hour before baking to prevent the cookies from spreading too much.

perfect chocolate chip cookies

Makes 20
INGREDIENTS:
• 1/4 cup coconut oil, soft-at room temperature
• 1/4 cup baking margarine, soft-at room temperature
• 1/2 cup + 2 tbsp. coconut sugar, tightly packed
• 1 tsp. liquid stevia or more coconut sugar
• 1 large egg (room temperature )
• 1 teaspoon vanilla extract
• 1 1/4 cup + 2 tbsp. spelt flour
• 2 teaspoons cornstarch
• 1/2 teaspoon baking soda
• 1/4 teaspoon salt
• 3/4 cup dark chocolate chips

perfect chocolate chip cookies
INSTRUCTIONS:
1. Combine coconut oil and margarine with the sugars in a large bowl. Stir very well.
2. Add egg and stir well.
3. Stir in vanilla extract. Set aside.
4. In a medium-sized bowl, whisk together flour, cornstarch, baking soda, and salt.
5. Gradually add flour mixture to wet ingredients — stir well so that all the flour is absorbed.
6. Stir in chocolate chips.
7. Place dough in refrigerator and chill for 30-60 minutes.
8. Pre-heat oven to 177° C / 350° F and prepare cookie sheets by lining with parchment paper.
9. Scoop dough by rounded 1 1/2 Tablespoon onto prepared cookie sheets, placing at least 2″ apart.
10. Bake for 11 to 12 minutes, cookies may still seem slightly soft in the centers, that is OK, they will cook completely on the cookie sheets. Don’t over-bake or your cookies will be too hard.
11. If desired, gently press additional chocolate chips into the tops of the warm cookies.
12. Allow to cool completely. I like to eat them cold from the fridge, they get extra chewy.
Enjoy!
Myra XO

perfect chocolate chip cookies