Tag Archives: fruit

Blueberry Cobbler with almond yoghurt biscuit topping.

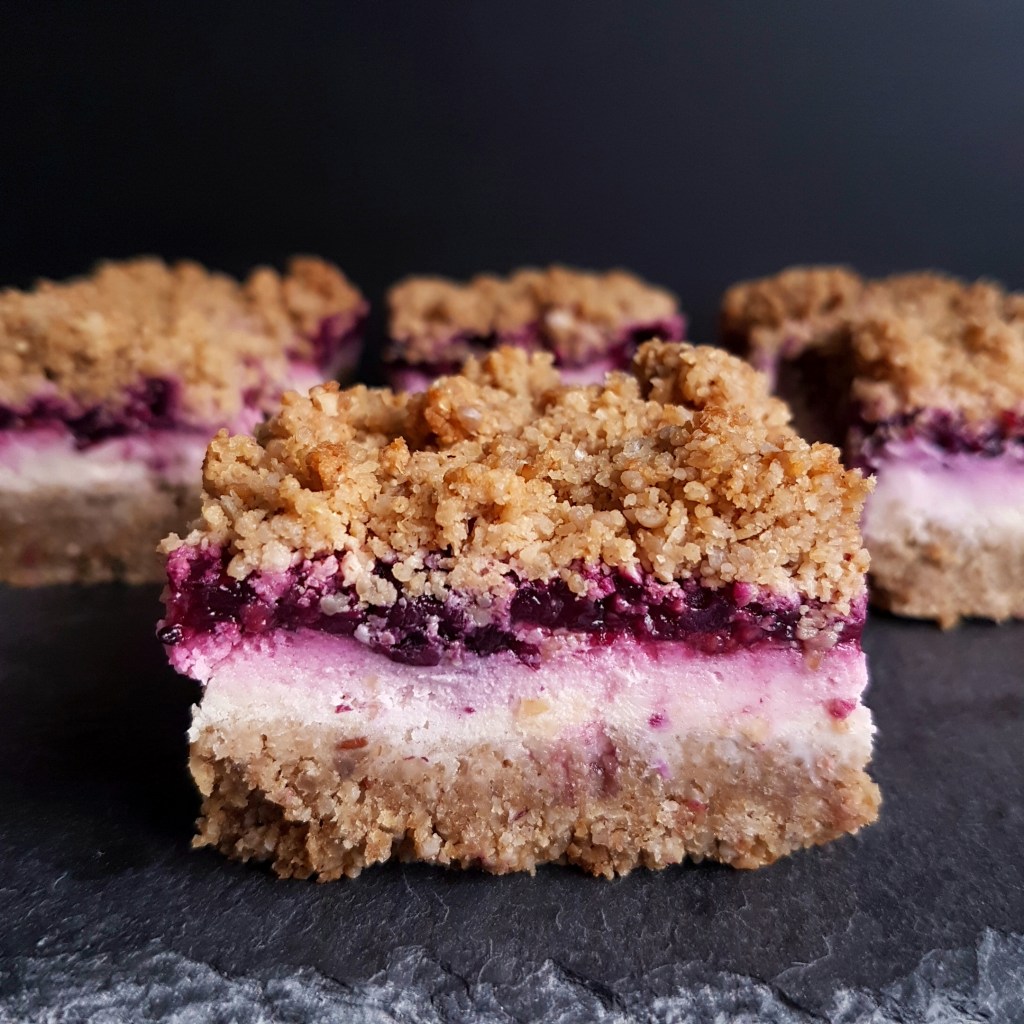
This is the perfect comfort dessert that’s easy to make and everyone will enjoy.
With just a few simple ingredients and a little effort, you’ll have a flakey, crispy-on-top, juicy-in-the-middle blueberry cobbler on the table in no time. I have added almond flour to the biscuit topping and also yoghurt, this makes the biscuits nice and fluffy, flakey and a little crispy at the same time but without being too hard, so it’s still scoopable.

I really  recommend putting this blueberry cobbler on your to-do list, you’ll love it.

Prep time : 15 min
Cooking time : 45 min
Serves : 6

INGREDIENTS:

FOR THE FILLING

• 800 gr / 5 ½ cups frozen blueberries
• ½ cup sugar
• 1 tablespoon cornstarch
• Pinch ground cinnamon

FOR THE TOPPING
• 3/4 cup all-purpose flour
• ¼ cup almond flour
• ½ cup granulated sugar
• 1 teaspoons baking powder
• ½ tsp. baking soda
• Pinch of salt
• ¼ cup yoghurt
• 2 tbsp. milk
• ¼ cup unsalted butter, melted
• 1 tsp. vanilla extract
• 1 tbsp. granulated sugar (for sprinkling)

DIRECTIONS:

1. Preheat oven to 180C/375F degrees.
2. Making the Filling: Whisk the sugar, cornstarch, cinnamon together in a large bowl. Add the blueberries and mix gently until evenly coated. Transfer the berry mixture to a 10-inch cast iron skillet or a square baking dish
3. To make the topping, mix the flour, almond flour, sugar, baking powder, baking soda and salt together in a large bowl. In a separate jug mix the melted butter, yoghurt, milk and vanilla. Add the wet ingredients to the dry and stir until just combined.
4. Scoop the dough into 8 or 9 pieces and place on top of the filling, evenly spaced (they should not be touching). Sprinkle evenly with the sugar.
5. Bake until the filling is bubbling and the top is golden brown and cooked through, about 40 to 45 minutes, rotating the pan halfway through baking. Transfer the pan to a wire rack and let cool for at least 20 minutes; serve warm or at room temperature with some vanilla ice-cream.

Enjoy!

If you make this Bluebberry Cobbler be sure to leave a comment! I’d love to hear from you and if you love it, pin it. And of course, if you do make this recipe, don’t forget to tag me on Instagram! @thecookingspoonblog or hashtag it #thecookingspoonblog

Advertisement

Strawberry Cheesecake mini Pies

Simple Strawberry Cheesecake mini Pies, are made with fresh strawberries, a quick cheesecake filling and brushed with a strawberry glaze. They come together in minutes and are so delicious.

You only have to bake the Pastry shells and the rest is done in a jiffy. I have used my Super Simple Pastry dough recipe, so once the shells are baked and cooled you just spread some cheesecake filling on top and layer with fresh strawberries. The shells could be baked the day before and stored in an air-tight container.
Serve as a dessert, snack or at parties. These are always great!

The pastry crust is a no-brainer and you can find the recipe here.

Makes 6 small tarts or one medium 20 cm / 8 inch


INGREDIENTS:

1 recipe super simple pastry crust, prepared all the way.
3 cups fresh Strawberries
2 tubs of cream cheese (400 gr/ about 1 3/4 cups)
3 tbsp. of milk of choice for loosening up the cream cheese
50 grams/ 1/2 cup confectioners sugar
1/2 tsp vanilla extract
3 tbsp strawberry jam diluted with water for drizzling on top, or honey.

INSTRUCTIONS:

Remove the crown from the Strawberries and cut them in half.
Place the cream cheese in a bowl and beat until soft, adding the milk to get to process started, add the vanilla extract and the confectioners sugar. Beat until combined and fluffy.
Spread 1/6th of the cream cheese filling in each mini pie, place some strawberries on top.
Mix the strawberry jam with a tablespoon or two of water and drizzle the glaze over the strawberries. You could also drizzle with some honey instead. Assemble the mini pies close to serving time, since the pastry shells might soften if you leave them filled overnight. Serve with whipped cream (optional).

Enjoy!

If you make this recipe please be sure to leave a comment and/or give this recipe a rating! I love hearing from you.  And please don’t forget to tag me on Instagram so I can see your creations!

berry cheesecake crumble

Berry Cheesecake Crumble Bars

Berry Cheesecake Crumble Bars

These Berry cheesecake crumble bars are an amazing treat. They combine all the things I love in one. Cheesecake being number 1, crumble…because who doesn’t love crumble and obviously the cookie like bottom. And then the layer of juicy fruit. Which of course you can adapt to your favourite fruit.

They are super easy to make and a real crowd pleaser too.

______________________________________________________________________________

INGREDIENTS:

  • 1 cup cashew nuts
  • 3 cups oats
  • pinch of salt
  • 1/2 cup natural oil or butter
  • 1/2 cup plain sugar or coconut blossom sugar

  • 2 packages (8 oz each) cream cheese, softened and at room temperature
  • 1/2 cup sugar
  • 2 tablespoons all-purpose or spelt flour
  • 1 teaspoon vanilla extract
  • 1 large egg at room temperature

————————————————————-

  • 2 cups frozen berries of choice
  • 2 tbsp. corn starch dissolved in two tbsp. water
  • 2 tbsp. sugar (or more to taste)

INSTRUCTIONS

  1. Preheat the oven to 180°C / 350°F . Line an 8-inch baking tray with parchment paper.
  2. In a food processor, combine the nuts, oats, and salt and process until you have a coarse flour. Leave it in the processor.
  3. In a small pot, melt the oil or butter with the sugar over low heat, until the sugar has dissolved.
  4. Pour the wet mixture on top of the oat mixture in the food processor and process until the mixture comes together.
  5. Set aside 1 cup of the crumble mixture for the topping.
  6. Place the remaining oat mixture over the base of the baking tray and push down with your (slightly wet) fingers. Press the dough down tightly. 
  7. Pre bake the crust for 5 minutes. Remove from the oven and let cool for 5 minutes.
  8. Meanwhile make the fruit layer by placing the berries in a saucepan and bring to a slow boil over medium heat. Add the corn starch slurry and sugar and cook until thickened. Don’t stir to vigorously , try to leave some berries whole.
  9. Let cool slightly.
  10. Meanwhile, in large bowl, beat cream cheese, sugar, flour, vanilla and egg with electric mixer on medium speed until smooth.
  11. Spread all the cream cheese mixture over the oat base
  12. Spread the slightly cooled fruit in an even layer over the cream cheese.
  13. Crumble the reserved cup of oat mixture evenly over the fruit.
  14. Bake, uncovered, for 25 minutes more, until the topping is lightly golden and firm. Let cool in the pan on a cooling rack for at least an hour, then transfer the pan to the fridge until completely cool and firm (preferably over night). If you can’t wait, put the slightly cooled tray into the freezer for about 30 to 40 minutes. Lift out and slice into squares. Store in an airtight container in the fridge. They freeze well too. 

Enjoy!

Myra XO