Author Archives: The Cooking spoon

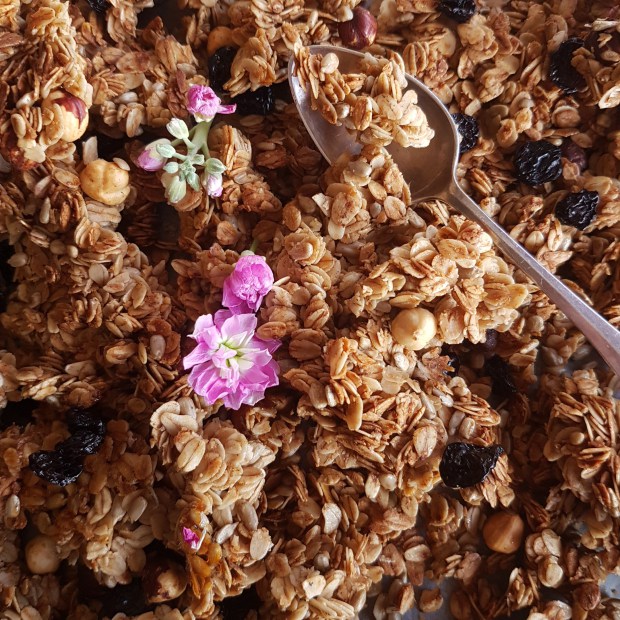
Winter Granola with cozy spices

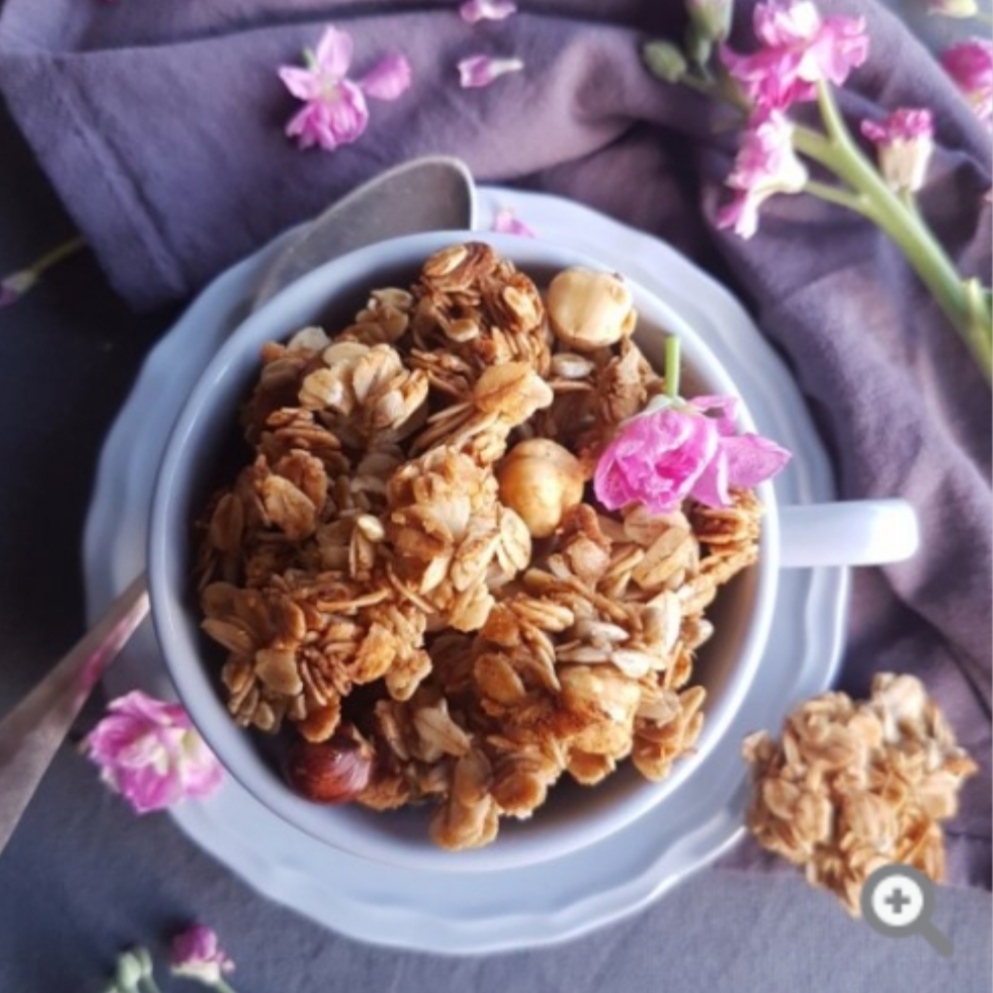
….WINTER GRANOLA, CHERRIES AND COZY SPICES…..

All the flavours of Winter in a bowl, seriously delicious and good any time of day (or season), although I did make this with cold weather in mind. This spiced winter granola is my favourite comfort food for rainy cold days, and the dried chewy cherries pair so well with the warm spices, honestly self control doesn’t stand a chance here, you’ll find yourself eating it by the handful but that’s ok since it’s full of healthy goodness.

INGREDIENTS:

  • 5 cups old-fashioned rolled oats
  • 1/2 cup hazelnuts
  • 1 cup sunflower seeds
  • 1 teaspoon ground cinnamon
  • 1/2 teaspoon allspice
  • 1/2 teaspoon ground ginger
  • 1/2 teaspoon ground nutmeg
  • 1/4 teaspoon ground cardamom
  • 1/4 teaspoon ground coriander
  • 1/4 teaspoon star anise, ground
  • 1/2 teaspoon salt
  • 1/4 cup water
  • 1/2 cup pure maple syrup
  • 1/2 cup light brown sugar or coconut sugar
  • 1/3 cup melted coconut oil or canola oil
  • 1 1/2 teaspoon vanilla extract
  • 1/2 cup dried Cherries
Winter Gingerbread Cherry Granola

I have taken a different approach this time and made a caramel like sticky sauce to stir thru the Oats, so good…

DIRECTIONS:

  1. In a small saucepan, combine the brown sugar with the water and maple syrup and cook over medium-high heat, stirring constantly, until the sugar is completely dissolved and the mixture comes to a boil. Cook for a few minutes to reduce.
  2. Remove the saucepan from the heat and let the syrup cool slightly.
  3. Add the vanilla.
  4. Preheat oven to 320° F/ 160° C degrees. Line a large baking sheet with parchment paper or a silicone baking mat.
  5. Toss the oats, spices. hazelnuts, seeds and salt in a large bowl. Set aside.
  6. Add the coconut/canola oil to the brown sugar syrup and stir until thoroughly combined.
  7. Pour the syrup over the oat mixture and mix well with a rubber until thoroughly combined. Make sure all of the oats are moistened.
  8. Spread onto the prepared baking sheet and bake for 45 minutes.
  9. Rotate baking tray halfway thru.
  10. Allow granola to cool completely in order to get the crunchy clusters.
  11. Now add the dried Cherries.
  12. Store this in an airtight container at room temperature for up to a month.

Enjoy !

Myra XO

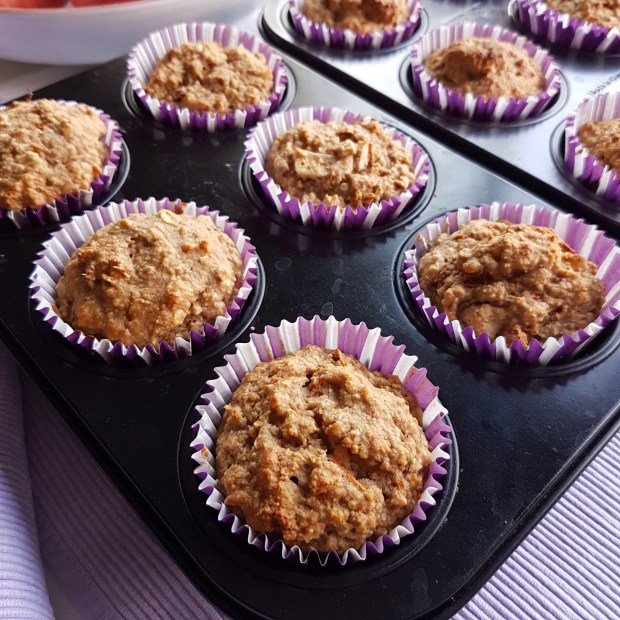
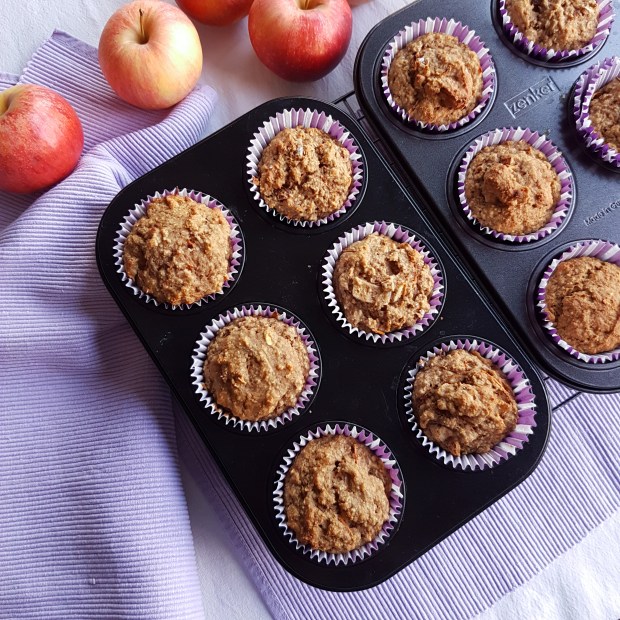
Morning Glory Muffins

The best Home made Grab and Go Breakfast Muffins. With all natural ingredients.

Packed with apples, coconut, carrots, walnuts, spice, raisins, and sweetened with maple syrup, basically everything I love in one.

I have added some applesauce instead of oil, making these beauties not only addictively delicious but also healthy and fat free.


Prep Time: 10 mins
Cook Time: 25 mins
Total Time: 35 mins

Servings: 12

INGREDIENTS:

• 1 cup all purpose (spelt) flour
• 1/4 cup corn starch
• 1 cup oat flour (ground oats)
• 2 tsp baking powder
• 3/4 tsp baking soda
• 1/2 tsp cinnamon
• 1 tsp mixed spice (ginger bread spice)
• 1/8 tsp salt
• 3 large eggs, at room temperature
• 3/4 cup unsweetened apple sauce
• 1/3 cup maple syrup
• 1 tsp pure vanilla extract
• 1 1/2 cup grated carrot
• 2 small apples, grated coarsely
• 1/3 cup raisins
• 1/3 cup chopped walnuts
• 1/4 cup toasted coconut flakes

INSTRUCTIONS:

  1. Pre heat oven to 180 C / 350 F
  2. Line a muffin tin with paper cases.
  3. Mix all the dry ingredients in a large bowl. Whisk to combine.
  4. Mix all the wet ingredients in an other bowl including carrot and apple.
  5. Pour the wet ingredients into the bowl of dry ingredients and stir carefully until just combined. If you still see dry ingredients it’s ok. Don’t over mix.
  6. Now add the raisins, walnuts and coconut flakes, stir just once or twice.
  7. Pour into the muffin cases and place on a rack in the middle of the oven.
  8. Bake for about 23 to 25 minutes.
  9. Test by inserting a dry skewer into the muffin center. If it comes out dry, they are done.
  10. Remove from oven and let cool for about 5 minutes before removing from the tin and placing the muffins on a rack to cool completely.
  11. You can freeze them at this point in an airtight container or zip lock bag, they will keep in the freezer for up to three months.

Enjoy!

Myra XO

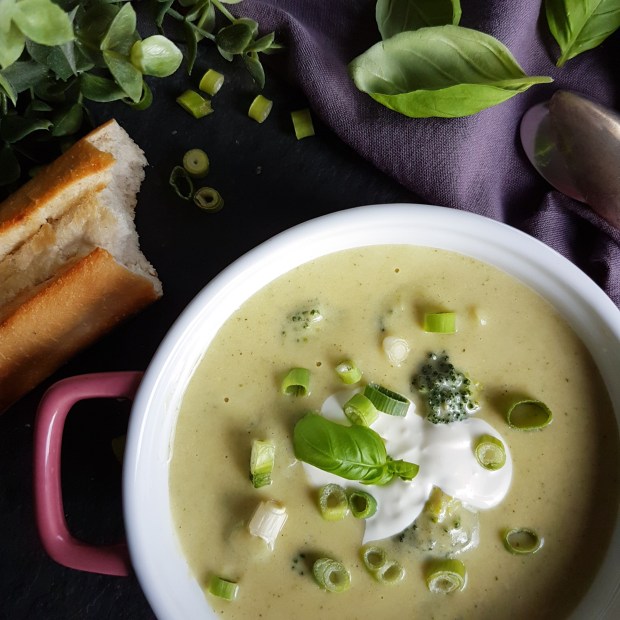
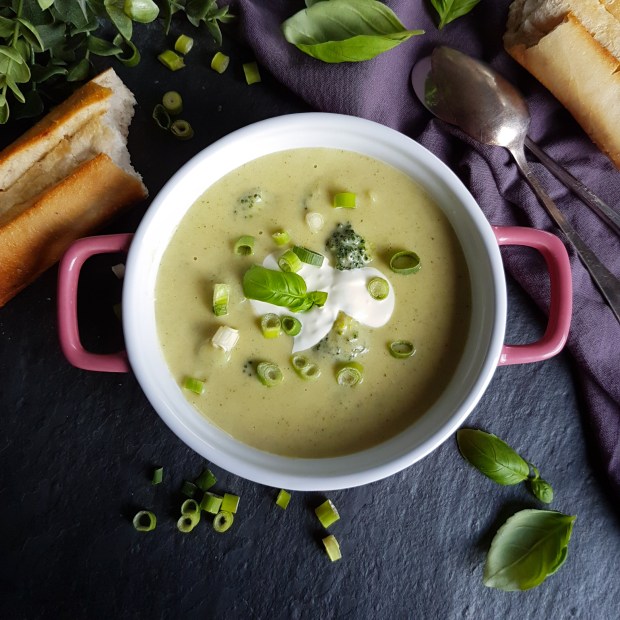
Velvety Broccoli Cheese Soup

A creamy broccoli soup packed with goodness! 

Comforting, creamy soup loaded with broccoli and cheese for a delicious filling meal, serve with crusty bread for dipping.

To keep the sodium in the recipe low, choose low- or reduced-sodium chicken stock. I’ve used a cheddar cheese in this recipe but a semi cured Gouda will work too.

INGREDIENTS:

• 2 tbsp. Olive oil
• 1 small onion, peeled and chopped fine
• 1 clove garlic, peeled and chopped
• 1 cellery stick, washed and sliced
• 1 large potato, peeled and cubed small
• 1 tbsp. Flour
• 1 bay leaf
• 1 medium head broccoli, cut into florettes. set aside 1/2 cup florettes,
• 1 1/2 Cup Milk (I use half fat milk)
• 1 Cup Chicken or vegetable stock (low sodium preferably)
• A handful of fresh Basil leafs, some smaller leafs reserved for decorating
• 1 Cup grated cheddar (loosely packed)
• Chopped spring onion and creme fraîche to serve


INSTRUCTIONS:

Heat the olive oil in a large pot.
Add onions and garlic and sautee until translucent.
Add the flour and stir to coat everything.
Add milk and stock slowly stirring continuously so you don’t get lumps.

Bring to a slow simmer and add the potatoes.

Chop most of the Basil, remember to reserve some small whole leafs for decorating. Add the chopped Basil to the soup.
Add the bay leaf and Broccoli florettes and cover with a lid.

Cook for about 20 minutes or until potatoes and broccoli are completely tender when pierced with a fork.
Meanwhile steam the remaining cup of broccoli florettes in the microwave for three minutes on high and reserve to add to the finished soup.
Remove the Bay leaf!
With a hand held blender, puree the soup until creamy and velvety.
Add the broccoli florets and heat thru.
Serve with a dollop of creme fraiche and some chopped chives.
Sprinkle with some Basil leafs and serve piping hot.

Enjoy!

Myra XO

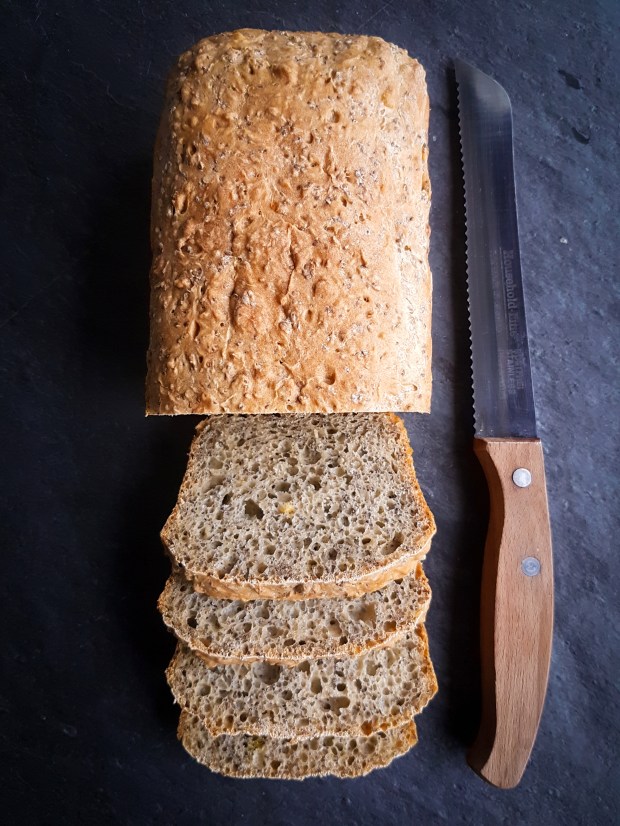
Chia Seed Bread

Hello Folks, I just need to tell you about my new Chia Bread. My absolute favourite bread as of now.
It’s easy, nutritious, delicious and soooo all round good. You just have to try it. The Chia seed works as a moisturizer for the bread so it doesn’t dry out for….well at least two days, because that’s how long mine lasted. But it would have kept for another day, for sure. Normally home made (natural) bread goes stale within a day. But this one stay nice and fresh for days.
It’s high protein and high fibre, but mostly I can’t stretch enough how yummy it tastes.
I have a lot of favourite breads and I absolutely adore baking bread, like  Fig walnut bread, High Fibre Health Bread or  Norwegian Bread .
But I feel that this is the easiest one.
There is no real baking skill involved so don’t worry if you’re not an every day baker. All you do is knead and bake.

The smell from the oven will make it the best day of the week with a full sense of accomplishment.

Let’s do this!
________________________________________

Prep time : 10 minutes
Cooking time : 50-60 minutes
Makes : 1 small loaf

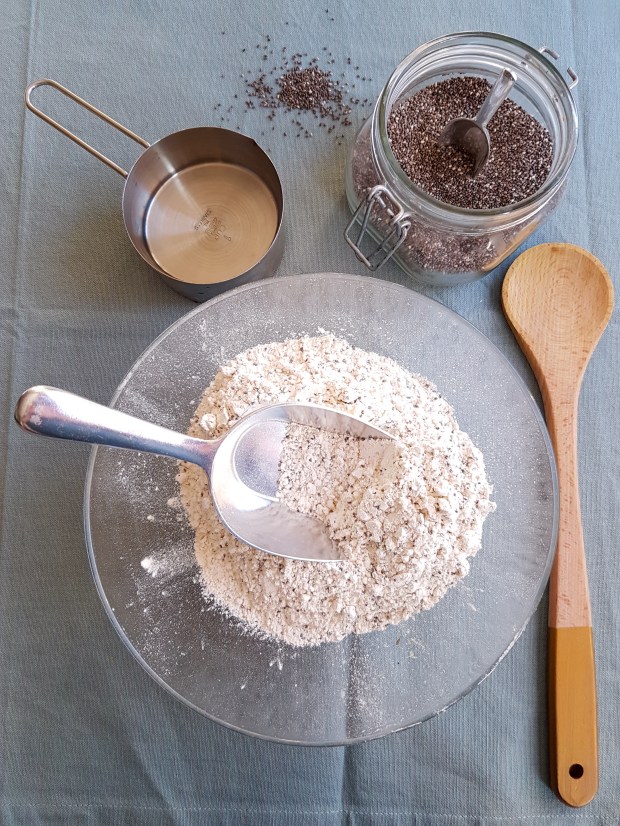
INGREDIENTS:

  • 340-360 ml hand warm water, about 1 1/2 cup
  • 1 sachet instant yeast, 7 grms. / 1 1/2 tsp.
  • 1 cup whole grain spelt flour
  • 1 cup plain spelt flour
  • 30 grms. / 2 tbsp. chia seeds
  • 1 tsp. salt


INSTRUCTIONS:

Pre heat the oven to 210°C / 410° F
NOTE: Don’t add all the water in the beginning, leave out about a quarter cup and add the remainder if it seems dry.
Put all the ingredients in a mixer equipped with the hook attachment and knead for 5 minutes.
Turn out the dough onto a lightly floured surface and knead for another minute or so and shape into a loaf.
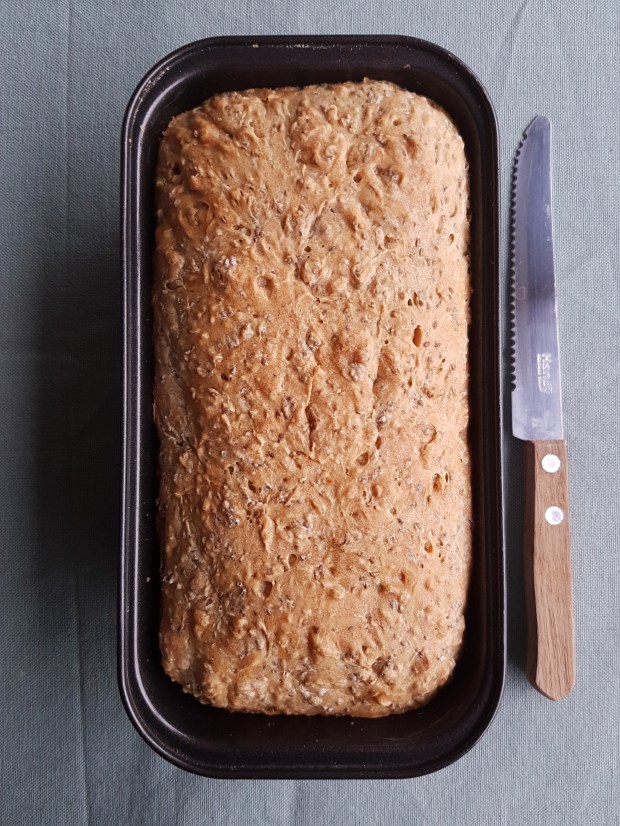
Place the dough in a 20cm / 8″ loaf tin, and cover loosely with cling film that has been sprayed with a little oil.
Let it rise for about an hour. This bread will not rise as much as a conventional loaf, just a bit above the tin.
Place in a pre heated oven and bake for 50-60 minutes.
Check after 50 minutes, by tapping on the bread, If it sounds hollow already insert a wooden skewer. If it comes out dry, remove the bread from the oven.
The baking time also depends on your oven, so be sure to check. Although this bread is very forgiving.
Remove from oven and let cool on a rack before slicing.

Serving tip: A thick slice topped with avocado mash, coarse sea salt and a squeeze of lime.

Enjoy,
Myra XO