Author Archives: The Cooking spoon

Apple Blueberry Maple-Cashew Crumble

With the temperature finally dropping we are really getting in the mood for more comfort food, like this cozy Apple Blueberry Maple Cashew Crumble. This healthy version is made with maple syrup instead of sugar and there’s no butter involved. I have used cashew nuts instead that I blend to a paste, it gives the crumble a nice nutty creamy flavour. The result is so, so good that I donโ€™t think Iโ€™ll ever do it any other way.
And since it’s pretty healthy you can even have this for breakfast with a dollop of Greek Yoghurt.
Iโ€™ve used frozen blueberries for this recipe because they hold their shape better.
If you can, it is best to soak the nuts for an hour or two, but if you donโ€™t have time to do that, just add two tablespoons of water to the nuts before blending them, this will help them on their way.


Prep time : 10 min

Cooking time : 30 min

Serves : 6 – 8

INGREDIENTS:

  • 4 Large Apples
  • 1 cup frozen blueberries
  • 1 tbsp. flour
  • 1 tsp. cinnamon
  • 1 tbsp. Maple syrup, for the fruit
  • 1 cup cashew nuts soaked
  • 2 tbsp. soft (coconut) butter
  • 2 1/2 cups oats
  • A pinch of salt
  • 2 tsp. vanilla
  • 1/2 cup Maple Syrup, for the crumble

METHOD:

  1. Pre heat the oven to 160ยฐ C / 320ยฐ F
  2. Start by soaking the cashew nuts for about 1 to 2 hours.
  3. Put the oats and salt in a food processor and pulse until itโ€™s flour.
  4. Remove to a bowl.
  5. Drain and blend the cashew nuts in a food processor with the coconut oil until itโ€™s a paste. Add a little water if necessary.
  6. Add maple syrup and vanilla.
  7. Add the oats back to the food processor and pulse to just mixed to a crumble, set aside.
  8. Meanwhile peel the apples, remove the cores and chop them.
  9. Place in a backing dish that you have buttered lightly.
  10. Add the blueberries.
  11. Sprinkle over the flour, cinnamon and the one tablespoon maple syrup and toss to mix.
  12. Scatter the crumble over the fruit.
  13. Place the dish in the oven and bake for about 30-35 minutes or until golden brown on top.
  14. Remove from oven and let it rest for 5 to 10 minutes.
  15. Serve with (half ) whipped cream.


Enjoy!
Healthy Chocolate Chip Blondies

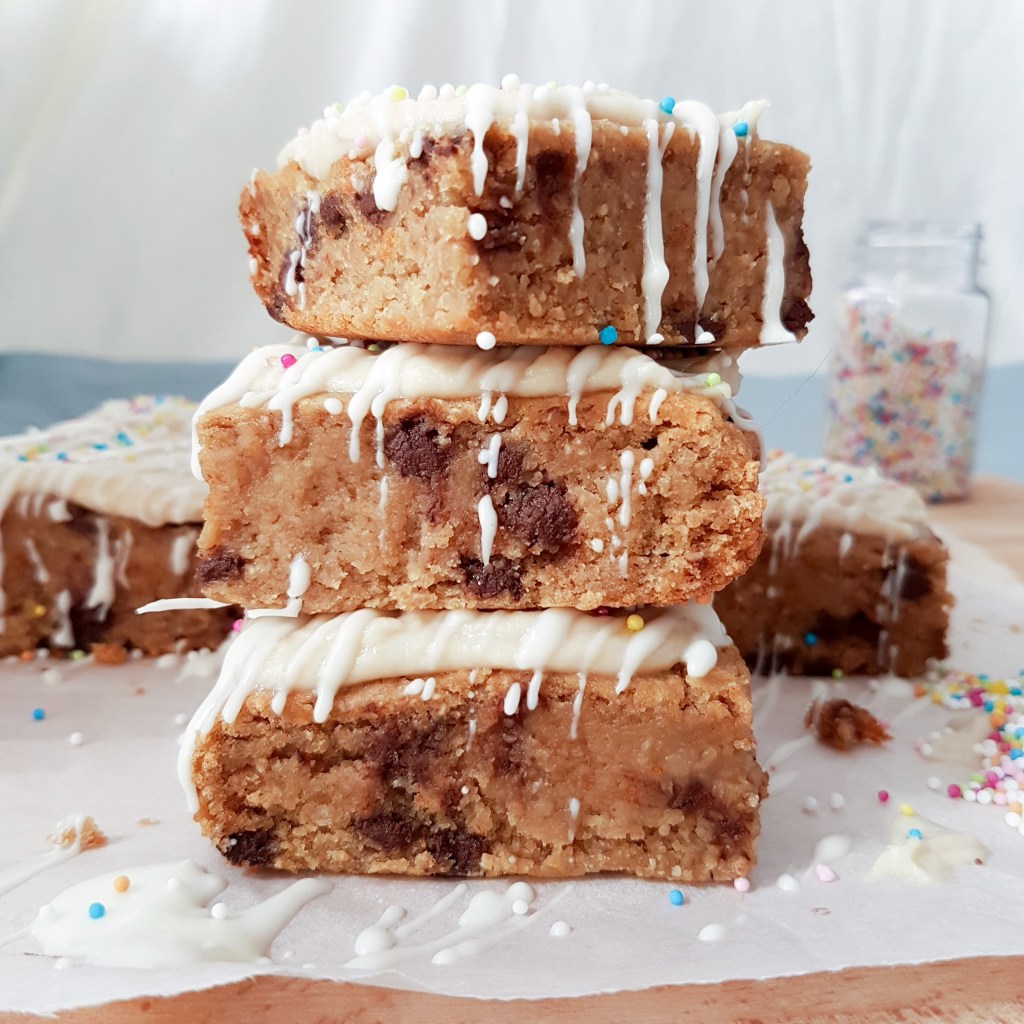
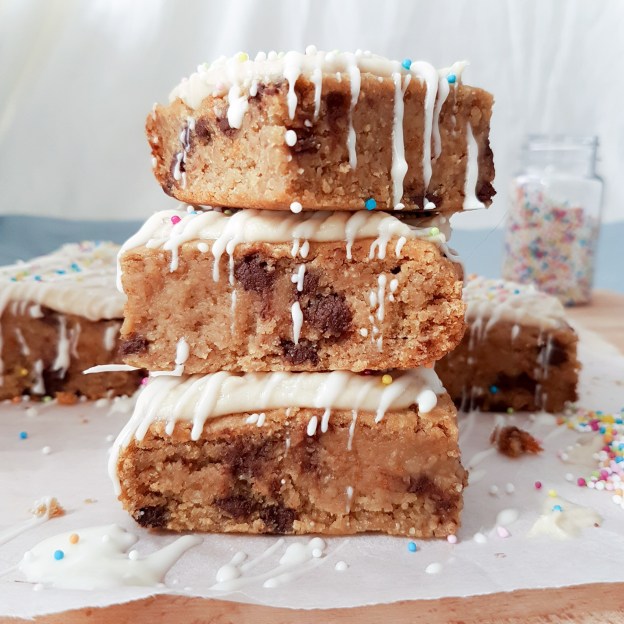
Healthy Blondies? I know, itโ€™s hard to believe right? Although they do have a tiny little drizzle of white chocolate on top, a microscopic amount of sprinkles and a few choccy chips they are still super healthy. I swapped out butter for cashew nuts, the flour for white beans and the refined sugar for agave syrup and coconut sugar. It works perfectly, I always make healthy brownies and honestly I think they taste better than the regular sugar and fat laden brownies. Here are some of my favourites;

As you can see, the possibilities are endless. I make these Healthy Chocolate Chip Blondies in a food processor, it works great and gets the smooth texture just right and more importantly… it saves cleaning up, so it could not be more simple. Just remember to soak your cashew nuts a few hours in advance for easy blending.

Makes 16 squares
Needed: 8 x 8 inch baking dish

INGREDIENTS:

โ€ข 1 1/2 C. cooked white beans from a can, drained
โ€ข 1/2 C. soaked Cashew nuts
โ€ข 2 large eggs
โ€ข 11/2 tsp. baking powder
โ€ข 1/2 tsp. baking soda
โ€ข a pinch of salt
โ€ข 1/4 C. coconut sugar
โ€ข 1/2 C. agave syrup
โ€ข 1 C. flour (you can use spelt, oat or whole wheat)*
โ€ข 1 tbsp. vanilla extract
โ€ข 1/2 C. chocolate chips (vegan)

FROSTING;
โ€ข 3/4 C. cooked white beans
โ€ข 1 C. soaked Cashew nuts
โ€ข 1 tsp. Vanilla extract
โ€ข 2 tsp. Agave syrup

EXTRA:
โ€ข 1/4 C. white chocolate melts (or vegan white chocolate)
โ€ข sprinkles


METHOD:
1. Pre heat the oven to 180ยฐ C / 350ยฐ F
2. Line a baking dish with baking parchment and oil lightly.
3. Soak the cashew nuts in advance for a about two hours. Drain before use.

4. Place white beans and cashew nuts in a food processor and blend until completely smooth.
5. Add the remaining ingredients and blend again. * Depending on the flour type you use you may need to add a splash of milk (of choice).
6. Add the chocolate chips and stir thru with a spatula.
7. Pour the Blondies batter into the prepared baking dish, level out with a spatula.
8. Bake for 25-30 minutes
9. Remove from oven and let completely before frosting.
TO MAKE THE FROSTING:
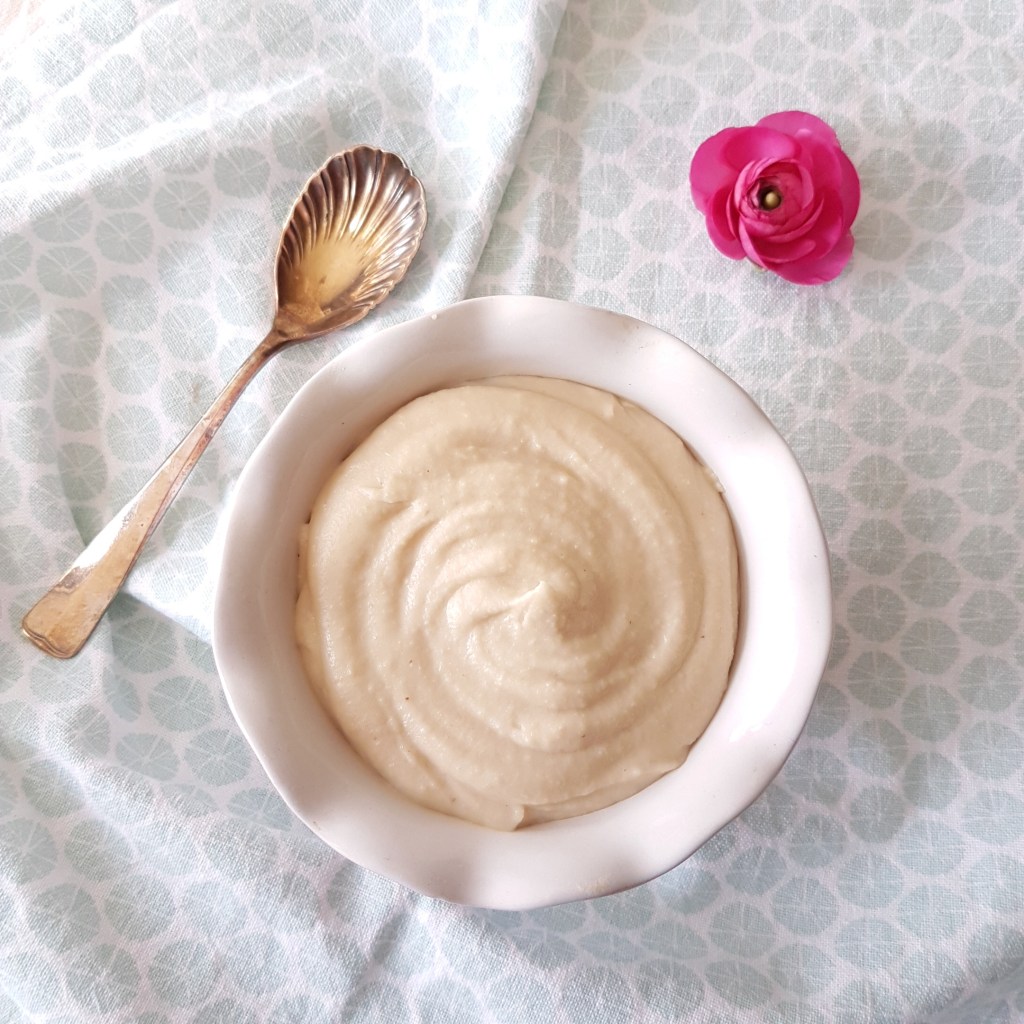
1. Blend all the ingredients for the frosting in a blender until completely smooth.
2. Keep in the fridge until ready to use.
TO DECORATE:
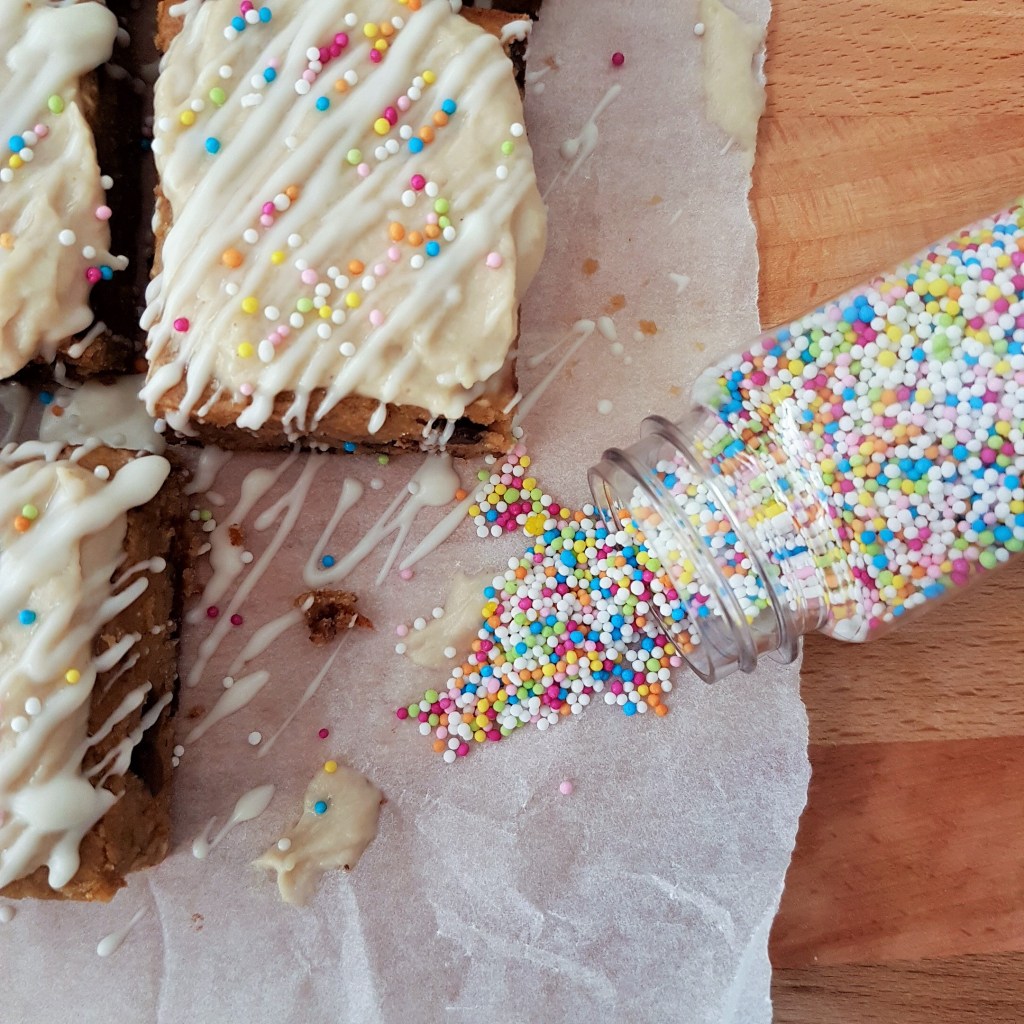
1. Spread frosting over the bars. (I do this after cutting them in squares).
2. Then melt the white chocolate melts in the microwave at 30 second intervals and drizzle diagonally over the frosting.
3. Decorate with sprinkles straight away so they stick to the chocolate.

Enjoy!

Chicken and Corn Soup with crispy Bacon

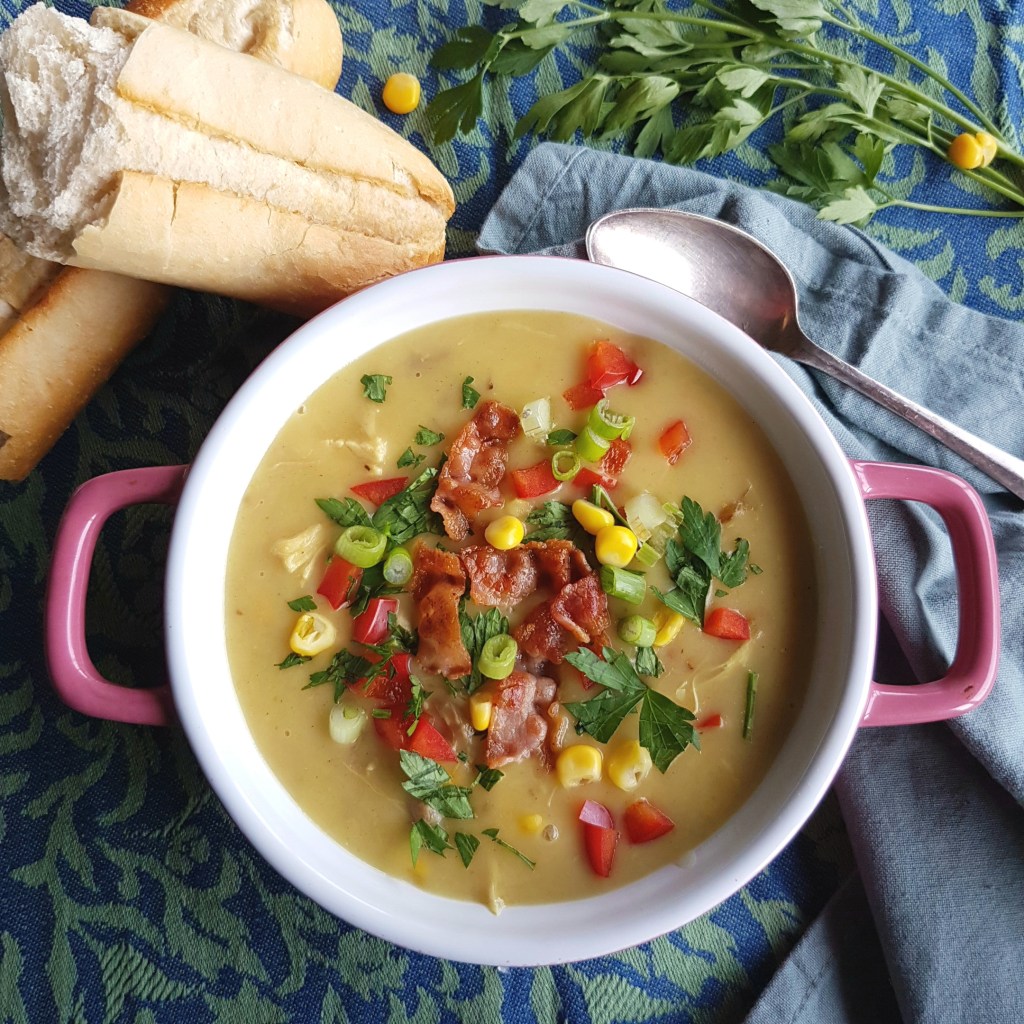
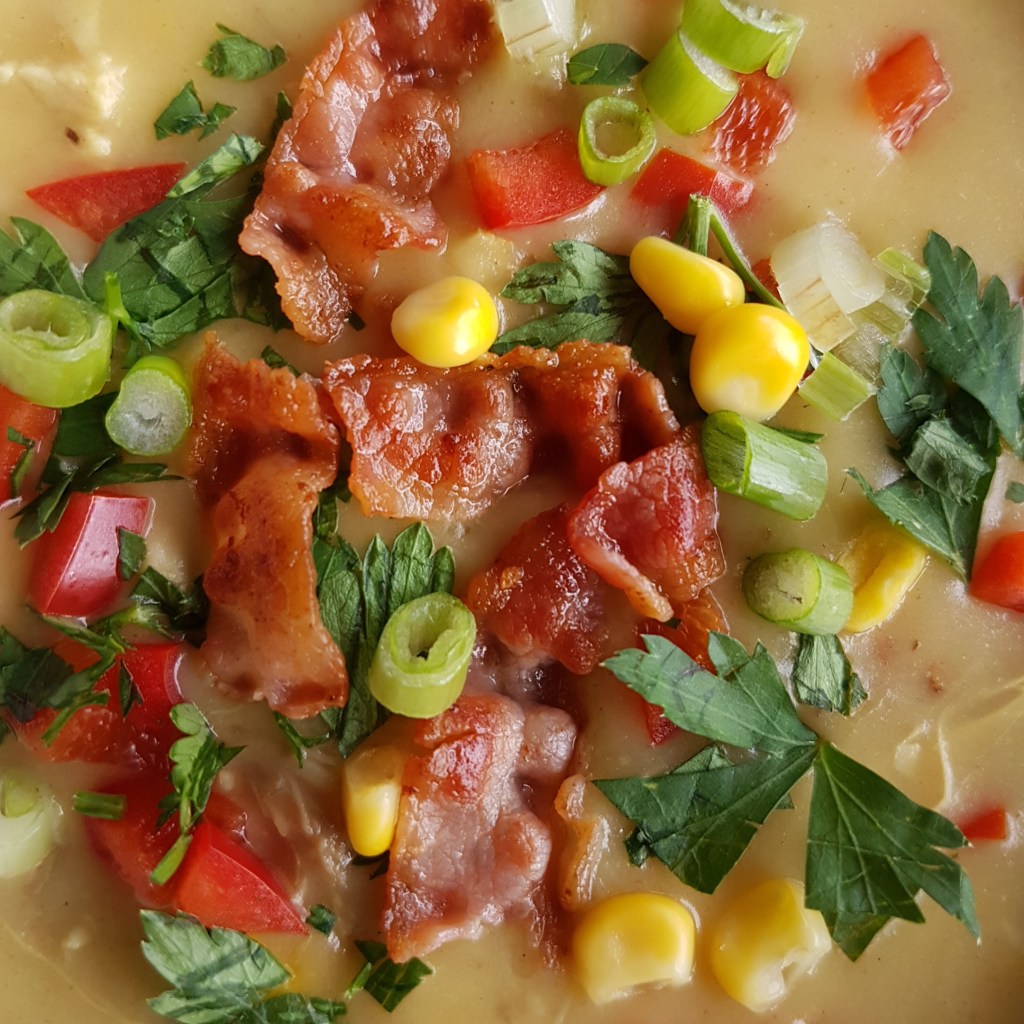
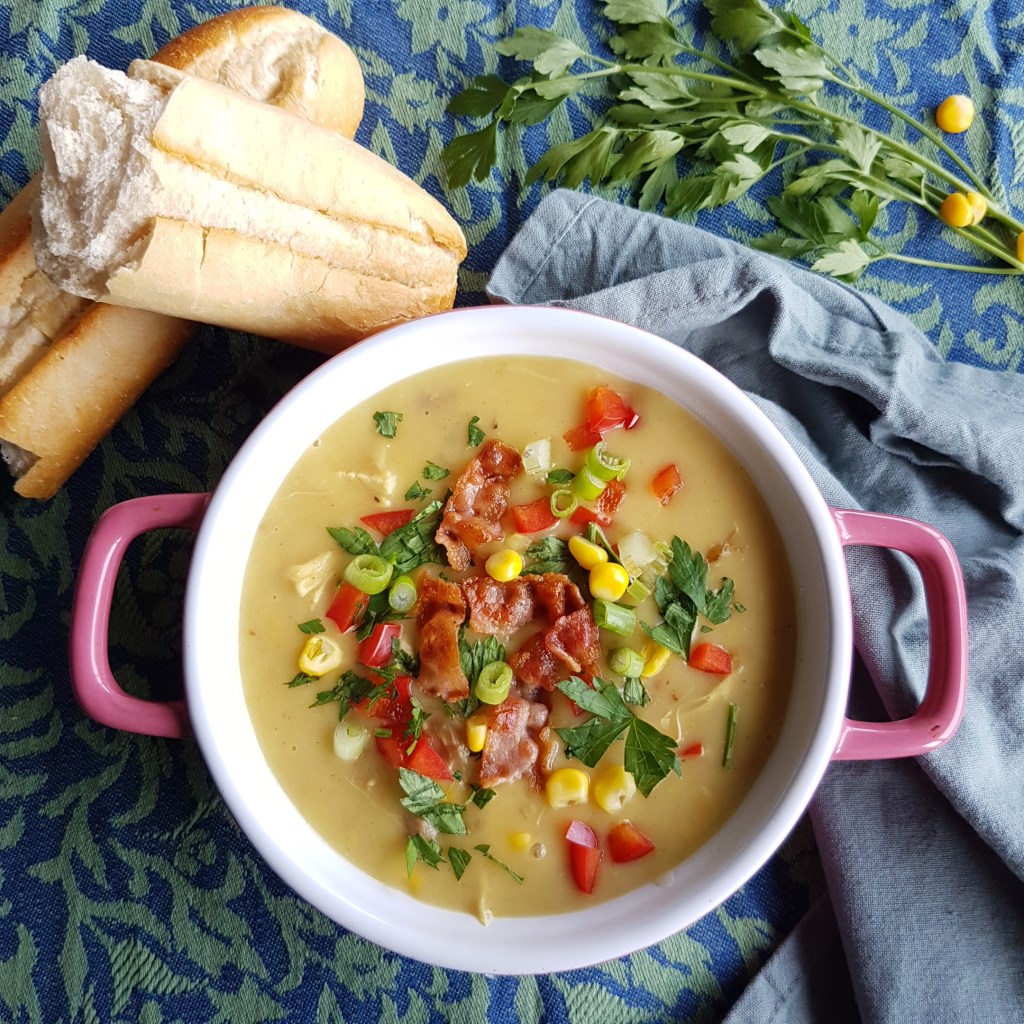
We are so ready for soup season, this delicious chunky chicken and  corn soup is one of our favourites. Itโ€™s hearty, filling, comforting and loaded with veggies and lots of corn. Topped with some crumbled crispy bacon and served with crusty French bread, whatโ€™s not to love. Itโ€™s the perfect soup for this time of year using summer corn but also comforting enough for Fall.

Prep time : 10 minutes

Cooking time: 30 minutes

Serves : 6

INGREDIENTS:

  • ยผ cup olive oil
  • 1 medium onion, peeled and chopped fine
  • 1 red bell pepper, cleaned and cut into dice (reserve some for serving)
  • 1 large carrot, cut into dice
  • 1 celery stick, chopped
  • 1 leek, rinsed clean and sliced
  • 2 garlic cloves, peeled and grated
  • ยผ cup flour
  • 6 cups chicken stock
  • 2 stock cubes
  • 2  cups cooked and shredded chicken
  • 1 ยฝ  cup corn kernels, drained (reserve some for serving)
  • 1 cup double cream
  • 8 rashers bacon, cooked crisp and drained on kitchen paper
  • Handful of chopped parsley to serve

INSTRUCTIONS:

Heat the olive oil in a large pot. Add onion, pepper, carrot, celery and leek. Cook on medium heat until translucent. Add the garlic and cook for another minute.

Add the flour and stir to combine completely before adding the stock a little at a time, stirring to combine as you add. Pour in all the stock.

Add 2 stock cubes, crumbled up and stir until dissolved.

Add the chicken and corn  and continue to cook until veggies are tender, about 15 minutes.  Finally add the cream and leave to simmer until the soup is piping hot.

To serve , ladle soup into pretty bowl and sprinkle with reserved parsley, red bell pepper, and corn. Crumble some bacon over the top and serve with lots of crusty bread.

Enjoy!

Myra

Strawberry Cheesecake mini Pies

Simple Strawberry Cheesecake mini Pies, are made with fresh strawberries, a quick cheesecake filling and brushed with a strawberry glaze. They come together in minutes and are so delicious.

You only have to bake the Pastry shells and the rest is done in a jiffy. I have used my Super Simple Pastry dough recipe, so once the shells are baked and cooled you just spread some cheesecake filling on top and layer with fresh strawberries. The shells could be baked the day before and stored in an air-tight container.
Serve as a dessert, snack or at parties. These are always great!

The pastry crust is a no-brainer and you can find the recipe here.

Makes 6 small tarts or one medium 20 cm / 8 inch


INGREDIENTS:

1 recipe super simple pastry crust, prepared all the way.
3 cups fresh Strawberries
2 tubs of cream cheese (400 gr/ about 1 3/4 cups)
3 tbsp. of milk of choice for loosening up the cream cheese
50 grams/ 1/2 cup confectioners sugar
1/2 tsp vanilla extract
3 tbsp strawberry jam diluted with water for drizzling on top, or honey.

INSTRUCTIONS:

Remove the crown from the Strawberries and cut them in half.
Place the cream cheese in a bowl and beat until soft, adding the milk to get to process started, add the vanilla extract and the confectioners sugar. Beat until combined and fluffy.
Spread 1/6th of the cream cheese filling in each mini pie, place some strawberries on top.
Mix the strawberry jam with a tablespoon or two of water and drizzle the glaze over the strawberries. You could also drizzle with some honey instead. Assemble the mini pies close to serving time, since the pastry shells might soften if you leave them filled overnight. Serve with whipped cream (optional).

Enjoy!

If you make this recipe please be sure to leave a comment and/or give this recipe a rating! I love hearing from you.ย  And please donโ€™t forget to tag me on Instagram so I can see your creations!