Author Archives: The Cooking spoon

Roasted red bell pepper jam

Get ready for the new sauce of Summer ’22.
The perfect sauce for Mexican Corn Jalapeño Burger, Jamaican Jerk Chicken Kebabs, Beef burger filled with Onions and Crispy Bacon, Madras Salmon Burger, etc etc… basically all kinds of hamburgers, grilled meats, salmon, fish and sandwiches.
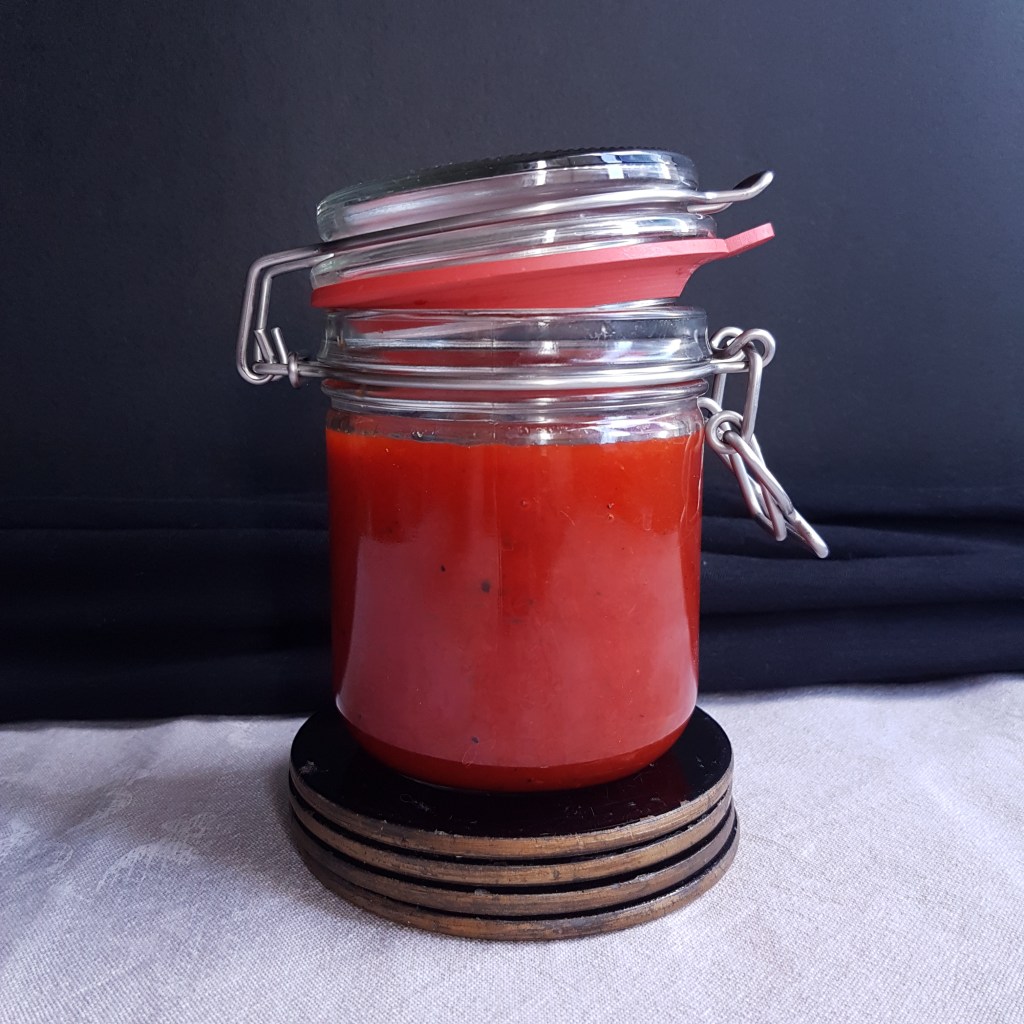
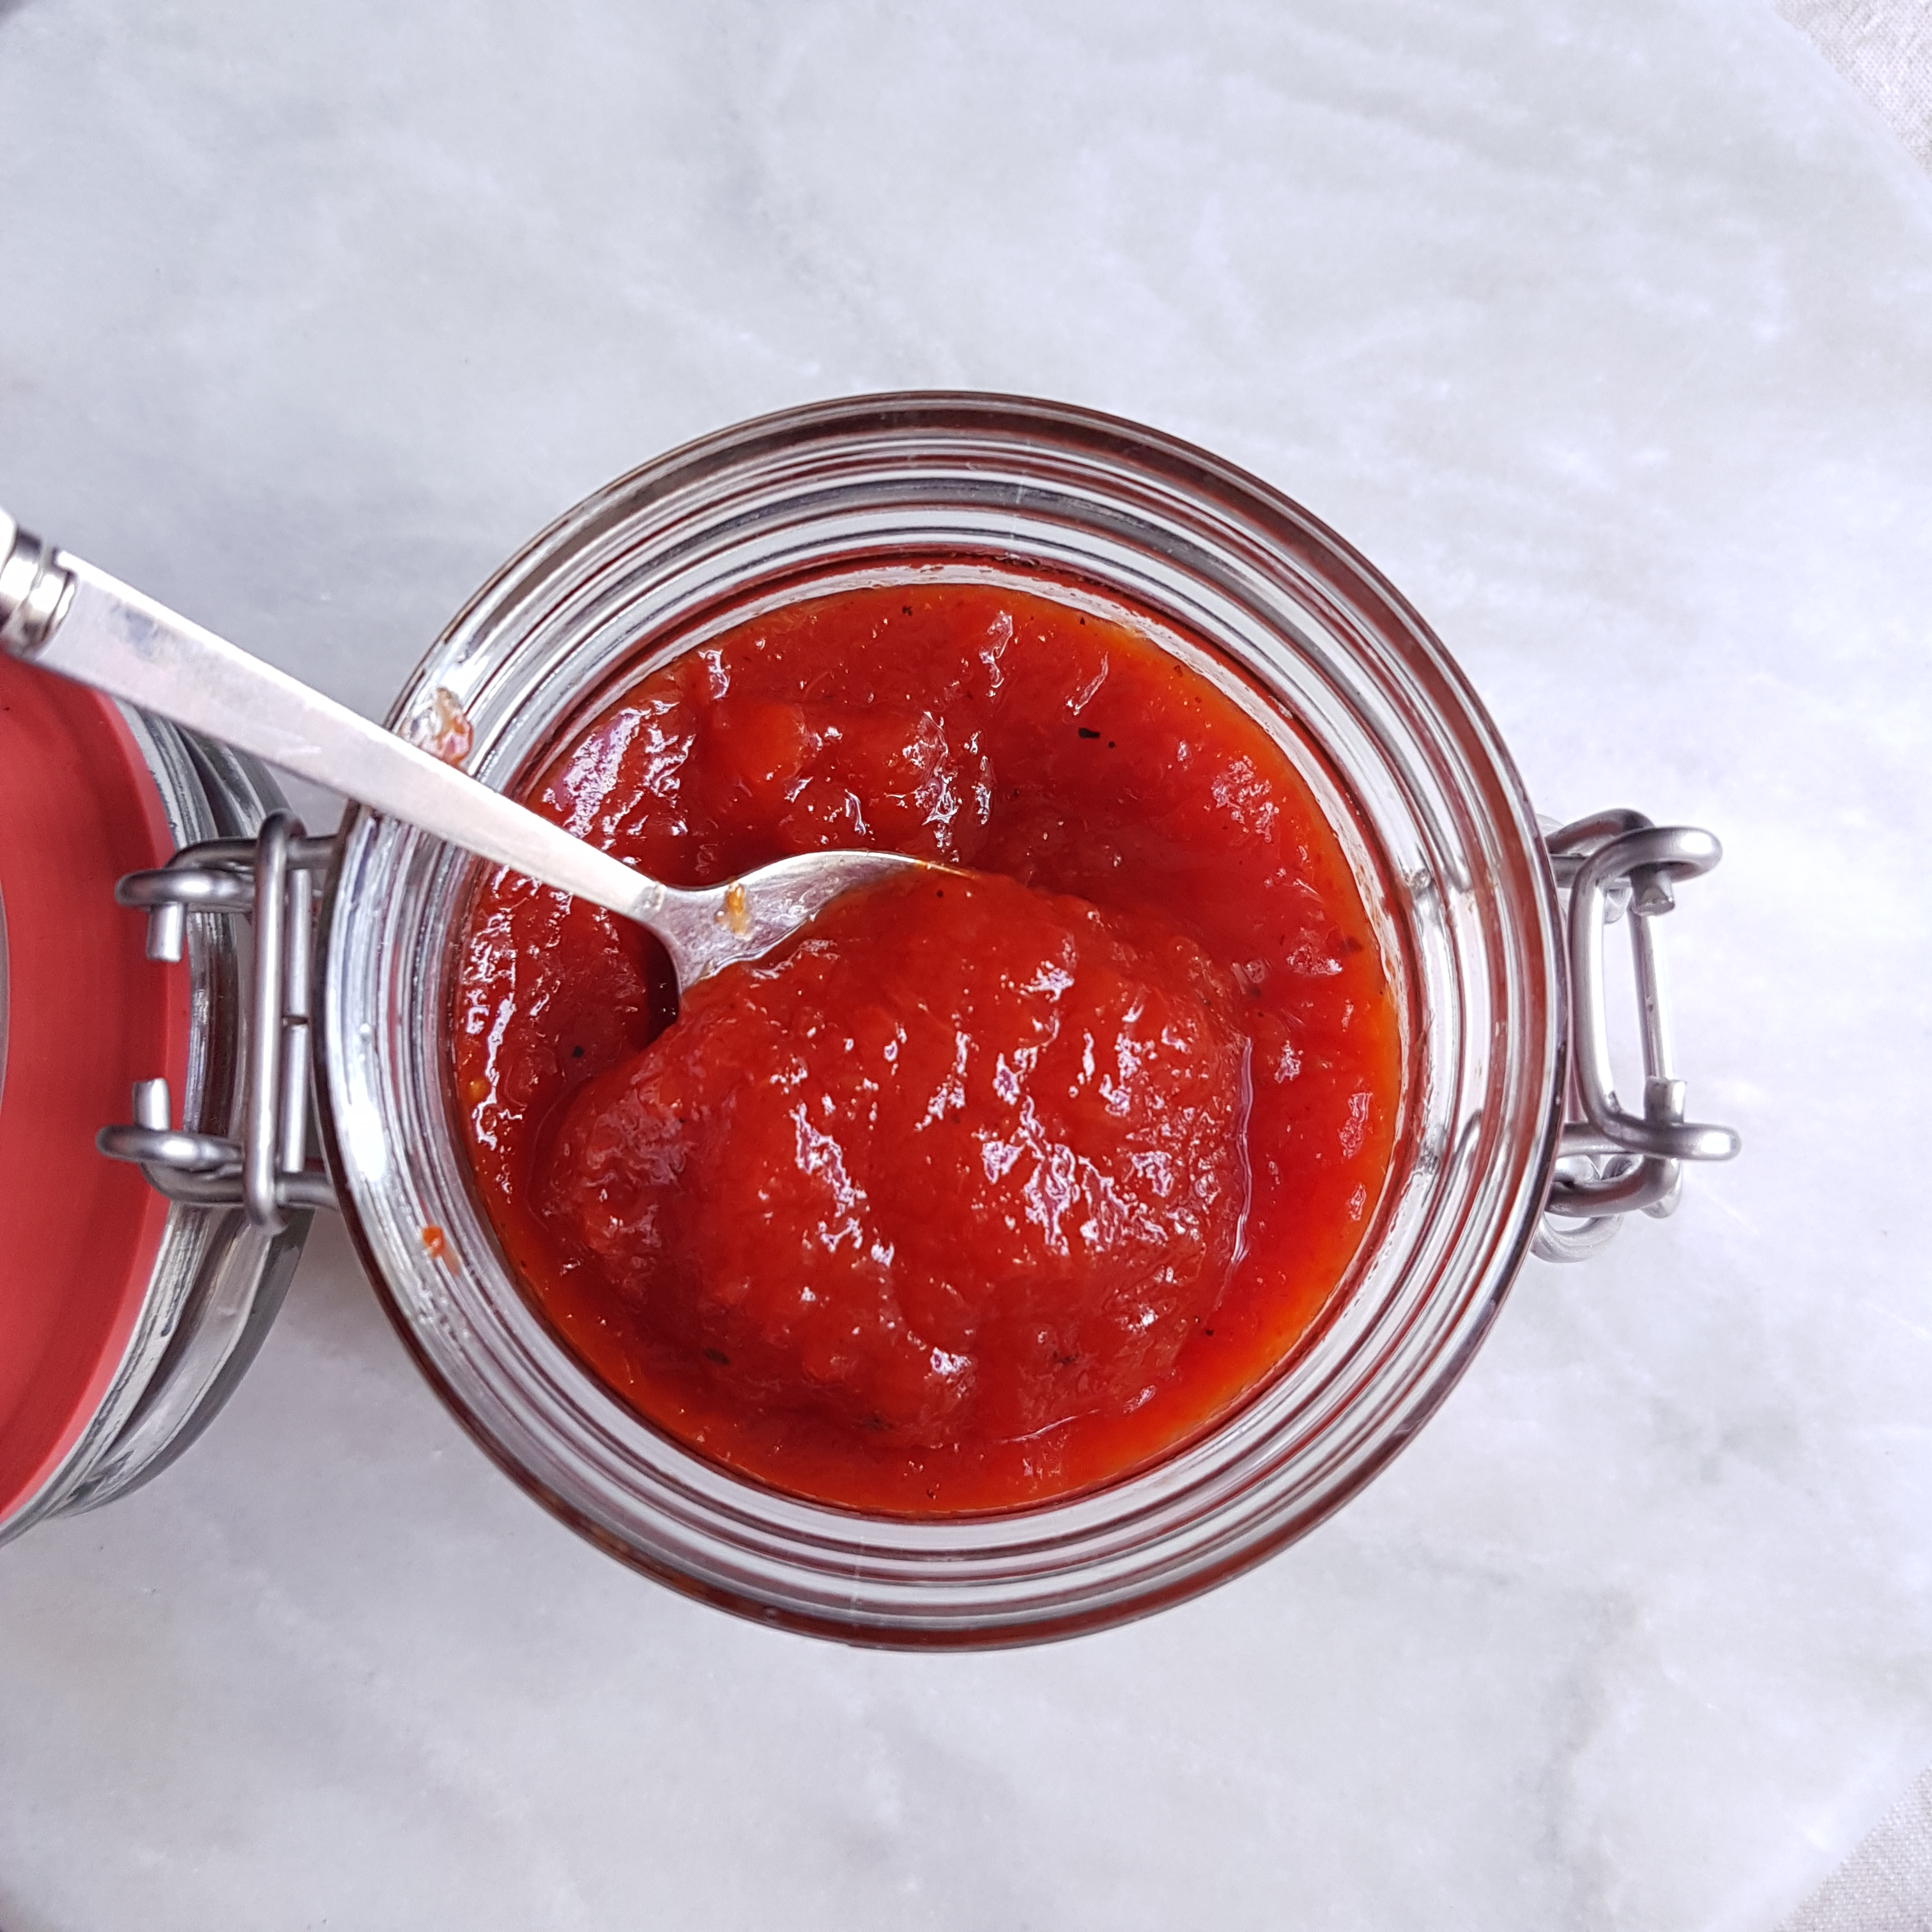
The jam is sweet, a little tangy because there is a little vinegar in there, and a hint of spice in the form of chili flakes. You can adjust that to your liking of course, but for us, 1/2 teaspoon is enough. This sauce will keep for about two weeks in the refrigerator,  you can also process the jars (canning) for a longer shelve life, but do consult a canning website or source for that procedure.
This roasted red bell pepper sauce takes five minutes to make and is so easy. I used a jar of roasted peppers like I did in my 5 minute Romesco Sauce, cheats version because, why not? Sometimes it’s okay to take a shortcut.

Makes 1 jar

INGREDIENTS:


1 jar of fire roasted red peppers, drained
80 grams of special jam sugar/gelling sugar
1/4 cup plain vinegar
1/2 teaspoon chili flakes
1/4 teaspoon table salt

INSTRUCTIONS:


Place all the ingredients in a blender.
Puree until smooth and transfer to a large pot.
Cook for 5 to 7 minutes until bubbly and slightly thickened.
Pour into sterile jar, let cool a bit with the lid off, for an hour or so.
Then close with a lid and keep in the refrigerator. Like I said earlier,  it’s good on everything.


Enjoy!

Homemade Chocolate Pudding Pops

We are very excited about these Chocolate Pudding pops, and I already know that they will be on repeat the whole Summer. What an easy recipe, so creamy and chocolatey, and smooth. With that perfect snap when you bite into them, yum! I love the fact that you can control the amount of sugar or sweetener you use, making this a healthier choice and the perfect cold treat without the guilt trip. You could skip all the sugar and add only stevia, although I love how rice syrup adds a certain chewiness to the pops, just like it does to my gluten-free chocolate brownies. Syrup also prevents crystallization and keeps the chocolate pudding pop creamy.  Next time I’ll be making creamy vanilla white chocolate pops, so stay tuned.

INGREDIENTS

1/2 a bag of chocolate pudding mix (28 grs)
175 ml. milk (I used barista Oat milk)
75 gr creamy almond butter
30 ml. / 2 tbsp. Rice syrup or maple syrup
200 gr dark chocolate* see note below 
15 ml. / 1 tbsp. Natural oil
A handful of mini chocolate chips
Ice cream molds

INSTRUCTIONS

Combine the pudding mix with 75 ml of the milk in a jug and stir until everything is dissolved.
Bring the remaining 100 ml of milk to a simmer in a heavy bottomed saucepan.  Once the milk has reached a simmer, lower the heat and add the pudding mixture  to the saucepan,  stirring constantly for about two minutes. 
Remove from heat, add the almond butter and syrup and stir to dissolve and combine.
Let cool a little then fill ice cream molds halfway,  divide some chocolate chips over the pudding and top with the remaining mixture. Insert the sticks and cover the molds.
Place in the freezer for at least 6-8 hours.
Melt the chocolate and oil in a microwave safe bowl, in the microwave at 30 second intervals until melted. Pour chocolate into a tall glass, so you can dip the whole chocolate pudding pop into the chocolate.
Remove the chocolate pudding pops from the freezer and take them out of the molds.
Dip each chocolate pudding pop into the melted chocolate and then hold in an upright position for 30 seconds until the chocolate sets. Place each pop on a parchment lined board or plate and put back in the freezer until ready to serve.

Enjoy!

More yummy desserts?

*There will be chocolate left over, but you need the initial 200 grams so you can immerse the entire pop in one go. Leftover chocolate can be poured into a plastic container and kept in the refrigerator or freezer for another time.

Oatmeal banana breakfast muffins with cookie dough crumble

Where to start with these Oatmeal Banana breakfast muffins? They are the best, everyone in my family loves them and I can’t seem to bake them fast enough to keep up with the demand. 
As you know I love baked Oatmeal,  but at a certain point you want something else in the morning.  Something even easier, better and more delicious.  Also more suitable for warmer weather.

They are so simple to make, I blend the wet ingredients in the blender, then poor this over the dry ingredients in a large bowl,  give it a stir and scoop into lined muffin tins. Sprinkle with plenty of the topping and bake, that’s it.
The great thing about these Oatmeal banana breakfast muffins is that you can also make these well ahead of time and store them in the freezer. Just pop them in the microwave to re-heat for a bit before serving. I actually microwave them for one minute from frozen, and they are warm and yummy and taste like freshly baked.

I almost forgot to mention the topping, the best part of course. The topping tastes like cookie dough and forms big lumps, just the way I like it and once baked,  has a slight crunch too it. You’ll love it!
These  Oatmeal banana breakfast muffins are also the perfect treat for when that afternoon sweet tooth hits.

Oatmeal banana muffin

Makes 6 jumbo muffins or 8-10 smaller ones.

INGREDIENTS:

Dry:
1.5 c. oat flour
1 c. all purpose flour
2 tsp. baking powder
1/2 tsp. baking soda
1/4 c. chocolate chips
Pinch of salt
1 tsp. cinnamon
Wet:
1/2 c. Greek yogurt
1/4 cup natural oil
2 ripe bananas, peeled
2 large eggs at room temperature
2 tsp. vanilla extract
1 tsp. stevia extract or 2 tbsp. light brown sugar
2 tbsp. honey

Topping:

3 tbsp. light brown sugar
1/2 c. All purpose flour
2 tbsp.  Natural oil or cold butter

INSTRUCTIONS:

Pre-heat oven to 180C/350F.
In your blender, add all the wet ingredients and blitz until smooth.

Meanwhile add all the dry ingredients to a large bowl,  also the chocolate chips and give everything a good stir.

Pour the smooth batter from the blender over the dry ingredients and stir with a spatula until just combined.
Scoop into lined muffin tins, I use 6 large muffin tins or you can make 8-10 smaller ones. You have to adjust the baking time, see below.

Make the topping by adding all these ingredients to a smaller bowl, and stir to combine. You can use your fingers to crumble the dough. Place a good amount on top of each muffin.

Place the muffins on a rack in the middle of the oven and bake for 25 min for 6 jumbo muffins or 20 min for 8 medium muffins. But since every oven is different,  I advise you to always do the wooden skewer test, when inserted in the middle of the muffin, it should come out just dry, then they are done.

Enjoy!

Spelt Baguette

Making bread at home can be daunting, but what if I were to tell you that I truly believe anyone can do it 

Especially this recipe, it’s a” throw it together and forget about it” kind of recipe.

Almost that is, you do have to mix and knead a little bit.

Let me elaborate, you place all the ingredients in a bowl, knead for a few minutes, by hand or mixer. Then you cover the bowl tightly and put it in the refrigerator for 10 to 12 hours.

The next morning, you knead again for a minute or two, shape into four or six baguettes and cover for half an hour, then bake. It’s that simple.

The aroma of freshly baked Spelt baguette in the morning is like nothing else, you might think you’re in Paris! Just add a café au lait, and you’re good to go.

INGREDIENTS:
500 gr Spelt flour
350 ml water, hand warm
2 gr yeast
6 gr salt

INSTRUCTIONS:
Place all the ingredients in a large bowl and mix by hand or use a mixer with hook attachment.  Knead dough for 5 minutes and cover bowl tightly.

Place in refrigerator for 10 to 12 hours or overnight. Can also be made early in the morning for an evening bake.

After the resting period in the refrigerator, take the dough out of the bowl and place on a floured surface. Knead for two minutes and shape into four or six Spelt baguettes. Rolling the dough tightly, so you squeeze out all the air.

Place the baguettes on a parchment lined baking sheet and score the Spelt baguettes with a sharp knife. Cover with a tea towel and let rise for 30 minutes.

Pre-heat your oven at this point to 240 C / 460 F, place a small ovenproof container filled with hot water in the back of the oven. Place the Spelt baguettes in the middle of the oven and bake. For 4 baguettes it is 17 minutes approximately, for 6 smaller baguettes 15 minutes approximately.  You may have to turn the tray halfway baking depending on how good your oven is.

Remove from oven and let cool on a rack.
When tapped, the bread should sound hollow.

My favourite way to eat fresh baguette is with French country butter, preferably salted and strawberry jam. Enjoy!